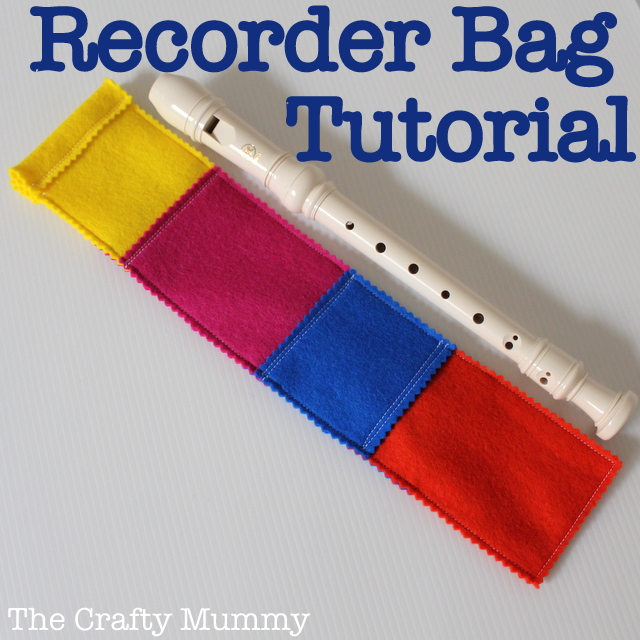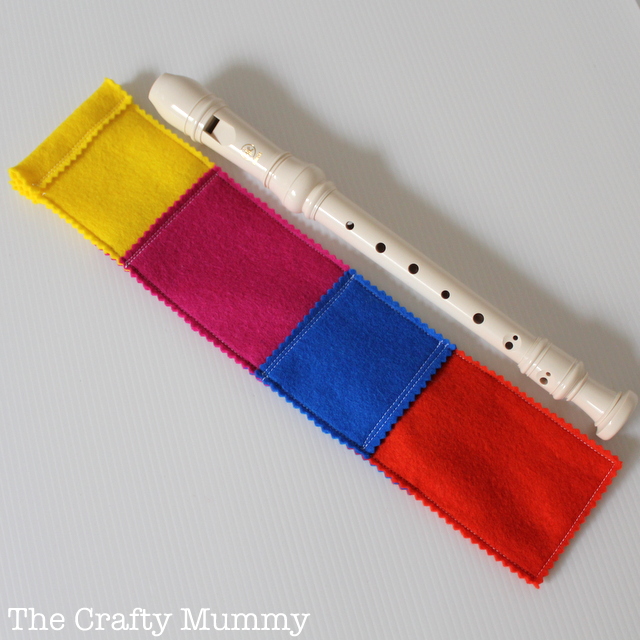
Did you play the descant recorder when you were at school? I did. This year my Little Miss will start learning as well. So we have bought the recorder and she has produced all the usual squeaky noises around the house for a few days. Being keen to protect this musical instrument and prevent the need to purchase another one this year, I decided to make a cute and colourful bag to store it in. I used some leftover felt from Plushka’s Craft but you could just as easily make one in fabric instead. The beauty of felt is that you don’t need to finish the edges as they won’t fray.
What You Need
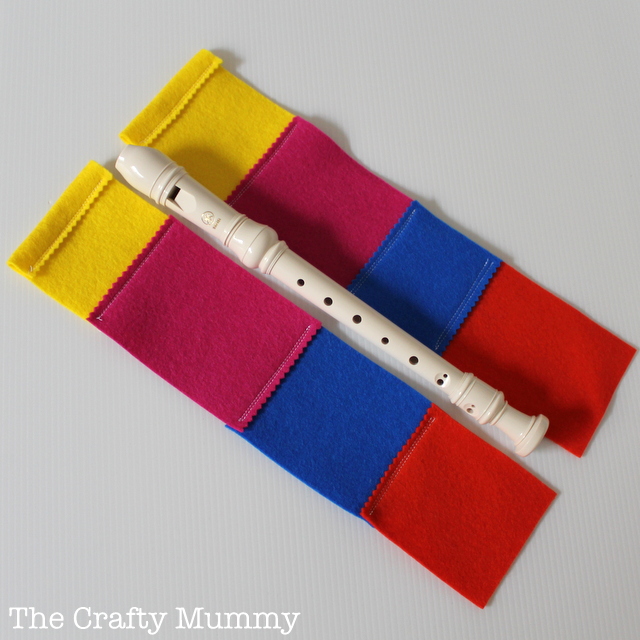
- felt – enough to create two pieces, 3.5″ x 16″ (9cm x 41cm)
- elastic about 4″ (11cm) (Read the notes before you cut this for a tip)
- usual sewing supplies and sewing machine
What To Do
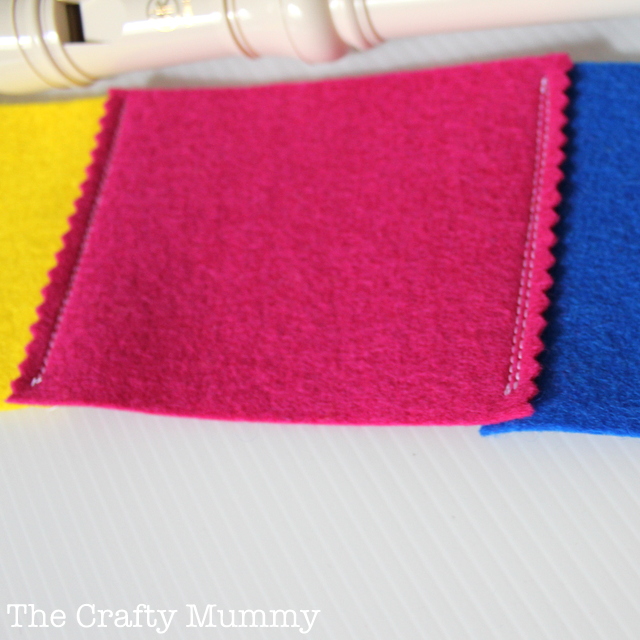
Create your two panels of felt first. You could use two pieces if you have them but in my case I used scraps. Cut each scrap 3.5″ wide then lay then together and stitch them in place. Because the felt won’t fray, you can simply lay one edge on top of the next edge and stitch across. I did a double row of stitching on each one to give a little extra strength. I pinked the edges of my pieces just to make them look pretty. join pieces until you have two pieces that are approximately 3.5″ by 16″ (or 9cm x 41cm)
If you are using fabric instead of felt, join your pieces right sides together and press flat so that the seams are hidden on the inside of your finished bag. You might want to add a layer of fusible pellon to the back of your fabric to give extra protection to the recorder.
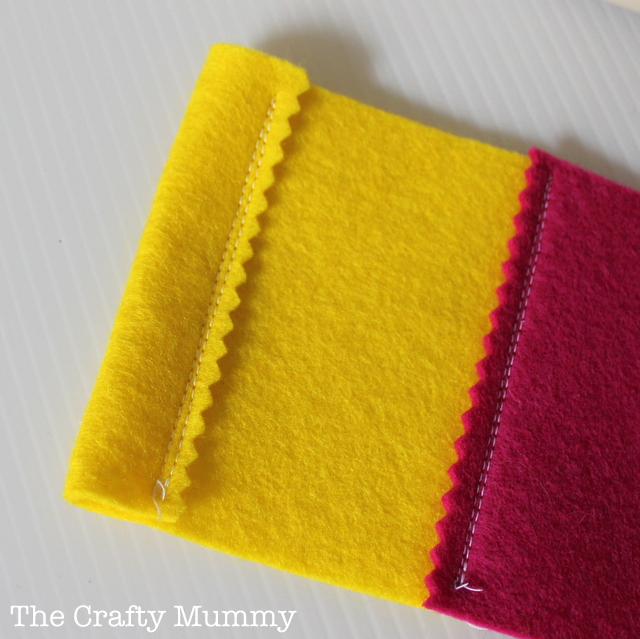
Next, create a casing at one end of each piece of felt by folding over the edge about 3/4″ or 2cm. I pinked the edge of this before I stitched it into place – just to look pretty!
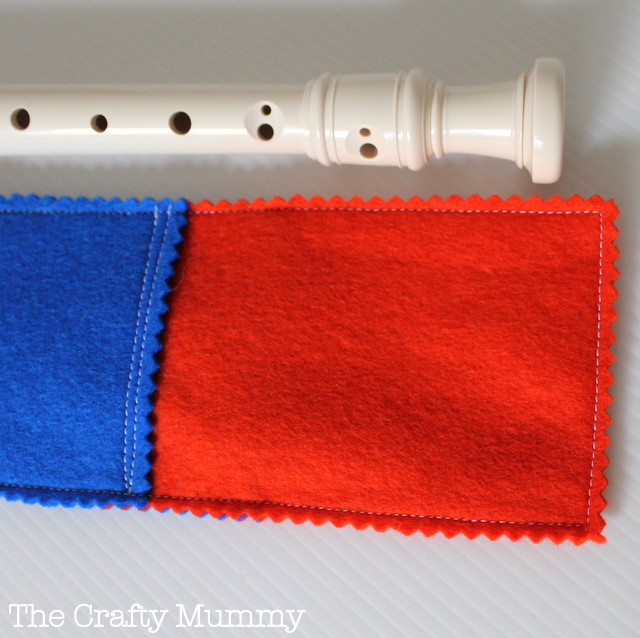
Lay the two rectangles on top of each other with the casings on the outside and pin. Stitch from below the casing down one side, across the bottom of the bag and up the other side to the casing. Don’t stitch the casing closed! Pink the edges to finish.
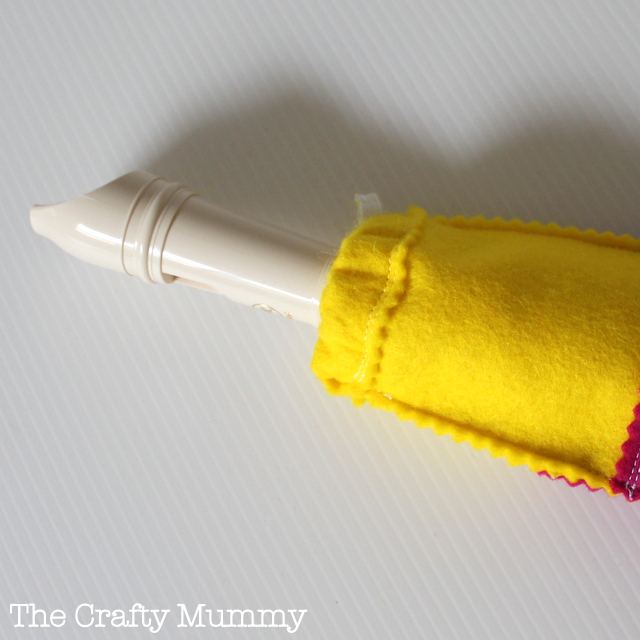
I used elastic to create the closure. (You could use ribbon if you prefer and just tie the ends to close it.) The idea is that the elastic is tight enough to pull the top closed enough so that the recorder won’t fall out. This means pretty tight elastic. In hindsight, here’s my tip: don’t cut the piece of elastic from the roll until after you have threaded it through the casing – along one casing then back through the other. Then pull the elastic tight enough the close and stitch the two ends together. Then trim the excess off. Much easier than trying to stretch a tiny piece of elastic and hold it while you stitch!
