Today I’d like to welcome Jen from Perler Voodoo…
My name is Jen and I live in good old Canada :).
I work in a day care so I needed something to help me relax after a tiring day.
Over at my blog I talk about a craft called Perler Beads.
They go on a pegboard and you iron them.
I have been asked to write a tutorial on how to make them, so I will do just that.
There are 3 brands of beads, which offer a good range of colours:Perler, Hama and Photopearls.
You can find Perler Beads in craft stores and you live in the United States/Canada.
Over in Europe, Hama beads are the easiest to find (I hear).
You can find them in buckets in stores and they usually run around $10-20
depending on how many beads you buy.
If you buy them online in individual colours, they usually are around $2 a bag of 1000.
Pegboards are around $8 for 2 from craft stores.
The best way to buy them from my experience is from a girl named Michelle Baker.
She can be found on Ebay, but if you email her directly you get a better price.
She has never failed me yet.
Items you need


Beads
Pegboards
Iron
Parchment Paper
Pattern
Step 1:
Pick a Pattern
You can search on Google, Flickr and Deviant for perler beads.
Also, you can look at www.spritesresource.com for stuff from video games.
Save the images and use either
http://perlerpal.com/ or http://dolkow.se/perler/
to load the images into.
They give you the colours of beads you will need.

Step 2:
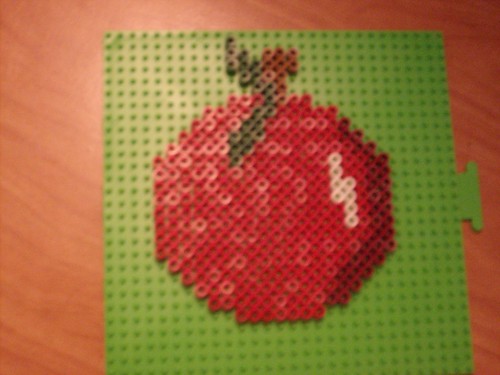
Once you have your pattern you can begin following it
and placing the right coloured beads on the pegboard

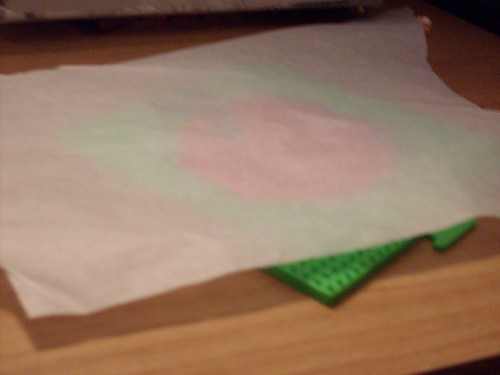
Step 3: Once done, cover the project with the parchment paper

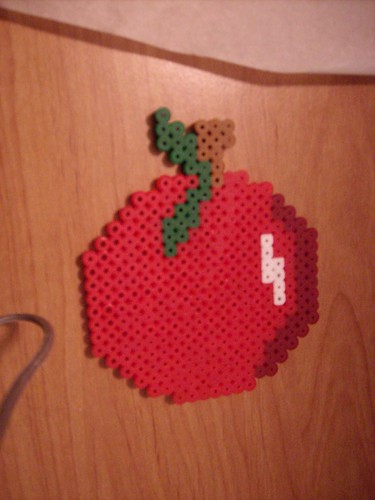
Step 4: Iron it. Do it slowly and at an even moving pace to make sure it’s all ironed.
You can have holes in the beads or flat iron for a different look.
I usually use a medium setting on my iron,
but it can become a trial and error based on the project you are doing
and the type of beads you have.
Each company’s beads melt at different rates and heat.
If you iron them for a while the holes will close up and give the beads a square shape.
There are other bead artists that use this method for their work.
As long as the iron is melting everything constantly, it works well either way.

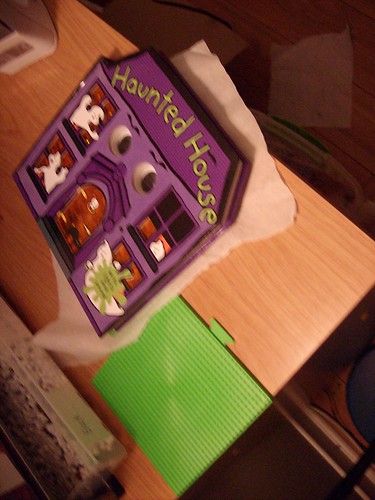
Step 5: Take the pattern off the pegboard while the paper is still attached and place books on it.
The reason for putting books on them is to keep them flat.
When the beads begin to cool, they will warp and curl.
The pressure from the books keeps them flat, making them easier to hang.


I hope you guys all enjoyed the tutorial and check out the guest post on my blog.


Wow! What a great idea! Love the apple!
What a really cool project! Looks very detailed 🙂