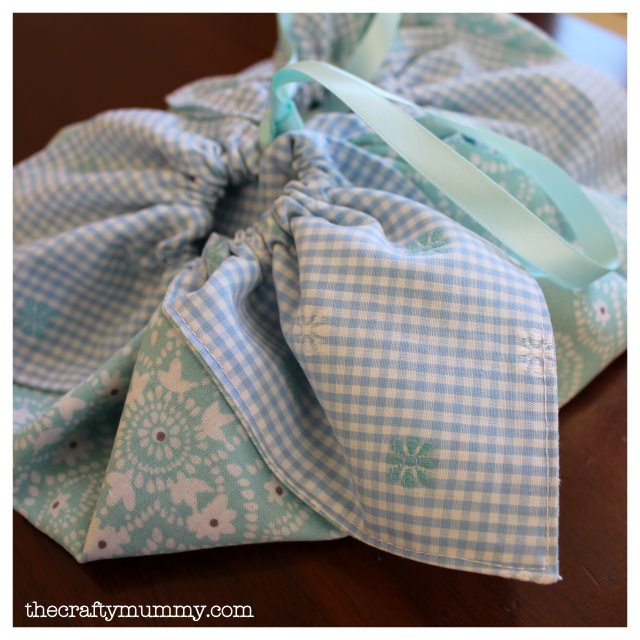
Last week I guest posted over at Momma’s Kinda Crafty and shared the tutorial to make this cute origami bag. It is made from two fat quarters and some ribbon. When I trimmed my fat quarters into squares, I was left with two strips of fabric. I used these to make a needle case so today I’ll share that tutorial with you.
What you’ll need:
- the two strips of fabric left over from your origami bag
- OR two strips of fabric approximately 18″ x 2.5″ (45 cm x 6 cm)
- medium weight iron-on interfacing, around 8″ x 5″ (20 cm x 12 cm)
- rectangle of felt, around 8″ x 5″ (20 cm x 12 cm)
- sewing supplies and machine
Note: All seams are a quarter of an inch wide.
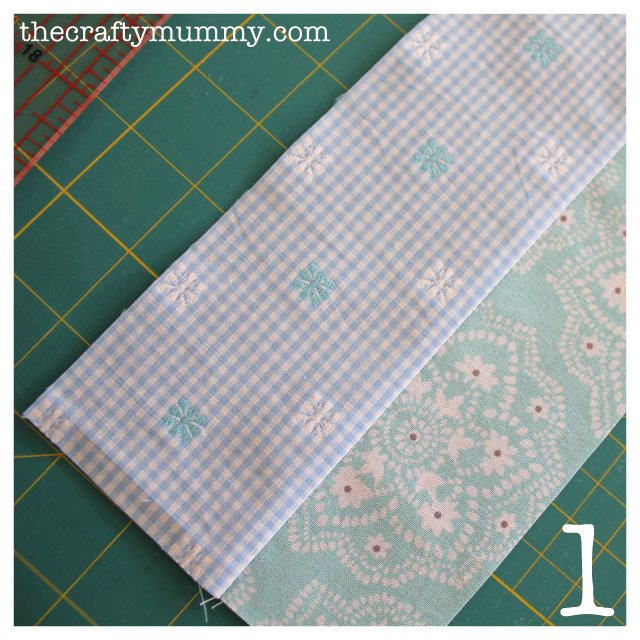 Step 1:
Join the two strips together along the long edge, right side together. Open out and iron flat.
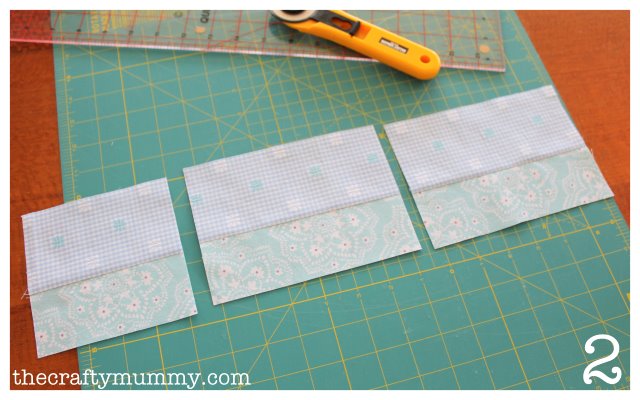 Step 2:
Measure across the joined strips – if they started around 2.5″ (6cm) then they should be about 4.5″ (11cm) now. (Remember you lose 1/2″ in the seam allowance.) Cut the joined strips into 3 pieces. One will be the same as the width you just measured – around 4.5″ (11cm). Then cut the leftover piece into two pieces the same length. If the strips were 18″ you will end up with two pieces of 6.75″ each.
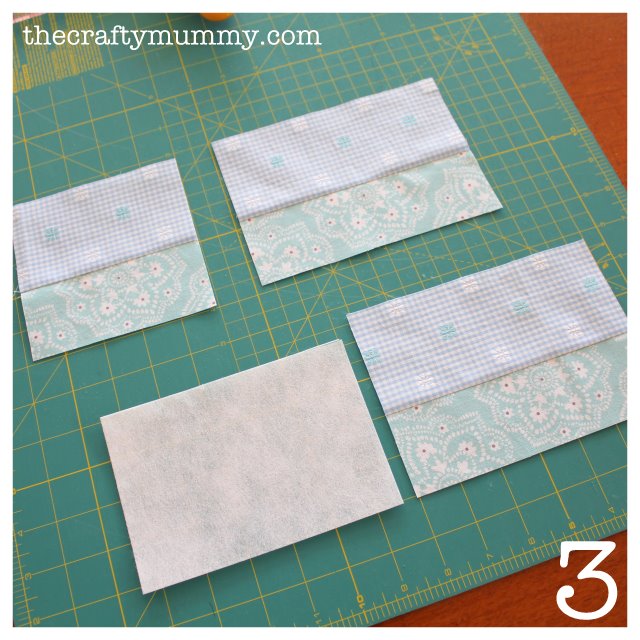 Step 3:
Cut one interfacing rectangle the same size (or slightly smaller than) the large rectangles – approximately 6.75″ x 4.5″. Iron it onto the wrong side of one of those pieces. This will be the outer cover of the needle book.
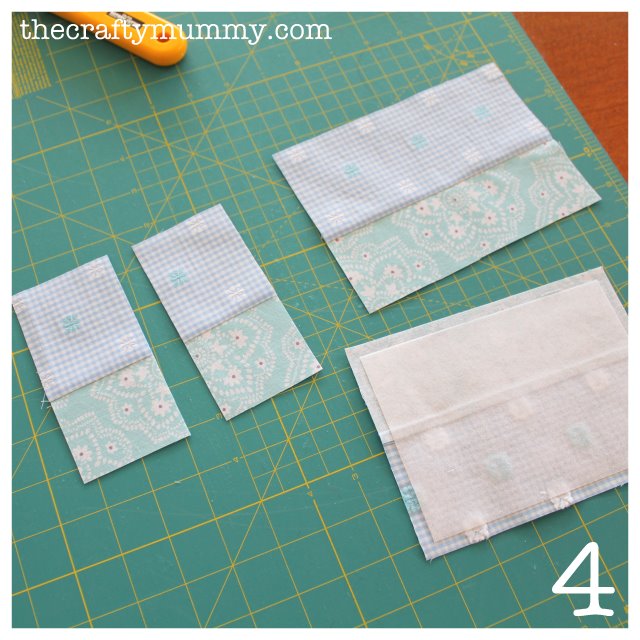 Step 4:
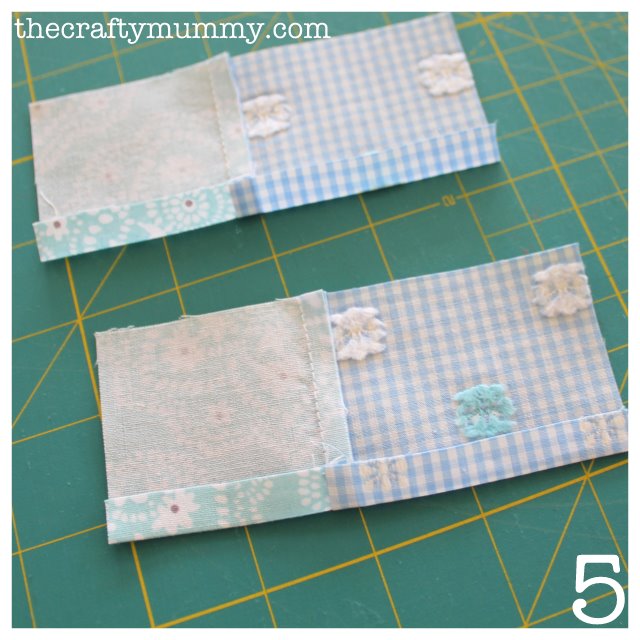
Trim the small rectangle in half. These will be the two pockets.
 Step 5:
Iron one edge of each small rectangle over about quarter of an inch and stitch at about 1/8″ to hold. (I actually did two rows of stitching on mine to look pretty.) See note on the next step about these pockets.
 Step 6:
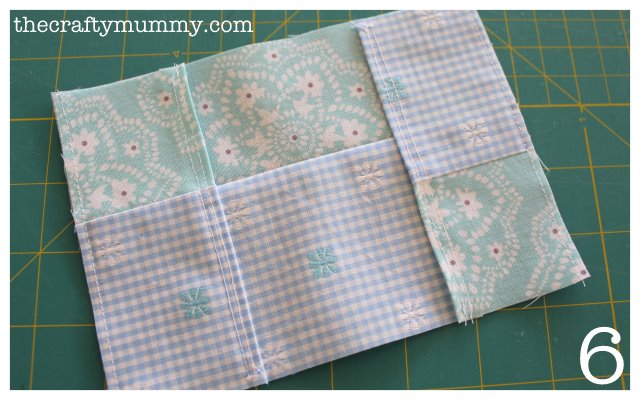
Take your inner large rectangle (the one without the interfacing attached) and lay it right side up. Then lay the two pockets on each end, also right side up, and pin them in place. The folded stitched edges should be in the middle. (NOTE: Notice how my two pockets look different when I lay them on the lining piece? In hindsight, I should have laid them out first and then folded the edge to stitch down.) Stitch down the two outer edges to hold the pockets in place.
 Step 7:
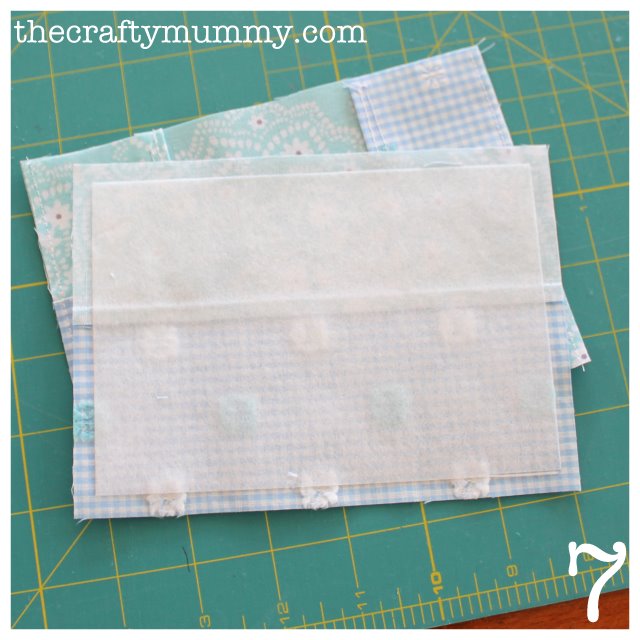
Lay the inner lining piece with the pockets down right side up. Lay the outer piece on top of it right side down. Match all the corners and pin in place. Sew around the outside leaving a gap of about 2″ for turning.
 Step 8:
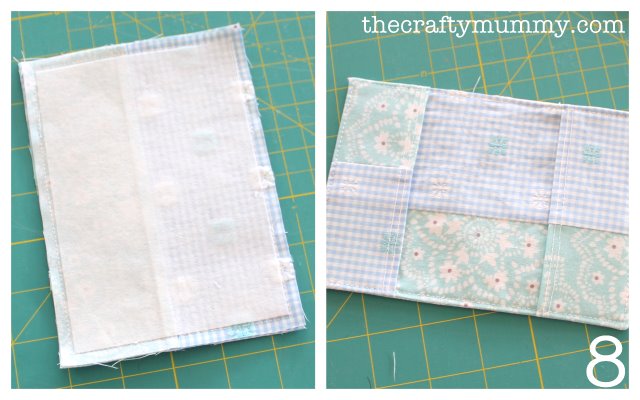
Clip the corners and turn through. Use a knitting needle to push the corners out nice and sharp. Iron flat taking special care with the gap. Top stitch around the rectangle about 1/8″ from the edge. This will close the turning gap as well as give it a nice finished edge.
 Step 9:
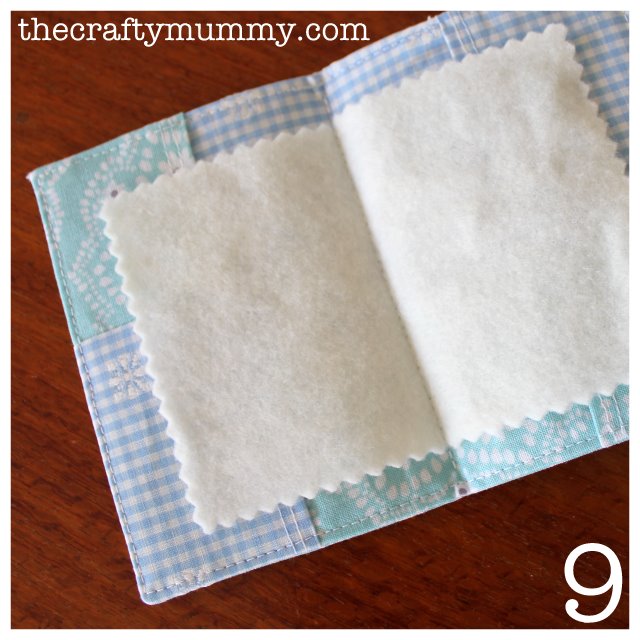
Cut the piece of felt slightly smaller than the finished cover. I used pinking shears to make mine pretty, but felt won’t fray so a straight edge is fine too. Fold both the felt and the cover in half and iron to create a crease. The pockets should be on the inside of the cover. Lay the felt on top of the cover lining up the creases. Stitch down the crease to hold the felt in place.
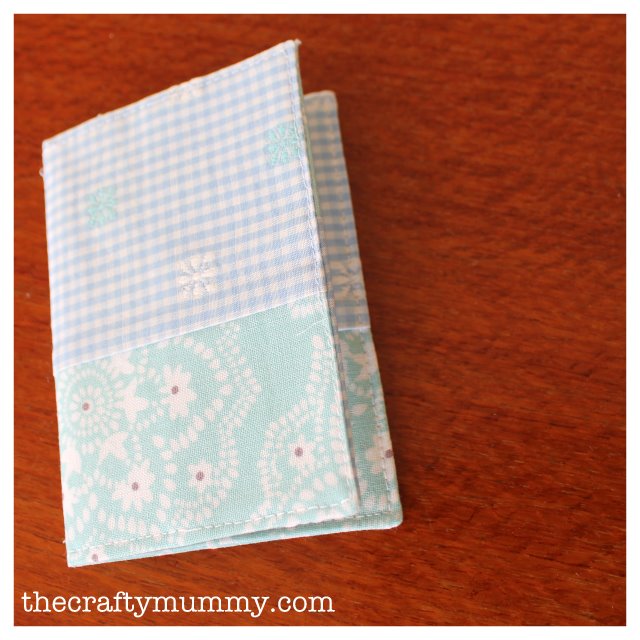 That’s it! Cute needle book all finished and ready to use. You could easily add more “pages” if you have lots of needles to store. The pockets are big enough for small scissors, a needle threader or embroidery floss on cards. I have this one in my origami bag for cross stitch projects with a spare needle and a couple of pins, and a larger one near my sewing machine with the rest of my needles.


Great tutorial. I’ve been wanting to make a needle case for ages. Must do it!
Hi Samelia’s Mum. I just had to enter your Donna Hay giveaway – how could I pass up “molten” brownies?!?
Go here, folks: http://www.sameliasmum.com/2011/07/donna-hay-signature-home-bake-mixes.html
And have you always had hexagons in your header? Have I just not noticed before? Well, in any case they look great.
That is adorable, great tutorial and I love the fabric!
Funny you were here just now, because I was over at your blog stumbling your belt tutorial ;o)
this is cute and a great tutorial!!!! thanks for sharing
Gorgeous little needle book! I haven’t seen one of those in years! My mum used to have one -and it’s just what I could do with! Thanks for sharing the tutorial!
Thanks for linking to a Round Tuit!
Hope you have a great weekend!
Jill @ Creating my way to Success
You’re welcome, Jill.
Cute idea and great tutorial 🙂
I am not sure if my last comment posted. But just wanted to say it is a cute and useful idea and a great tutorial 🙂