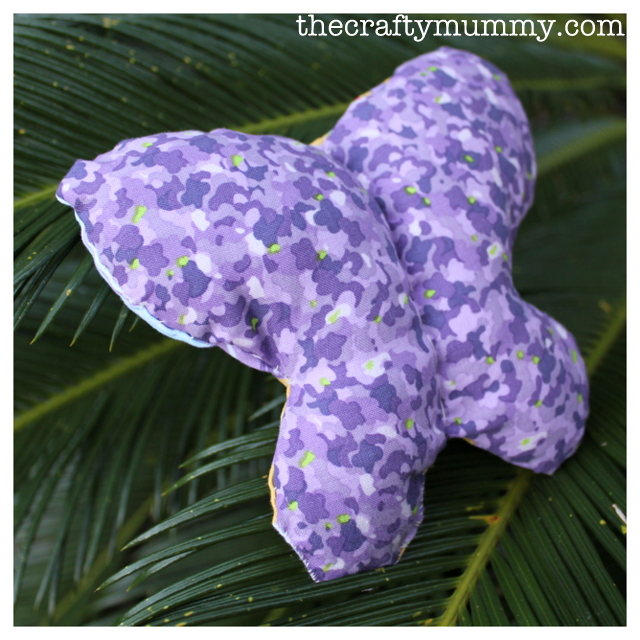
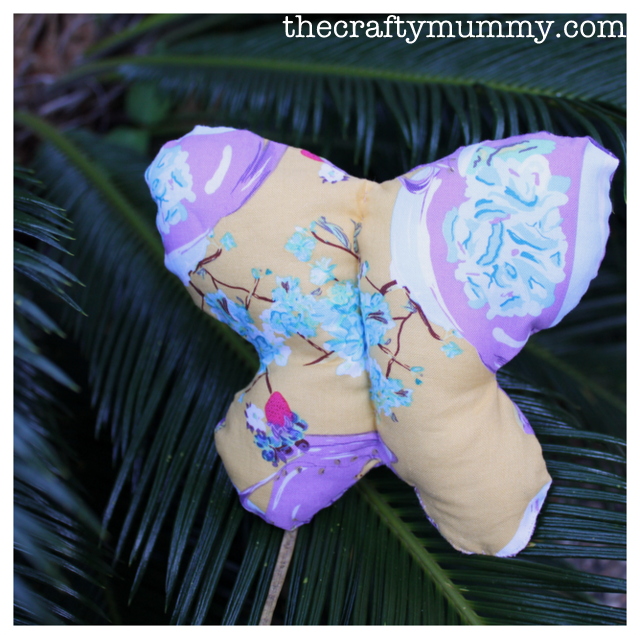
Last week when Di from Quiltitis came to visit, she got my Little Miss started on making a butterfly. I thought I’d share the tutorial for any other Little Misses out there who might want an easy sewing project.
What you’ll need:
- paper and pencil
- scissors
- fabric
- needle and thread
- soft cushion stuffing, or beans or rice to fill

What to do:
- Fold a piece of paper in half and draw a butterfly wing from the fold. Cut it out and open up to make your butterfly template. Little Miss used an A4 piece of paper so her butterfly is about 25cm wide.
- Find some pretty fabric and trace 2 of your butterfly shapes on the back.
- Cut them out.
- Draw a stitching line on the back of one of the pieces of fabric, about 5mm in from the edge all the way around.
- Put your two pieces of fabric right sides together and pin, so they won’t move while you are stitching.
- Stitch around the sewing line using running stitch and leaving a 4cm gap for turning.
- Clip the edges (make little cuts around the edges about 1cm apart without snipping your thread) and turn through.
- Fill the butterfly with stuffing (to make a soft pillow) or beans or rice (to make a bean bag).
- Stitch the opening closed carefully, tucking the raw edges inside.
- Stitch a line up the middle of the butterfly to separate the wings, pushing your needle through both layers of fabric and stuffing.

Variations:
- You could easily make your pillow a different shape – flower, heart, car, star
- You could decorate your fabric shapes before you join them together with buttons, sequins, ribbon or fancy stitching
- Make your butterfly bigger to create a cushion for your bed
- Make your butterfly smaller to create a tiny doll cushion for a doll’s house
What shape will you make?


how cool is that- a blog post too!
Of course!! Thanks Di!