We had a paper plane party earlier this week and our boy is still excited! Now I’m keeping it real here: we don’t do huge extravaganzas for birthday parties. I don’t do super fancy cakes or amazing themed decorations. But those boys had a ball! So I thought share what I did and show you how it doesn’t have to be huge to be hugely FUN!
Invitations
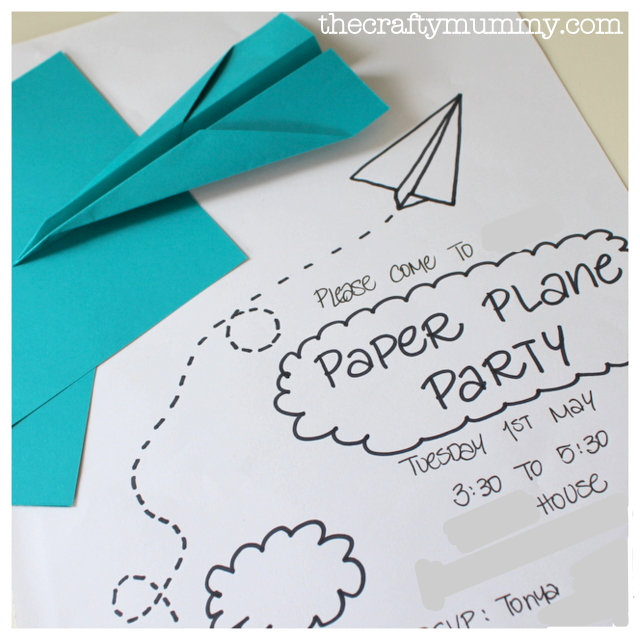
I hand wrote the invitation – yes, my handwriting for the details and a little paper plane picture around them. Then I photocopied them on blue paper and got Mr Happy to fold them into planes for his friends.
Decorations
One. Bunch. Of. Balloons.
Oh, and one balloon on the letterbox.
Some may suggest “slack”. I’m going to go with “simple and chic”.
Cake
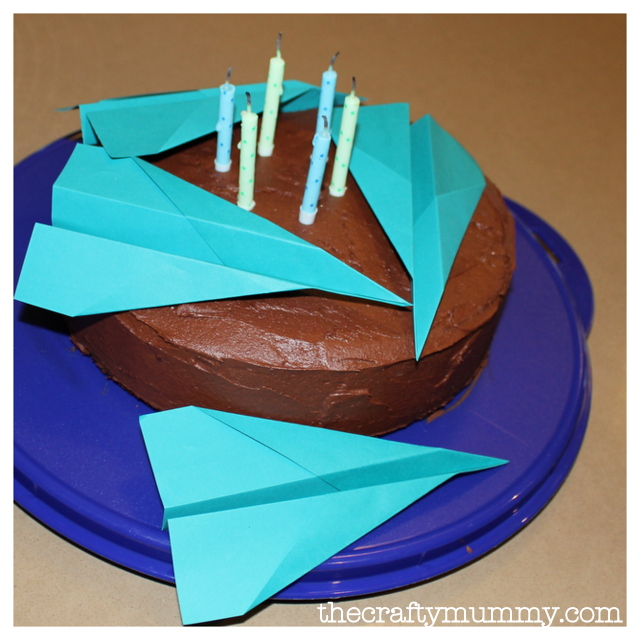
When Mr Happy first asked for a paper plane party, I joked that it would be a super simple cake – just stick a paper plane on the top. To my surprise, he agreed! So I baked a chocolate cake and iced it, then put a couple of planes around the candles. The planes were made using a quarter of an A4 size piece of paper.
Games
Folding Paper Planes
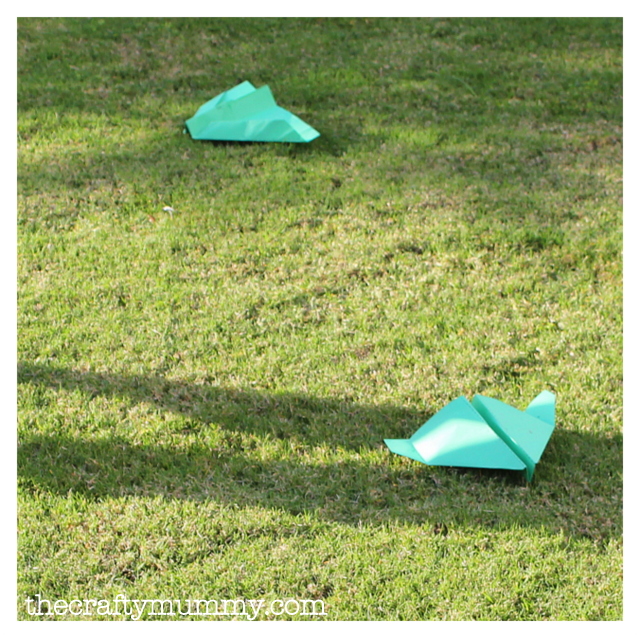
I printed off three different designs from Fun Paper Airplanes on coloured paper, with a copy of the instructions for me to follow. We all sat on the deck and folded them, with a little help from big sisters and parents, then they flew them all over the yard. They lined up and saw who could fly the furthest. They flew them over the wall. They flew them onto the neighbour’s roof. They flew them at Dad! When they got sick of the first plane, we folded another one and then flew those. I was surprised how much time they spent just happily flying and running around.
Pinata
I would have loved to find an airplane pinata, but alas we ended up with a soccer ball pinata instead. I found it at Spotlight. We didn’t really have a good spot to hang it so we attached it to the top of our totem tennis pole and that worked great. (What’s totem tennis? Also known as Tetherball – see Wikipedia)
Pass the Parcel
We did the classic pass the parcel game with a chocolate in every layer of paper and a prize int he middle. They also found some instructions in every layer:
- Sing a song… and fly a paper plane!
- Make your favourite animal sound… and fly a paper plane!
- Do 10 star jumps… and fly a paper plane!
- Shake hands with 4 people… and fly a paper plane!
- Pat your head and rub your tummy… and fly a paper plane!
More ideas
- Hang paper planes from the ceiling like these pictures at Design Sponge
- Lots of ideas at Buggie & Jellybean
- Love the Luggage ideas at The Ven’s Paperie
- Decorate with a paper plane garland like Michele Made Me
- Great table ideas at Armelle
- Posters and more game ideas at Joy {Love} Create
- Plane tickets as invitations idea over at Teal Bird Concepts


I was hoping you would share the detail here! Sounds so fun….by the time my boy’s next party comes around (in 2 years) he may be a little old for this, though 🙁
Isn’t it great how the simplest ideas are often the best!!
A paper plane party is an incredibly awesome idea. It sounds like your little boys day was wonderful! Well done!
Thanks Caitlin. He really has had such an exciting week between his party, soccer training and a school disco!
lots of fun – I love the blue & chocolate combination too! Simple ideas perfectly executed.
(found you via babble ‘outsider’ list – well done – visit me if you get a chance – I love parties too!!). x
Thanks for dropping by, Linda. You have so many great ideas on your blog and website! Wow!
Awesome party idea! So fun. Pinning it 🙂
Thanks Kylie!
Oh, what great ideas ! I’d go with “simple and chic” too! Love the “Pass the Parcel” idea of including instructions and adding…”fly a paper plane”. My husband made some planes for the boys for the first time the other week. They loved them 🙂 Thanks for linking up to FYBF !
oh how cute
This is such a great idea! I think us Moms sometimes set our expectations way too high for our kids’ b-day parties. I was reminded of this not long ago when a neighbor boy turned nine. His mother had zero resources to give him any kind of party. I didn’t know this until that day. I had to do something, so I ran up to the dollar store and bought a bag of animal crackers and a couple of bags of punching balloons. I made little treat bags for each kid I could see outside playing. I’m not kidding, those kids had the best time with those balloons! And the animal crackers hit the spot when they got hungry. Not a single one of them noticed that there were no matching plates and napkins. They just knew they were having fun for a couple of hours. I think I spent about $4. But the results were priceless.
So true, Jennifer. It really can be the little things that count.