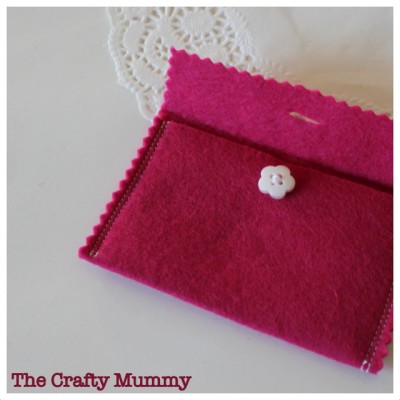
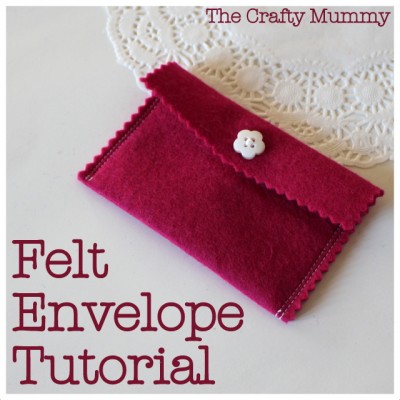
When Plushka’s Makery asked if she could send me some felt to play with, my first project idea was envelopes. I’ve been wanting to develop the habit of writing little notes to my kids – notes to encourage them and praise them for really being pretty fabulous! These would be envelopes that could be used over and over again, and become part of a special tradition. Alternatively you could use them for a special letter or a gift card, or even just to hold your own cards in your handbag.
What You Will Need
- Felt – 4.5″ x 6.5″ (11.5 x 16.5cm)
- A button
- Sewing machine and usual sewing supplies (thread, scissors, pins, pinking shears)
What To Do
- Fold one end of the felt up 2.5″ (6.5cm) and press and pin.
- Sew up each side to create a pocket. I sewed two rows of stitching to tie it in with the other projects I’ve made recently.
- Fold the top flap down about 1″ (2.5cm) and press.
- Optional: With the flap folded, trim the edges with pinking shears. Unfold the top flap and trim the top edge with pinking shears as well.
- Sew the button on.
- Fold the flap down and cut a little slit for the button to go through.
- Finished size: 2.75″ x 4.25″ (7 x 11cm)
Notes:
- The felt won’t fray so the pinking shears are only for looks.
- You could easily make a larger envelope to hold a notebook, phone, birthday card or larger letters.
- You may find with a larger envelope you need two or more buttons.
- For a hidden closure, use a press stud or velcro instead of a button.
- My thread is contrasting, but if you prefer not to see the stitches, match your thread to your felt.
Look out later in the week for a blanket with felt decoration. In case you missed it I have already written tutorials for a felt iPhone case and a felt tissue holder.
Thank you to Plushka’s Makery for the gift of felt to make this project.


