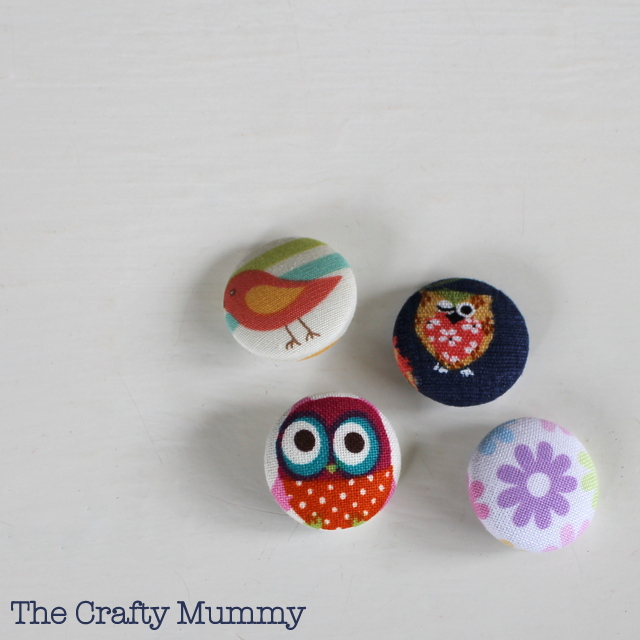
I’ve been wanting to break out this kit ever since I bought it from The Haby Goddess, but other things have been a higher priority. A couple of days ago it reached the top of the priority list ! Yay!
How to make a Covered Button
You need a covered button kit, fabric and scissors. Then watch this little video I made with Vine.
Making a covered button #crafts #DIY #button #fabric http://t.co/ltj1ga5VFB
— Crafty Mummy (@CraftiMummy) February 28, 2013
A couple of tips
- When you trim the fabric, leave about 0.5cm all around for the 7/8″ buttons I made. You may need to adjust that for larger or smaller buttons.
- The fabric is placed RIGHT SIDE DOWN.
- My fabric was just scraps of quilting cotton, but any fabric would work.
- I just pushed the back on with my thumb, but if you’re having trouble, try a light tap with a hammer.
I’m going to make my buttons into hair ties so stay tuned for that tutorial soon.


I can’t view the video – is there a trick? I so want to try this!!!
Can you see it now, Paige? It may take a little while to load…