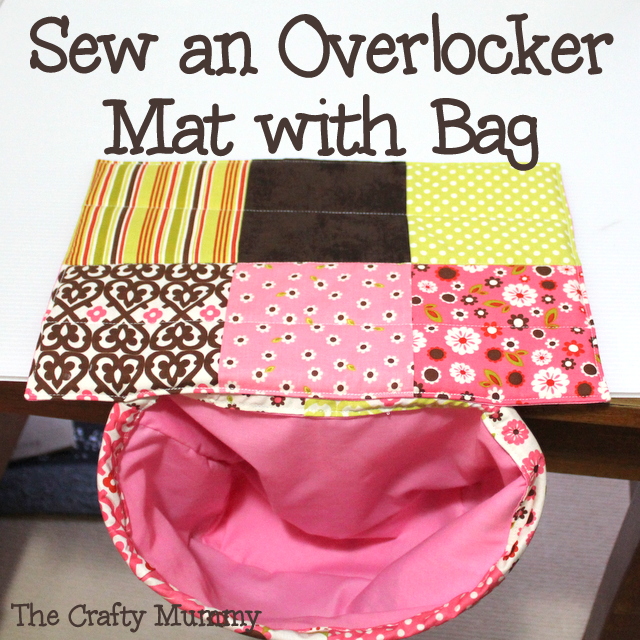
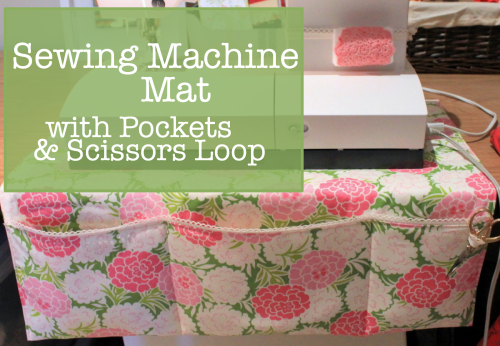
A couple of months ago I got an overlocker for my birthday. (My US readers will call this as a serger.) I’m still learning how to use it but I have it set up on my table next to my sewing machine. When I went to my first class I noticed one of the many extras they wanted to sell me was a plastic bag to hang at the front of the machine to catch the threads that get trimmed as you sew. I immediately decided I would make something cute for mine. So I have and here’s the tutorial so you can make one too.
The Mat
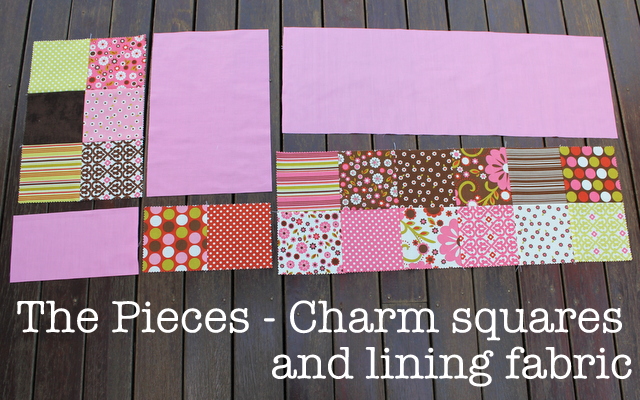
What You Need
- 6 charm squares (5″ x 5″ each) or one piece 14″ x 9.5″ (35.5 x 24cm)
- backing piece – 14″ x 9.5″ (35.5 x 24cm)
- iron-on pellon – 13.5″ x 9″ (34.5 x 23cm)
- iron, sewing machine and general sewing supplies
What To Do
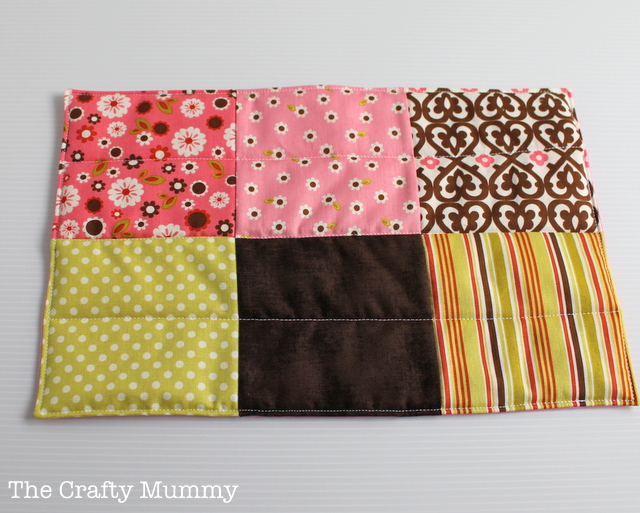
1. Join the 6 charm squares using quarter inch seams to form a panel, pressing seams flat as you go. I pressed my seams alternately so that they fitted together as explained in here: Quilting Tip: Nesting Seams.
2. Iron the pellon onto the back of the charm square panel.
3. Lay the backing piece right side up. Then lay the charm square piece right side down on top of it so that the pellon is on top. Pin it all in place.
4. Join these two piece by sewing a quarter inch seam around the outer edge, leaving a gap of about 3″ (7.5cm) for turning through.
5. Turn through and press, carefully tucking the opening seams in.
6. Top stitch about an eighth of an inch from the outer edge, which will give a neat finish and close the opening as well.
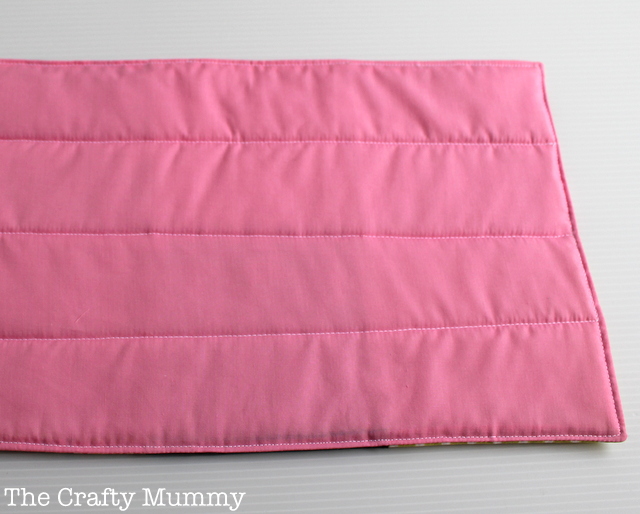
7. Quilt as desired. I quilted straight lines back and forth on mine – super simple!
The Bag
What You Need
- 12 charm squares (5″ x 5″ each) or one piece 27.5″ x 9.5″ (70 x 24cm) (for the sides of the bag)
- 2 charm squares (for the base of the bag) or one piece 5″ x 9.5″ (12.5 x 24cm)
- lining fabric: 9.5″ x 27.5″ piece for the sides (24 x 70cm)
- lining fabric: 5″ x 9.5″ piece for the base (12.5 x 24cm)
- length of plastic tubing about 18″ (46cm)
What To Do
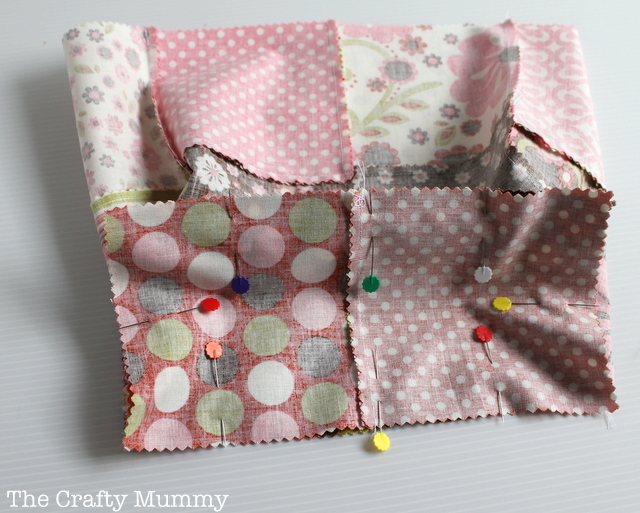
1. Join the 12 charm squares into a panel that is 2 rows of 6 squares. Press seams flat. Again use quarter inch seams.
2. Join the short ends together to form a circle. This is now the outer walls of the bag.
3. Join the two base charm squares together.
4. Carefully pin the base section to the wall section with right sides together, matching the seams of the charm squares.
5. Join the base to the walls – it is fiddly so take your time. Pivot the needle at each corner. This will now be the outer bag piece
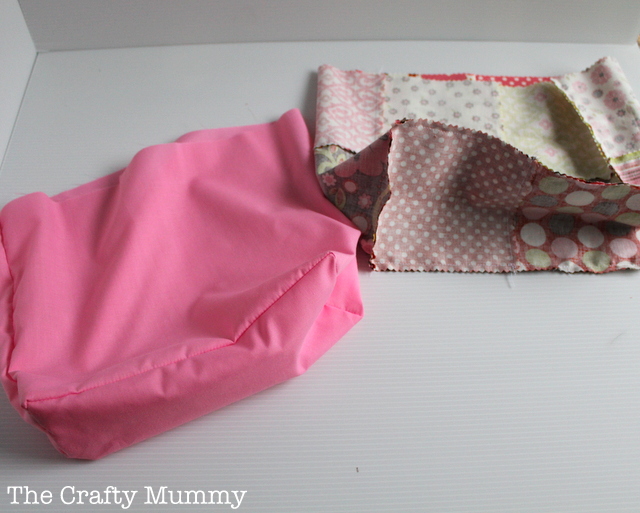
6. Construct another bag from the lining pieces using the same method. It is a little trickier without the charm square seams to match up when you join the base, but remember this will be the lining so it won’t be seen in the end.
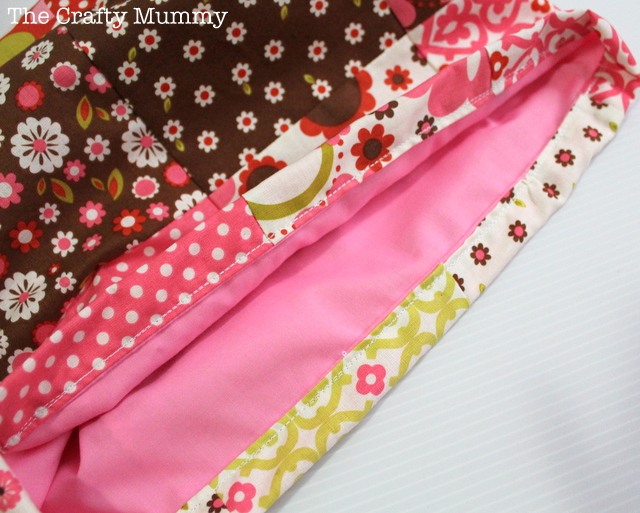
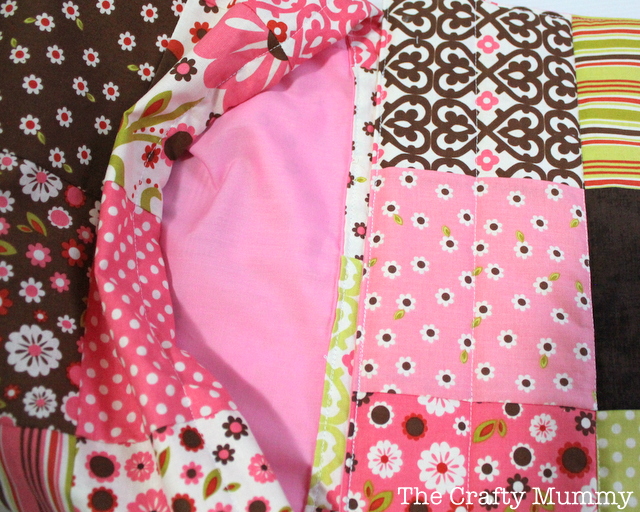
7. Next we will join the lining or inner bag to the outer bag. You need the outer bag to be inside out and the inner bag to be right sides out. Put the inner bag into the outer bag and line up the top edges. The right sides of the two bags will be together. Pin then sew around the top, leaving a gap of about 3″ (7.5cm) for turning through.
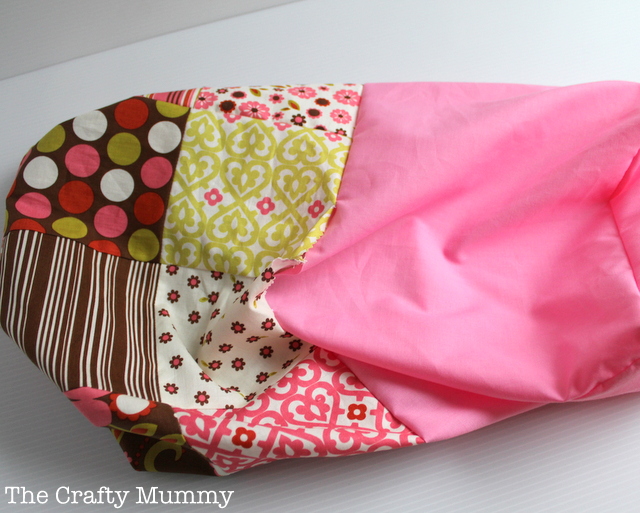
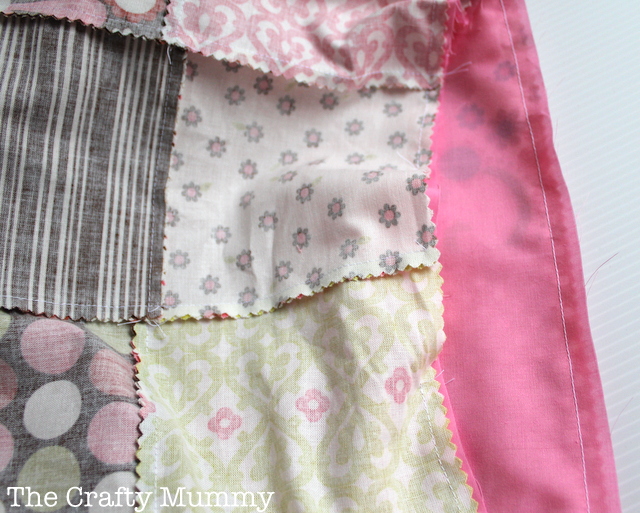
8. Turn through the bags so that you can see the right sides, then tuck the lining inside the outer bag.
9. Top stitch around the top edge to close the gap.
10. Fold the top edge down into the bag about 1″ (2.5cm). This will be the casing for the plastic tubing which will hold the bag open. Stitch this down, leaving a gap of an inch to insert the plastic.
11. Join the bag to the underneath front edge of the mat.
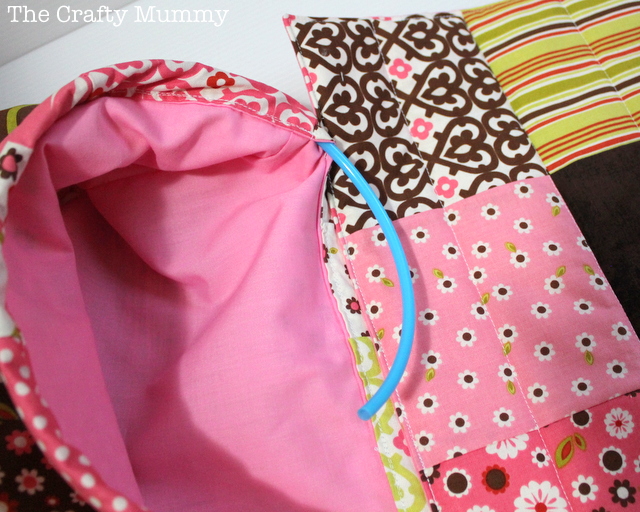
12. Insert the plastic tubing. My piece of tubing is only at the front of the bag, not along the flat edge of the mat, but you may prefer it to go all the way around. Just trim it to the size you want.
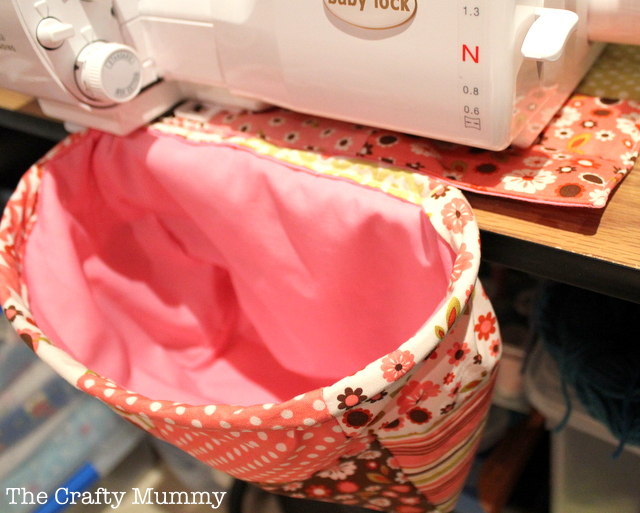
All done!
Need a mat for your sewing machine as well? Check out this tutorial.


This is genius. I end up with threads all over the place. Must get busy.
Oh that is clever!! Thank you for the tutorial.
I am eager to make one of these thanks for the tutorial 🙂
Hi Tonya. This is a great idea. I’m always looking for places to put my threads instead of reaching over to the rubbish bin each time. I might give this a go. Thanks for linking up at Thriving on Thursdays. I’m going to feature this at tomorrow’s party.
Anne xx
Great tutorial and what a great idea! I always make such a mess with my serger 🙂 But where do you buy plastic tubing?
Hi Alisa, I bought mine at Spotlight but I have also seen it in other general craft supply stores.
Thanks soooo much for this tutorial. I just finished mine. Your directions were perfect. I used leftover charm squares from a table topper I had made years ago. I had to piece together the scrapes from the backing for in inside. But what the hey. I no longer have any material left. And a great looking thread catcher for my new serger. My first class is this Friday. Can’t wait to show off the thread catcher. Thanks again for the tutorial. Wish I could show you a pic.
Love this pattern made one up today then made two pillowcase dresses loved haing somewhere to put all the scraps and no messy floor. Instructions were sooooo great and it turned out so pretty. Love it thank you so much
You’re welcome, Susan – so glad to hear that you found it easy to understand and were so happy with the result!
is there a way to print without all the ads??
Unfortunately not, Melissa.
All my content is free for you to read but it does take hours to create. The ads generate a very small recompense for that time and they help to pay for the expenses of the website – website hosting, site design, and tools that make the site user friendly. Without the ads I could not justify the time and money it takes to create and maintain The Crafty Mummy.
Perhaps if you look at the print preview before you print, you can just print the pages that you need?
Thought about using a planter stand and pot to catch scraps. I like your tutorial and the softer option. Thanks. I will try this .
I am going to make one for my serger, yikes threads everywhere! lol this looks easy to make, thanks.