Learn how to make wired ribbon with your overlocker or serger – with settings for a Babylock Evolution
If you were following my Instagram last weekend, you would have seen a couple of pictures from the overlocker class I was at. One of the things I learnt was how to make wired ribbon with my new overlocker. I am still amazed at all the clever things my Babylock can do! This was second of three classes offered by Sewco at Mt Gravatt in Brisbane taught by the lovely Rhonda. This class was all about the speciality feet that you can buy to go with the 8 thread Babylock machine that I got for my birthday.
I was really looking forward to learning how to put in a zipper with my machine, but the section that caught my imagination was adding wire with the elasticating foot. You can also use this to add fishing wire to the edge of fabric which creates a cool curvy edge.
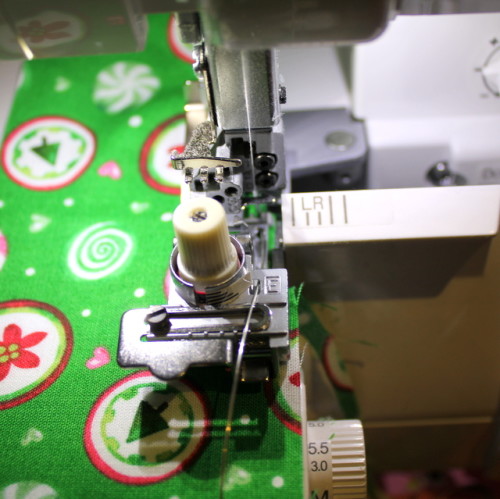
The elasticating foot has an adjustable knob to create tension on the elastic so that it stretches as you sew it onto your fabric. This means you can overlocker the edge and add the elastic at the same time. So easy!
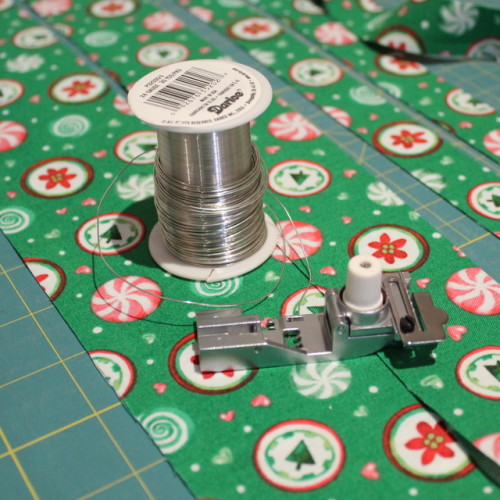
But this foot also has some small holes to thread wire into as well. You just thread the wire into the foot, so that you have some out the back of the foot, then attach the foot to the machine. Set up your machine settings to sew a rolled hem. On the Babylock Evolution these are the settings I used:
Three threads – upper looper, lower looper and right hand needle
Stitch Selector – D
Stitch Length – 1.5 R
Stitch Width – M
Differential Feed – Neutral/ N
Blade – Up
To start it is important to turn the hand wheel to stitch over the first couple of stitches and the wire. The needle should go down on the left-hand side of the wire. This will catch the wire inside the row of stitching. Then you can carefully sew down the length of your fabric with the wire falling into the rolled edge as you go. I found I need to go quite slowly and watch that the wire stays to the right of the needle. Towards the end of your wire, be careful that wire end doesn’t get caught by the cutting blade or get hit by the needle. I turned the hand wheel over the last few stitches to avoid trouble.
Rhonda recommended wire that was 28 or 26 gauge. I only had 24 gauge (which is thicker) in my stash so I had a play with that but I will definitely be going out to buy something lighter.
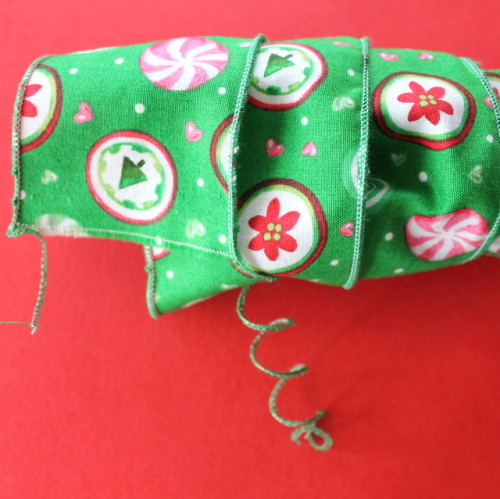
I started with some strips of various widths and added wire down both sides of the 3″ strip. The first side was easy to sew, but the second was trickier because the wire on the first side caused it to be a little stiff and to not feed as smoothly into the machine. I needed to feed the second side through quite carefully.
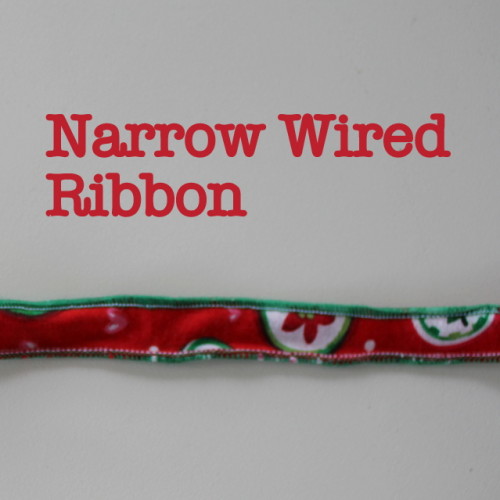
I also experimented with some narrow strips. I found it quite difficult to wire down both sides of a 1″ strip because all the fabric was under the foot so I couldn’t guide it through as carefully. It ended up a little crooked. Also you must trim the edge of the fabric as you go for the rolled hem to work nicely so you end up with quite a narrow finished strip.
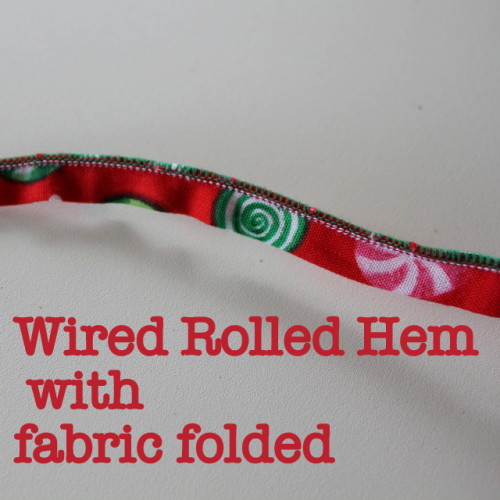
I also tried folding a strip in half and roll hemming down the raw edge which worked well. Similarly, two layers of fabric together so that the ribbon didn’t have a wrong side worked well.
What will I do with my finished ribbon? I’m planning some Christmas decorations so watch this space!
SHOP FOR SERGERS AND OVERLOCKERS ON AMAZON HERE


Thanks so much for letting everybody about our wonderful Babylock classes held at Sewco Sewing and Patchwork. WE ALL LOVE OUR BABYLOCK’S AS WELL THE ROYLES ROYCE OF OVERLOCKERS.
Awesome!!! Fabric ribbon in any print you like! I’ve linked to your tutorial at Craft Gossip:
http://sewing.craftgossip.com/tutorial-diy-wired-edge-fabric-ribbon-using-a-serger/2013/11/18/
–Anne
I love this. Just imagine all the lovely things you can use it for.
Where do I get the wire, and what gauge to ask for? Want to do my own ribbons