Do you recycle your kid’s clothes?
With a boy and a girl, there are not a lot of clothes that I can pass between the two of them, but we often give away clothes that they have grown out of to friends or family with younger children.
Last holidays when I did a big clean out of their drawers we came away with 4 bags of clothes that didn’t fit anymore! (It was a mammoth day of cleaning but so worth it – I wrote about it for Mum’s Business recently.) Some of these bags of clothes went to charity, a few items went in the bin, some were put aside to give to friends and some particularly pretty Christmas dresses were ear-marked for a special little cousin.
A handful of items went to the sewing room where they have been sitting ever since. Last weekend I decided I’d better deal with those and make room for some more fun sewing projects in there.
I had four pairs of flannel Winter pyjama pants waiting. I had realised a little while ago that my kids seem to get taller quite regularly but they don’t seem to get larger around the middle. So their long pants get too short but still fit around the waist. It seems such a waste to give these pants away when they still fit – sort of.
My solution?
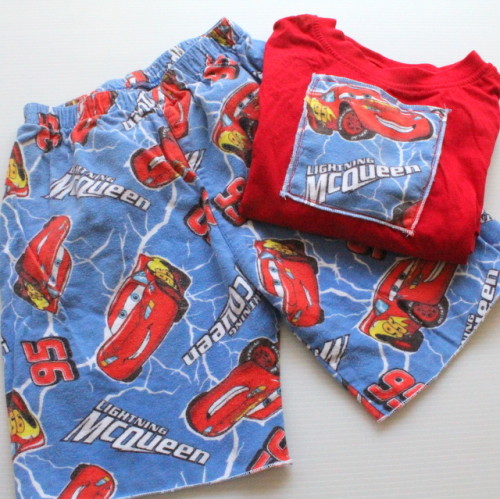
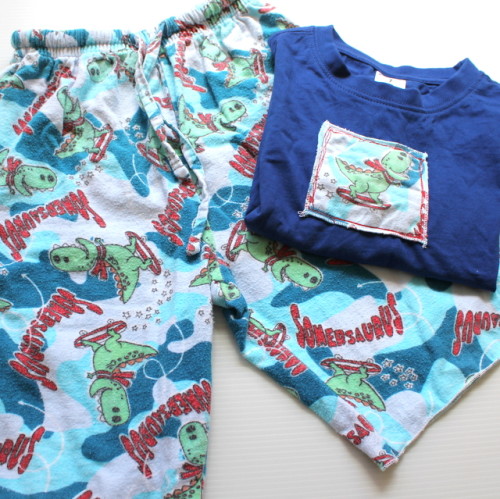
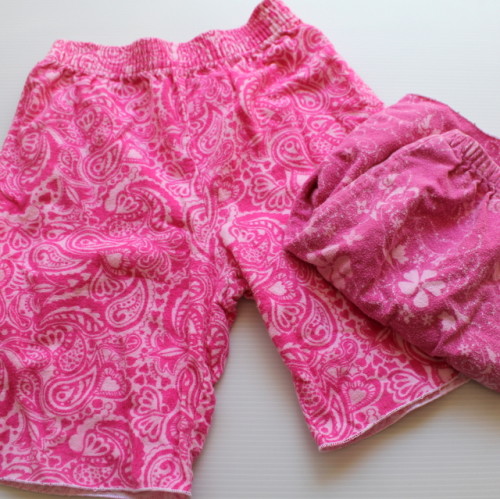
Turn them into Summer PJ’s by chopping off the legs! A.k.a. Recycled Pyjamas for kids!

This is really a 20 minute job. I laid them out flat with the two legs on top of each other. Then I cut straight across the leg slightly longer than I wanted them to end up. Next it was over to the overlocker to add a rolled hem around the bottom of each leg. Previously I have folded up the hems and stitched on my sewing machine – also quick and easy. This time I did a narrow rolled hem which looked just fine.
Tip: Be careful to only sew one layer of fabric as you make the hems. I found I had to go nice and slowly and check often that I wasn’t accidentally catching the other side of each leg opening.

Little Miss matched her two new pyjama pants with a couple of plain Tshirts that I found for a couple of dollars each on special. Mr Happy got a slightly more fancy top for each of his. I took a scrap of leftover fabric from each pair of pants and appliquéd it onto the matching Tshirt. I overlocked the edges of my scrap first to stop fraying. Alternatively you could trim them with pinking shears or fold a hem under to hide the raw edges.
How To Add the Applique
- Cut your fabric piece to size.
- Optional: use an iron on adhesive to attach the flannel piece to the Tshirt
- Pin the flannel piece onto the Tshirt where you want it.
- Set up your sewing machine with the darning foot or free motion quilting foot and drop the feed dogs (those little teeth under the machine foot that move the fabric through). It is easier to sew this applique with free motion stitching so that you don’t have to try to turn the Tshirt under the machine.
- Slide the Tshirt onto the arm of the machine and line up the needle to start in one corner of your applique piece.
- Bring the back thread to the top with the needle – tutorial here if you need it.
- Free motion stitch around the appliqué piece. You need to move the fabric with your hands as you stitch so it takes a little practice. (The free motion quilters out there will find their quilting skills helpful here *wink*) With the feed dogs down you will be able to move the fabric in any direction, so instead of turning the Tshirt, you just move it sideways or away from you to go in those directions.
- Mine is messy but the point is to hold the extra piece in place and it doesn’t have to be a masterpiece. I went around my piece three times so it looks like a deliberately messy style and holds it well in place.


Big fan of the summer pyjama idea – I’ve been thinking about doing something like that for a while but never got round to it. Your tips are just what I needed to get myself motivated!