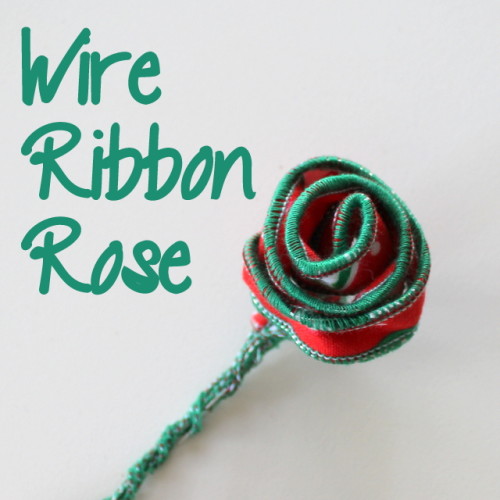
I love it when I have time to create something just by playing around with crafty stuff. This wire ribbon rose is the product of having time to play one day.
I wanted to test adding wire to the edge of various widths of fabric on my overlocker so I tried a few different things and took photos for a tutorial post. At the end of that “playing” I had a bunch of lengths of wire ribbon.
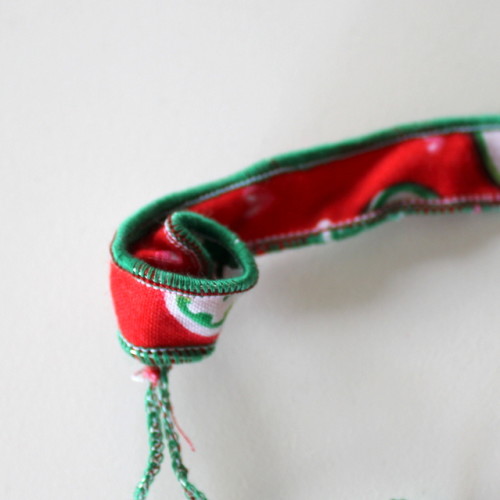
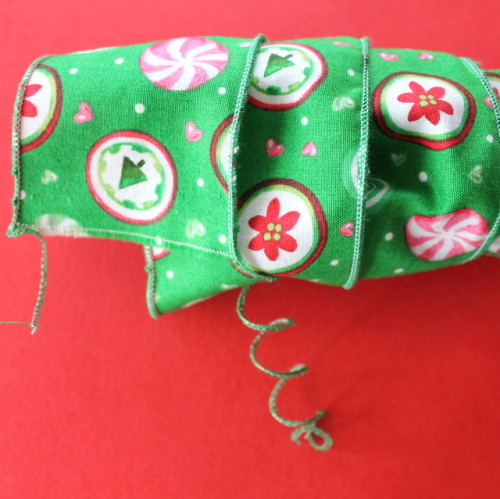
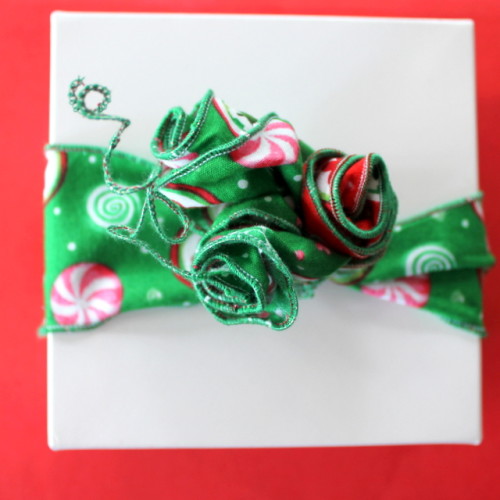
A couple of days later I wanted to wrap gifts with my ribbon for a post over at And Sew We Craft. I tried three ways of wrapping my wide ribbon around my gift and one of them included wire ribbon roses. These photos show you how I created my roses.
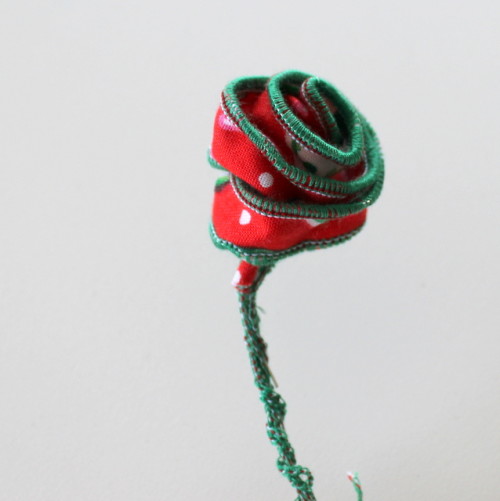
How To
- You need a length of wire ribbon – mine was about 20cm with excess wire at each end.
- Start at one end of your wire ribbon – any width will work.
- Fold the end over a little and tuck the raw edge down inside the fold.
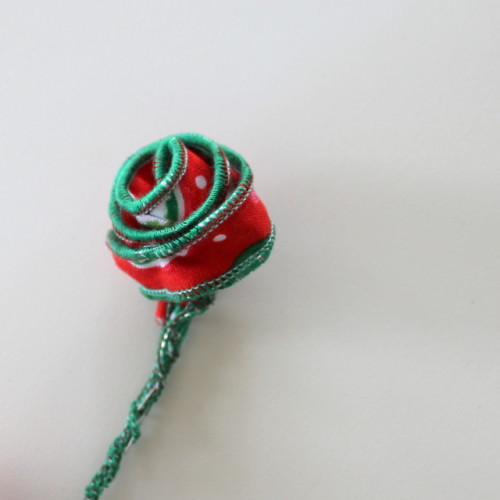
- Carefully wrap the ribbon around the fold keeping the bottom of the rose quite tight but letting the upper edge form loose circles.
- When you get to the end, tuck the raw edge inside.
- I wrapped the wire ends together to create a stem.
- Alternatively you could attach wire for the stem and wrap it with ribbon.
Learn to make your own wire ribbon:
See where I used my Roses over at And Sew We Craft:


Great tutorial! So easy to make and really cute too!
The ribbon looks so pretty as a gift topper!
I enjoy reading your newsletter and your tutorials Keep up the good work
I love the rose idea.