I’ve always felt pretty fortunate that our kids don’t have any serious medical issues. We have friends who have kids with diabetes, life-threatening food allergies, coeliac disease and more, and I see the amazing parent’s that step up to deal with these illnesses each and every day. I see parents who have to change their whole lifestyle to look after their kids and they do it without even thinking twice.
Oops… got off track there thinking of the incredible parenting that I’m fortunate to witness… You know who you are, special people, and you make me so proud to be counted as your friend!
Back to craft!
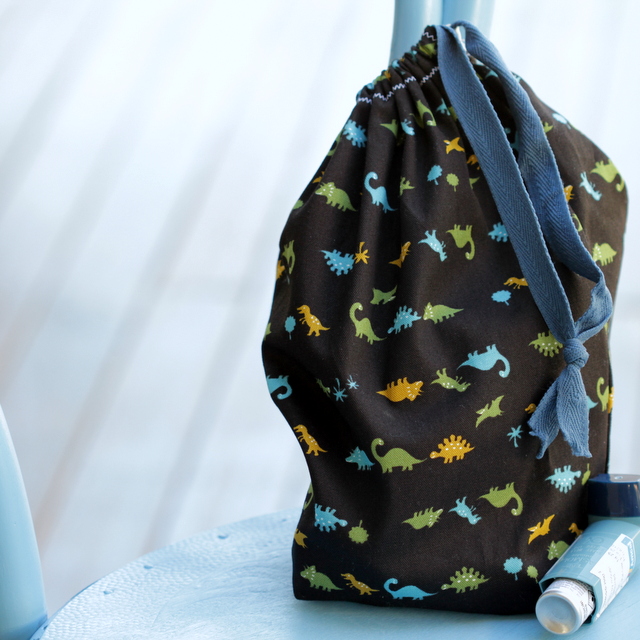
Recently one of my cherubs was put onto some preventative medication that we need to carry with us at times. It is not serious at this stage but it is important. So when we travelled last week, I needed a way to keep it with us all the time but still clean and safe. Now that it is all contained in this bag, it was easy to pop into the car for soccer training too so this will be used all the time at our place, not just when we are travelling.
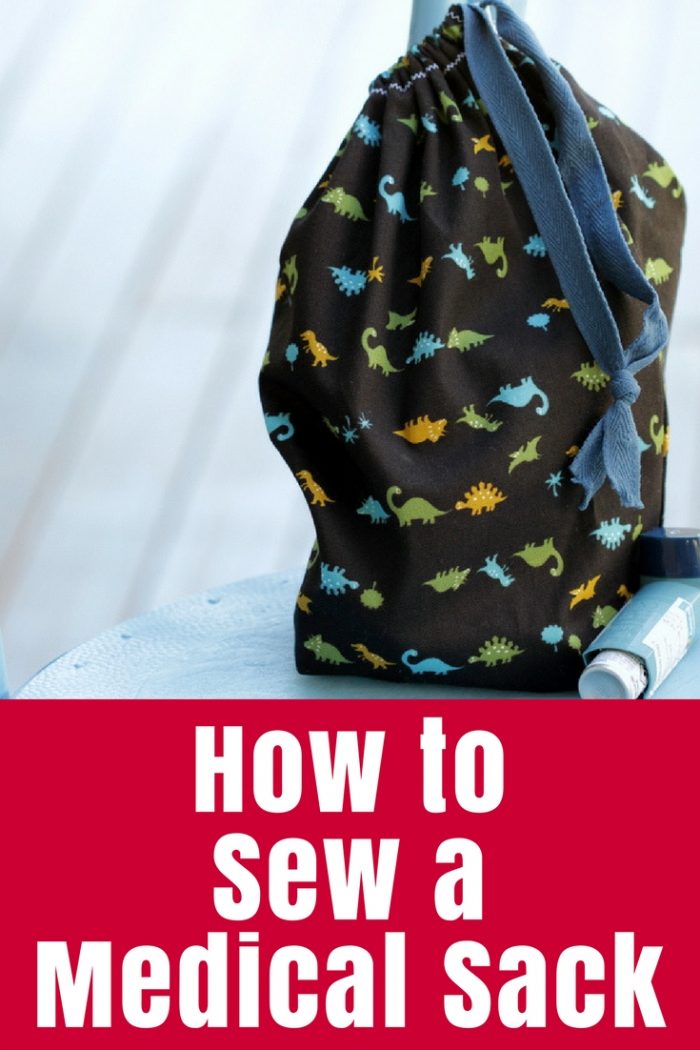
Out came the sewing machine (which happened to be needed just as I was desperate for a bit of time out one afternoon when the kids were suffering from school holiday boredom!) and the Kids Medical Sack appeared. This is a simple drawstring bag made from a rectangle of fabric and some twill tape. Our bag is large enough to hold a spacer, the plastic piece that kids often use to inhale Ventolin puffers. You could start with a smaller rectangle for a smaller bag if you don’t need as much space. You could also applique their name onto the bag for easy identification. I used a heavy cotton that should be sturdy enough to be durable but you could use an oilcloth or laminated cotton for some weather proofing.

What You Need
- Fabric – 52cm x 40cm (20.5″ x 16″)
- Twill tape 60cm (24″)
- General sewing supplies
What To Do
1. Fold the two short ends over towards the wrong side of the fabric and press to hold them flat.
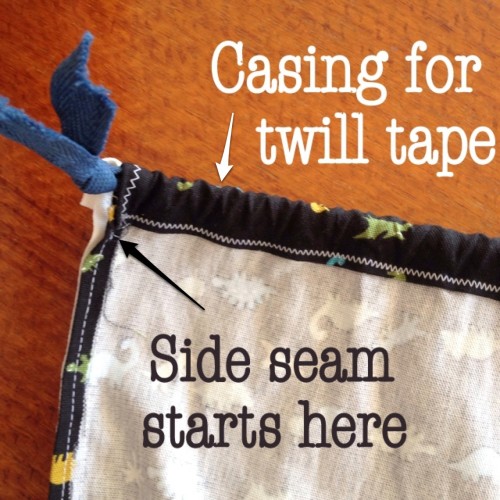
2. Casing: One long side of the rectangle is going to become the casing for the twill tape to thread through. Fold the edge over about half a centimetre towards the wrong side of the fabric then fold again about 2cm. Press, pin if you need to, then stitch along the lower fold to hold the casing in place.

3. Creating the Sack: Fold the whole rectangle in half right sides together and match all the edges, especially the casing edge. Pin in place.
4. Stitch from just below the casing, down the side of the sack (catching the folded raw edge into the seam) and across the base of the bag.
5. Zig zag stitch the edges, or pink the raw edges with pinking shears. Alternatively you could sew with an overlocker to finish the edges as you go.

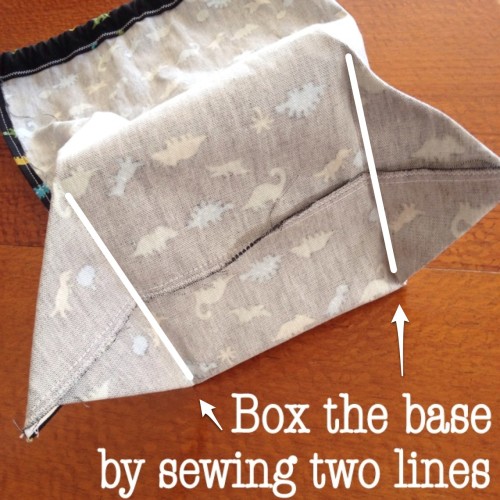
6. Box the base of the bag by sewing across the corner seams to create two triangles – this creates a flat bottom.
7. Turn through and thread the twill tape through the casing.


