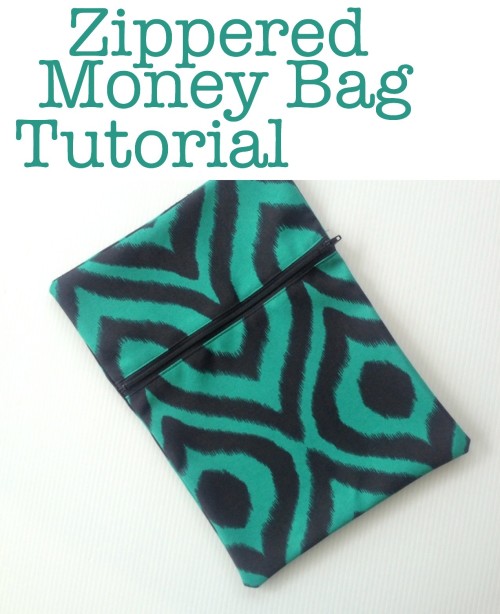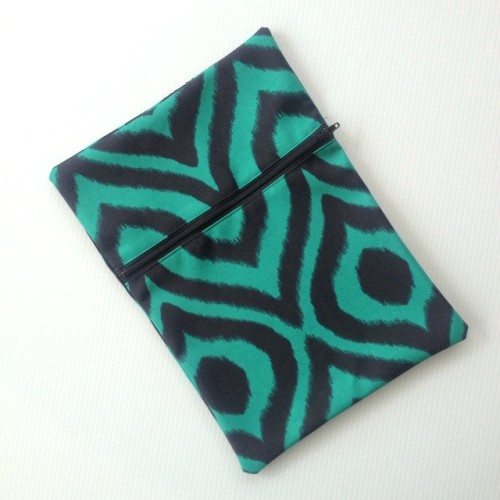
When you run a small business or sell handmade items at markets, you always need to have a float, the money you start the day with so you can give change to your customers. It is the same for our local school office and Tuckshop. I spend a bit of time in the Tuckshop and around the school, so I noticed that they needed something to put the float into each night that was secure and easy to carry back and forth from the safe. I made a zippered money bag for the Tuckshop float a while ago now and it has been so appreciated. I recently made another couple of bags for the for the office ladies to use and I thought I’d share the tutorial in case you ever need to make one.
Thy are just a pretty basic bag with the zipper across the front – large enough to fit some change bags into but small enough to carry easily. You could easily adjust the size by making your starting rectangles larger or smaller and using an appropriate zipper. Money bags tend to get a lot of use and possibly get quite heavy with coins so I used a heavier fabric for this project. You might need to switch your sewing machine needle to a size 90 to sew the heavier fabric.
What You Need:
Fabric – I used an upholstery weight fabric so that it will be strong and durable.
Cut pieces:
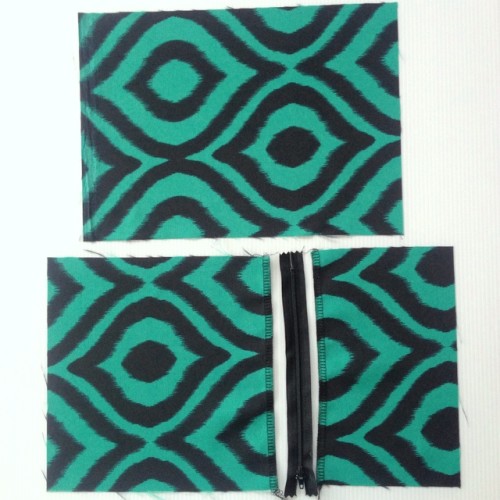
- 9″ x 12.5″ – back piece
- 9″ x 9″ – front piece 1
- 9″ x 5.5″ – front piece 2
8″ zipper
Usual sewing supplies and sewing machine (I used and overlocker/ serger but you can use a regular machine)
What To Do
1. Start with front pieces 1 & 2 and overlock the two edges as you see in the first photo. If you don’t have an overlocker (or serger) you could use pinking shears or zigzag stitch to stop those edges from fraying later.
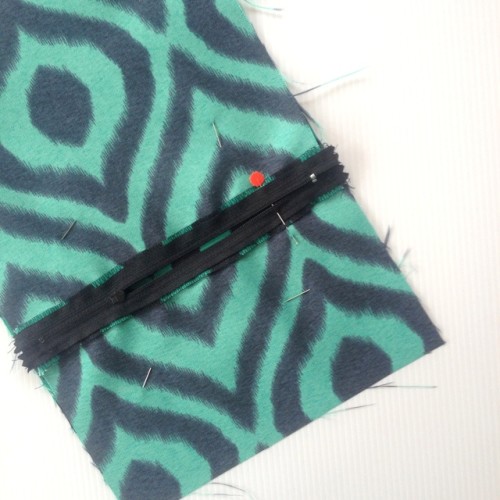
2. Pin the zipper to the right side of one of those finished edges and stitch in place. Fold back and top stitch the edge next to the zipper for a nice finish.
3. Next pin the zipper to the right side of the other piece and stitch into place. Fold back and top stitch. (See this tutorial for more photos and tips on inserting a zipper)
4. Open the zipper about half way – this is really important before you do the next step!
5. Lay the back piece down, right side up. Then lay the front piece (with the zipper) on top, right side down. You will see that the front piece is larger than the back so that you can adjust where you want the zipper to sit. Carefully pin the zipper into place so that the open ends won’t move when you are stitching.
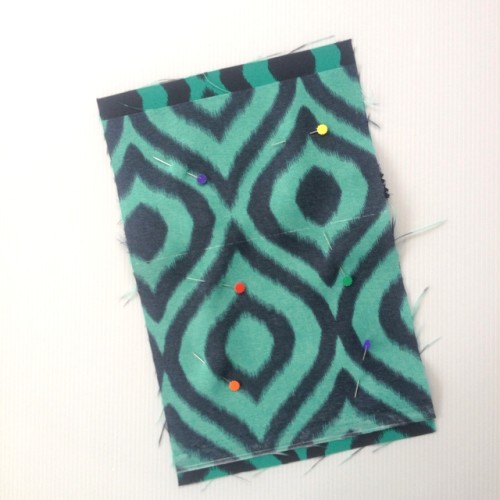
6. Flip the whole bag over and pin it all together.
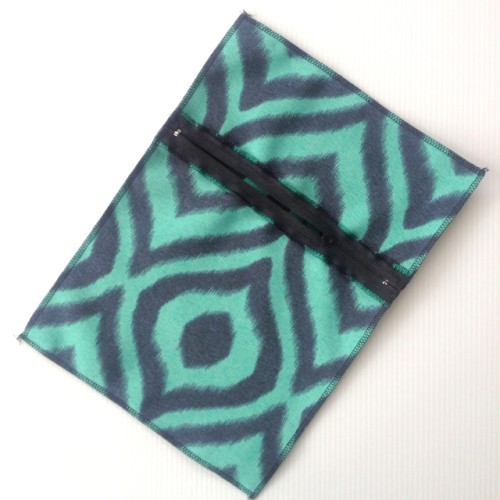
7. Overlocker (or stitch) around the whole bag, trimming off the excess fabric as you go. If you are stitching, then trim with pinking shears and finish with a zigzag stitch to stop fraying.
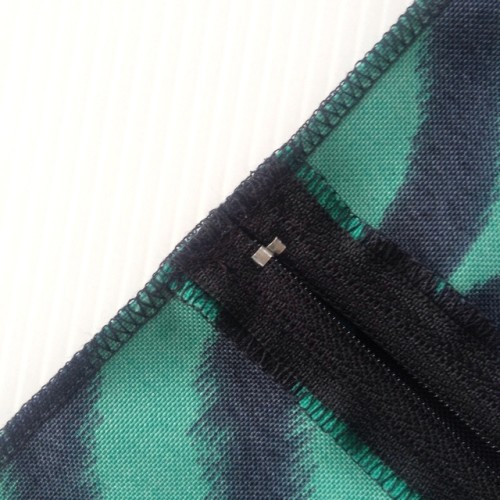
8. I added some extra stitching at the end of the zipper to reinforce it. Just stitch back and forth over that section of seam a couple of time to hold it more securely.
9. Turn it though, press and you’re done.
This might also be a great bag for a notebook and pen when you’re on the go, or for a toddler to bring a few small toys in the car.
