Sometimes when you’re sewing at your sewing machine, you just need a spot to put a pin or two for a minute. Either you’re taking out pins as you sew two pieces together, or you’re moving pins as you’re quilting. I often find myself sticking a couple of pins into my sewing machine mat when my pincushion has disappeared! Do you find that too?
As I was making my new sewing machine mat last week, I decided to also make a matching pin cushion that would stay with my machine, tied to the body of the machine but out the way of the sewing space. I know some machines have buttons and dials in this area, but my Pfaff has a blank space there so it is perfect for adding a pincushion.
This is not my own original idea, of course. I have seen various similar things on Pinterest, and possibly even other blogs, over the years. But when it came to making one I just made it up as I went along and snapped a few pictures so I could share the very simple tutorial with you.
How to Make a Sewing Machine Pincushion
What You Need
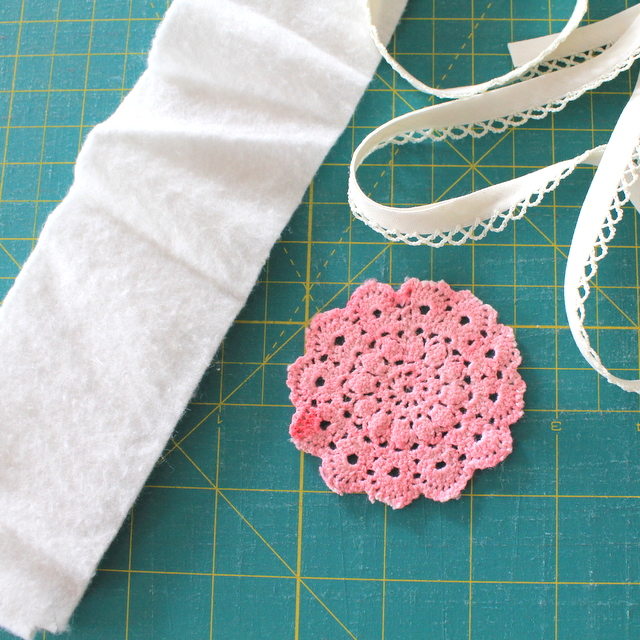
- Doily – about 3″ round – this came in my box from Sew Box Subscriptions
- Strip of wadding – about 3″ x 12″ – a scrap from this quilt
- Ribbon – about 27″ – enough to tie in a nice bow
- Needle, thread, scissors
What To Do
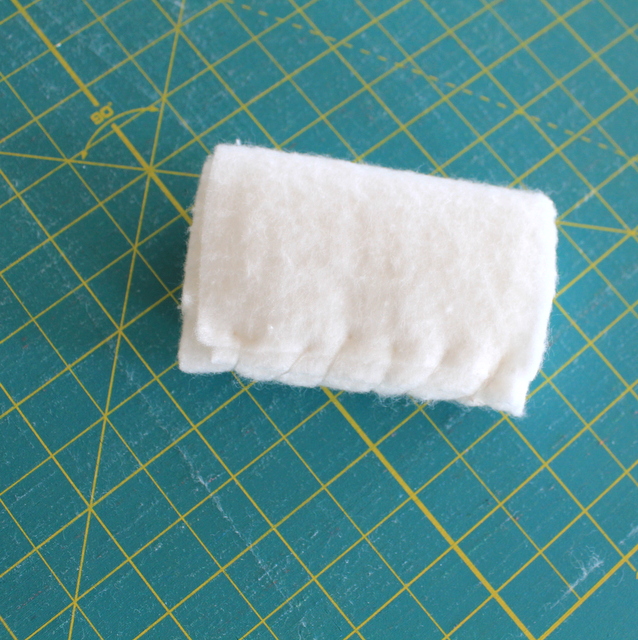
1. Roll the wadding strip into an oblong shape. It needs to small enough to partly wrap the doily around so play it until you are happy with the size and shape.
2. Stitch the wadding across the end to keep it in place. You want this seam to be at the back of your pincushion so it will against the sewing machine and unseen in the end.
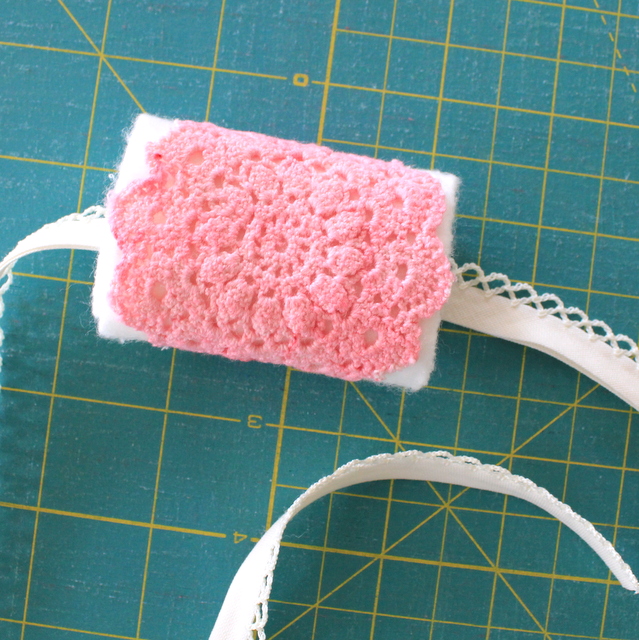
3. Wrap the doily around the front of the cushion and stitch into place. Using the same colour thread as your doily will hide the stitches.
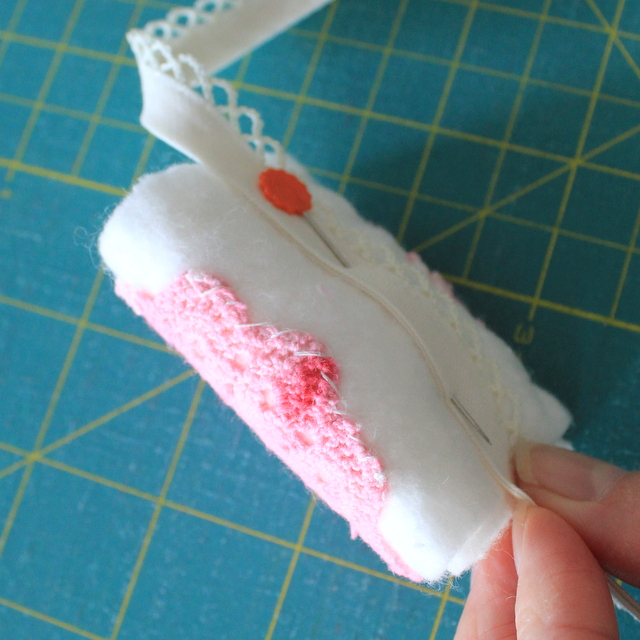
4. Pin the ribbon into place on the back of the pincushion then take it to your machine and check that you’re happy with the placement. I lined mine up to tie at the side of the machine so my pincushion is not in the middle of the ribbon but slightly to one end. When you’re happy with the placement, stitch the ribbon onto the back of the cushion.
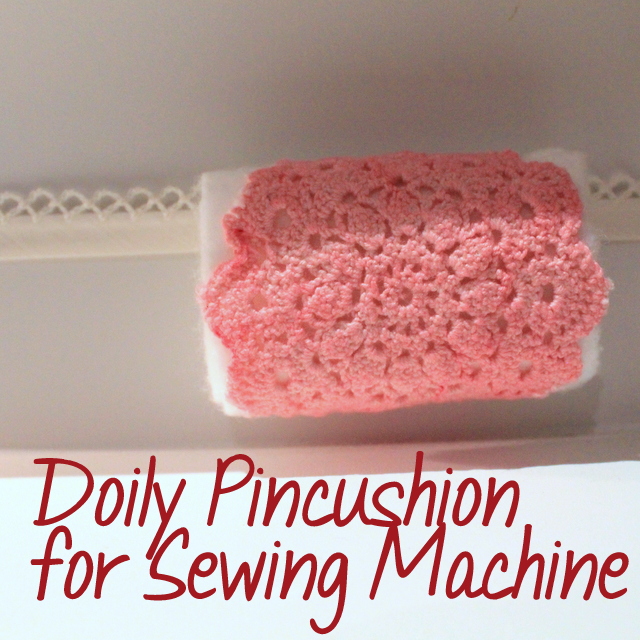
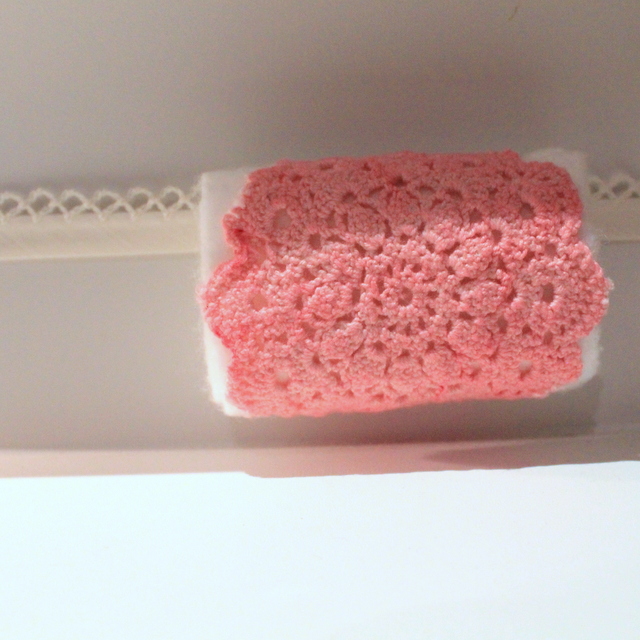
All done!
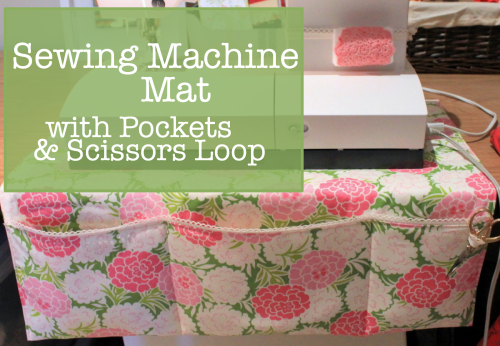
This pincushion coordinates with my new Sewing Machine Mat – find that tutorial here.


I just printed the instructions for your sewing machine mat. Currently, my machine lives on the end of the dining room table (in the hopes that my husband will get so sick of it he will let me convert one of our bedrooms into a sewing room!), It’s a great pattern, and so easy, it will help protect the finish of the table. Thanks!!!
Thanks for sharing. I like the clear directions to, I love sewing and quilting but I just choose the free stuff because I am on a budgut and that is why.ok thanks.Happy Easter.
I love the simplicity of your sewing machine matt and pin cushion, instructions also. Thank you for sharing your appreciated.
My name is Teresa, Hi , I am on disability but love to sew. I don’t get to spend much money on my sewing as I would like to. Lol but I think everyone’s in the same boat.