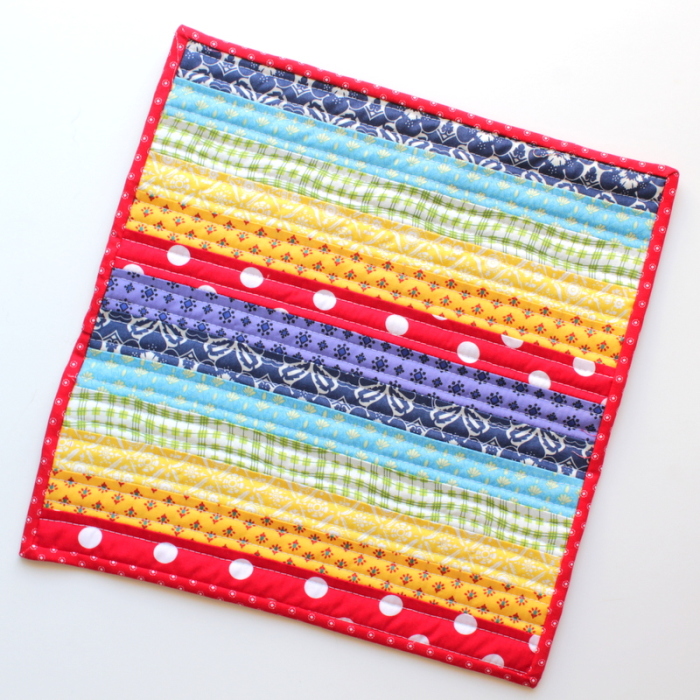
The Rainbow Mini Quilt 3 is a super simple stripy number that you can complete in an afternoon with this step-by-step tutorial.
I had so much fun creating a new mini quilt this week!
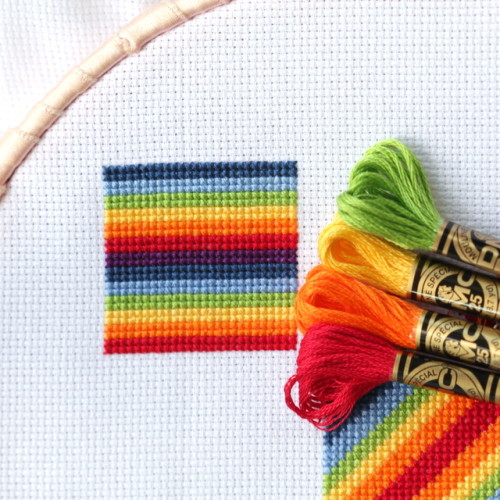
You might remember my rainbow cross stitch blocks? These were 9 cross stitch patterns that I created and shared earlier in the year.
Shortly after I finished them, we planned a series of mini quilt with the girls over at And Sew We Craft and I based my mini quilt on one of my cross stitch patterns. This is the third block to become a mini quilt and it is super easy.
This mini quilt is based on the fourth cross stitch block:
Tutorial: Rainbow Mini Quilt 3
What You Need
- 13 strips of fabric in rainbow colours – 13.5″ x 1.5″ – I used 1 strip of purple and 2 strips each of red, orange, yellow, green, light blue, and dark blue
- Backing fabric – 15″ x 15″
- Batting – 14″x 14″
What To Do
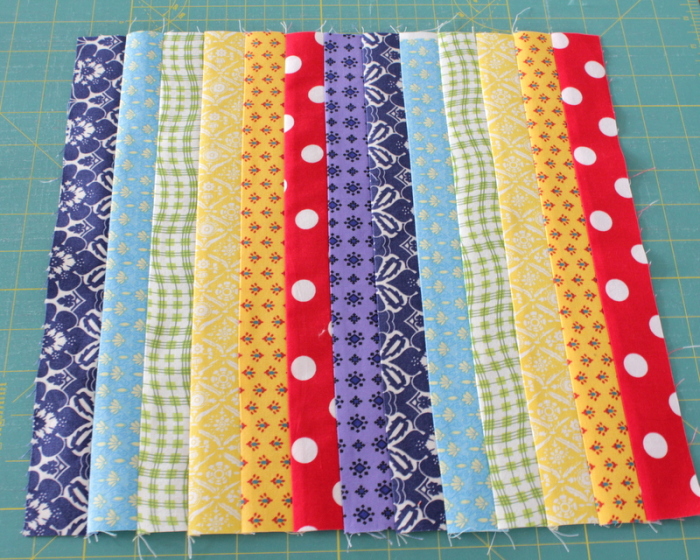
1. Cut all your strips 1.5″ x 13.5″ and lay them out in the order you want them. I followed the rainbow order with mine, but only used purple once so that I end up with a square.
Learn from my Mistake: See the light blue strip with some white at one end? The white bit is the selvedge edge. I was cutting pairs of strips with the fabric folded and I didn’t check carefully enough where the selvedge was on the underneath strip! Luckily I was able to hide my mistake in the seam allowance of the finished quilt but otherwise I would have had to cut a new strip.

2. Join your strips together with a quarter-inch seam. I’d recommend that you press each seam as you go because it is easy to get crooked seams otherwise.
I actually did some chain piecing by joining the strips in pairs then pressing that set before joining the pairs to other pairs and so on.
That’s your quilt top finished! Easy, huh?
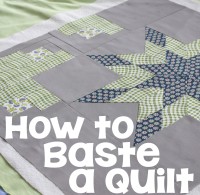
3. Next step is to baste your mini quilt ready for quilting. Lay your backing fabric down with the right side down. Then lay your batting on top of that, and your quilt top on top, right side up. You can either use spray or pins to hold the layers together. Learn how I spray baste with this tutorial:
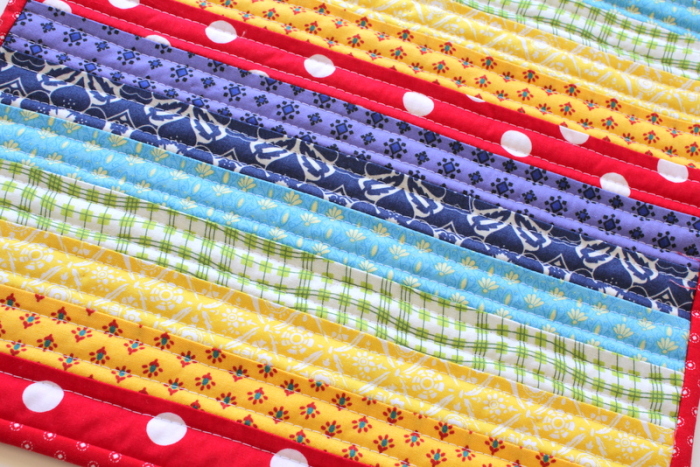
4. Quilt your mini quilt. I did very simple straight lines with my walking foot on this quilt. My lines are about a quarter-inch away from each seam so that I have two lines down each strip of colour.
I recently watched this Craftsy class about creative quilting with your walking quilt and realised that I love the simple line quilting that she taught. If you want to take your basic quilting to the next level, I’d highly recommend this class to help do that.
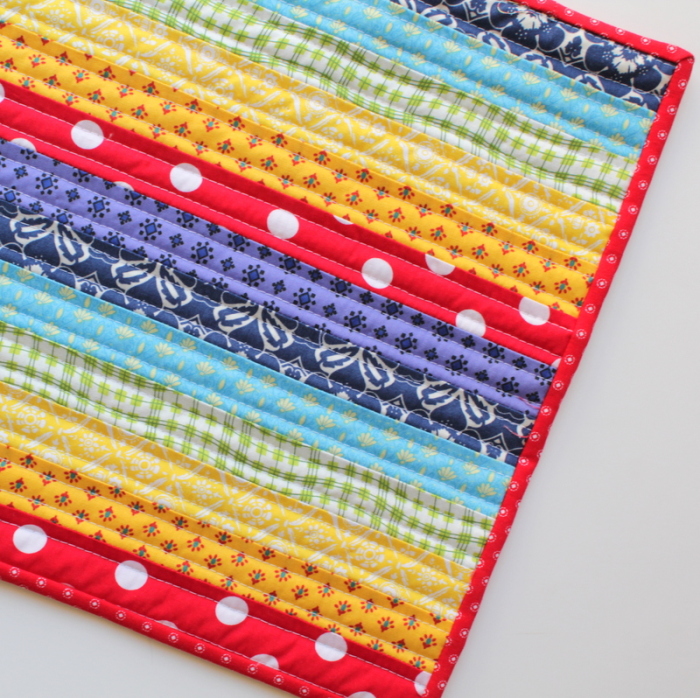
5. Finally add the binding and you’re all done!
This is the third of my mini quilts based on my Rainbow Cross Stitch Blocks series. Here are the other two:


love this tutorial, perfect for little dolly beds. I’ve only just discovered your blog, its lovely. We are bloggers too over at http://www.littlebuttondiaries.com – check us out, we have lots in common! Tia x
Can you increase the width and length of strips to make it a baby quilt? I love seeing and reading your tutorials.
Yes you definitely could
Lovely way to use up the left-overs an simple to oo.
very pretty