Buttons + Paperclips = Getting my bullet journal organised!
Yes, this simple craft has made my life more organised and that has got to be a good thing while I learn to juggle home, blogging and working outside the home as well.
My bullet journal is one of the tools that is making a difference for me. If you haven’t heard of a bullet journal, check out this video from the guy credited with coming up with it. In the midst of all my i-devices, it seems kind of silly to start using a notebook again, but after 6 months of using this system I love it. (You can read about how Alyce from Blossom Heart Quilts uses her bullet journal over at The Organised Housewife.)
The original bullet journal was used as a diary, calendar and to do list but I only use mine for keeping all my lists in one place. I have a front page that works as a Contents Page with two columns and page numbers to find things easily. The rest of my pages fall into two groups: Daily To Do Lists and Other Lists for specific purposes.
The Daily To Do Lists have a date then a list of tasks with a check box beside each one. As I do things I check them off with a tick in the box. Sometimes I cross things out that are no longer needed and sometimes I add a star beside some items to remind myself that these are the priority tasks for the day. I may not create a new list every day, but when the list is mostly checked off or the page is getting full, I will start a new list with a new date.
The Other Lists cover everything from lists of ideas for blog posts, plans for events, gift ideas, books to read, info that I need to keep, and even some pages with columns where I can track my blog stats.
The beauty of this system for me is that all my lists and notes end up in one A4 book and don’t get lost on my desk (or on the kitchen table!)

So why do I need the paperclips?
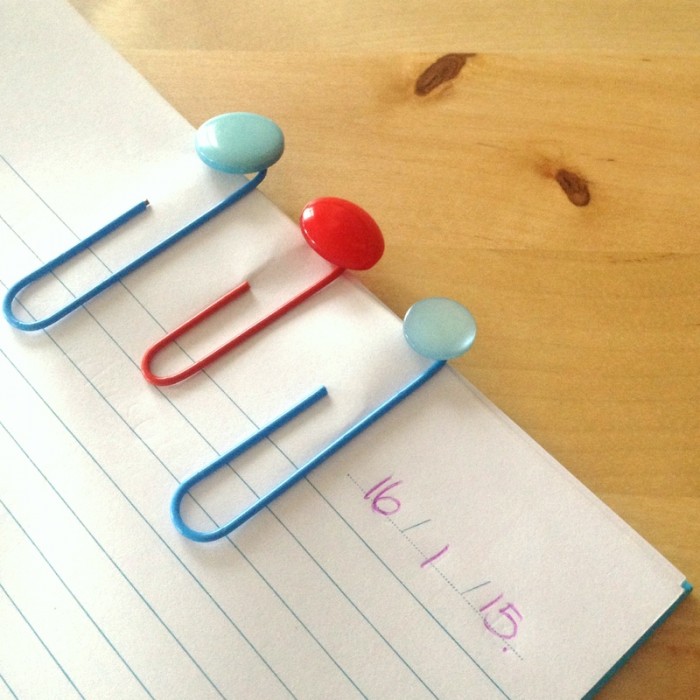
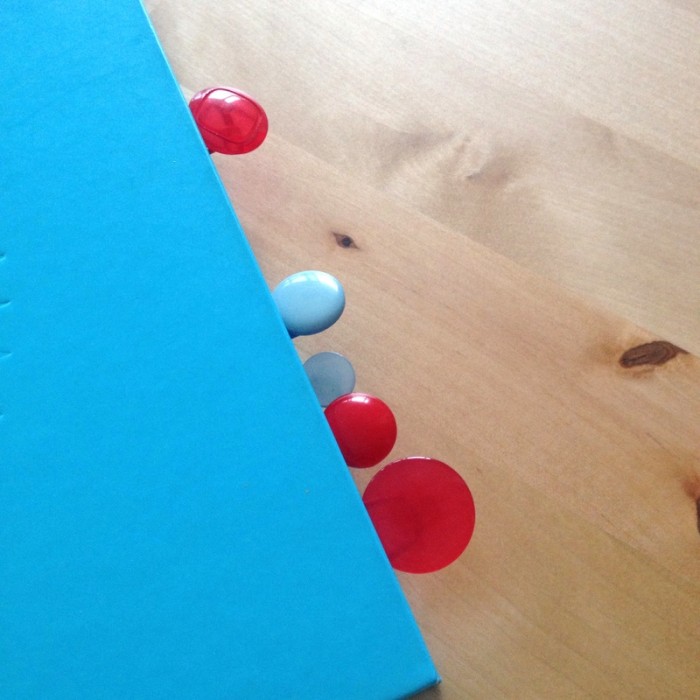
I found over time that there are a few pages that I often refer back to – the page with blog stats, the current daily list, the page where I recorded the hex codes for my blog colours, perhaps the ideas for a series of blog posts that I’m writing – so I started marking the pages with paperclips to find them easily.

These button paperclips are just that little bit cuter than plain paperclips. Here’s how to make them for your journal, diary or notebook.
What You Need
- Paperclips – I used the large type with coloured rubber over them
- Buttons – the type with a shank rather than holes
What To Do
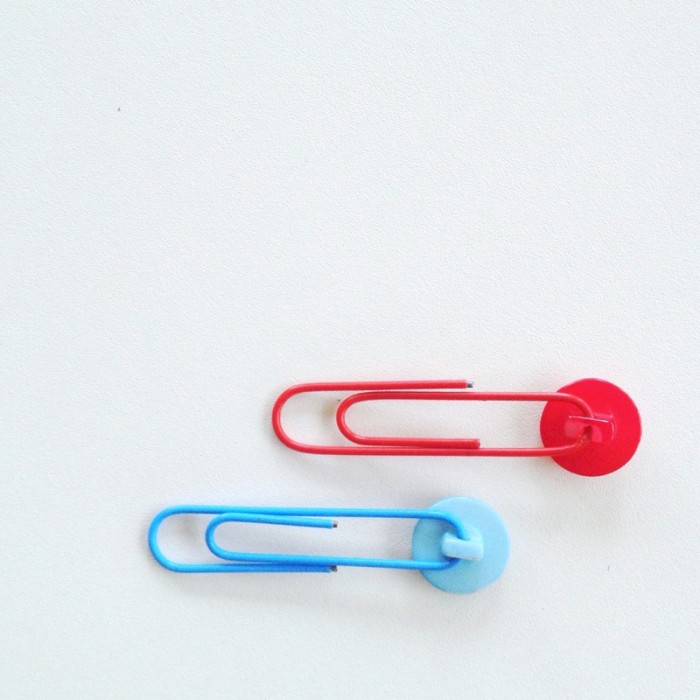
So easy! Slide the button onto the paperclip. That’s it!
I found I needed to slightly unfold the paperclip to slide the button around the bendy bits (technical term there) then bend it back into shape once the button was in position.


Love these projects and am inspired to try some of them. Thanjs….cathy