The Crafty Mummy

Crafts. Sewing. Quilting. Crochet. Tutorials.

  • Start Here
  • Welcome
    • Subscribe
    • About Me
      • Copyright
      • Disclosure
      • Privacy Policies
    • Advertise
    • Sharing
      • Recommendations
      • Shopping & Coupons
      • Books
  • Explore
    • Crafts
      • Beading
      • Kids
      • Paint
      • Storage
      • Christmas Crafts
    • Sewing
    • Quilting
    • Stitching
    • Crochet
      • Yarn
    • Life
      • Food
      • Organisation
    • Blogging
      • How To
      • Social Media
      • WordPress Plugins
      • Photography
  • Tutorials
    • Tips
  • Shop on Etsy
  • Shop on Redbubble

Sewing Tip: Ironing Edges

by Tonya Grant |Filed Under: Sewing, Tutorials Tagged With: Bunting Get a Weekly Update of all Articles

sewing tip ironing edges

In some sewing projects, the sewing is tricky.

In others, the ironing or pressing after the sewing is tricky.

This was one of those projects where ironing edges was tricky.

I have often found that when I am making something that requires me to sew a seam then turn the item through and press, it can be difficult to get the seam to lie perfectly flat. It is easy to get a little fold in the edge by accident as you run the iron over the fabric. The perfectionist in me hates this!

pink bunting

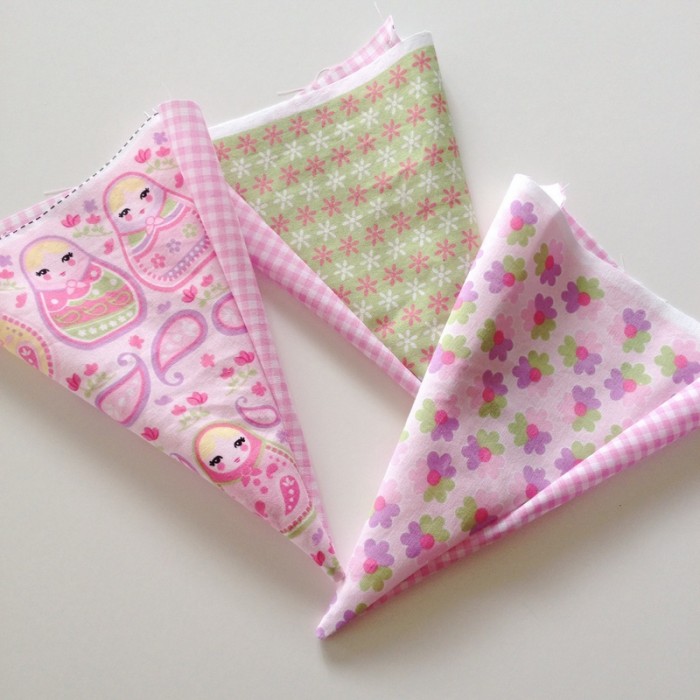
Here’s my pretty pink bunting pieces waiting to be pressed after I turned them through. I knew it would be a boring but necessary task.

Before I got started though, my brain started ticking…

ironing bunting trick

How could I get those edges really neat?

I just needed something that I could sit inside the fold to push it out as I was pressing.

Something that was flat, and a little pointy like my triangular bunting.

Something that I could run the hot iron over without bleeding colour or melting it.

bunting edges ironing

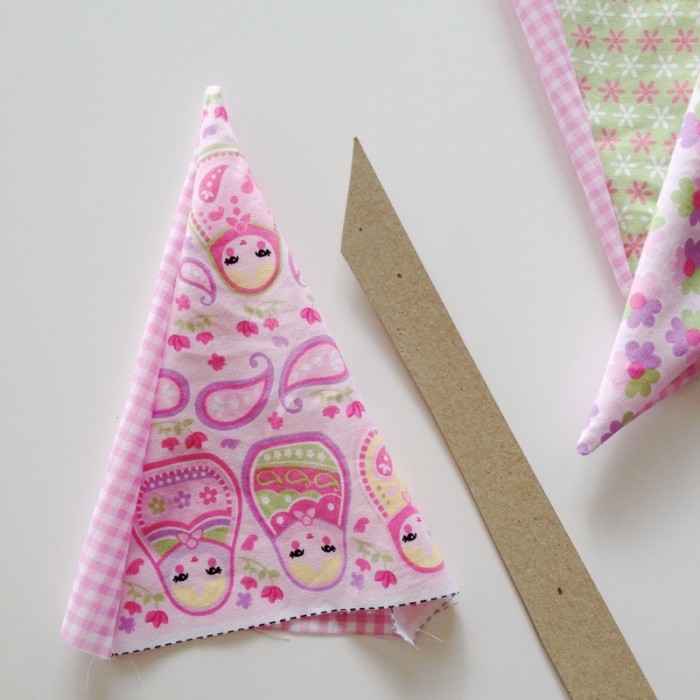
I used a piece of thick cardboard. It had been part of the packaging for scrapbooking pages – back when I used to do a little playing with paper and photos!

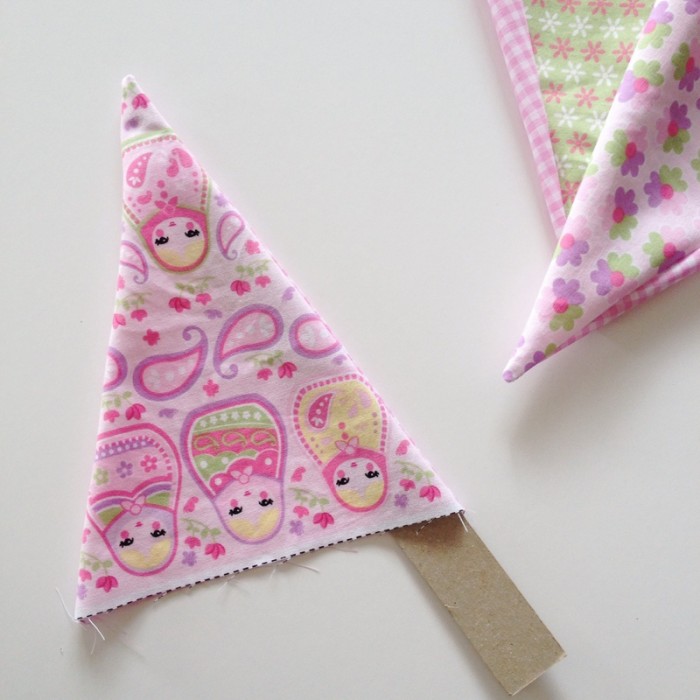
I simply trimmed the card into a strip, an inch or so wide, then trimmed a point at one end to fit neatly into my triangle.

It worked a treat!

The pressing was easier and quicker when I didn’t have to fiddle so much to get each triangle flat before I could apply the iron.

You have to try this!

See my quick tip for cutting bunting panels:

Quick Tip Cutting Bunting Panels

Filed Under: Sewing, Tutorials Tagged With: Bunting

« Crochet Stitches Charts
Sewing: Money Bags »
Disclosure: There are affiliate links in this post.  This just means that if you click through and choose to purchase something I may get a small commission - at no extra cost to you, of course.  This helps me keep the content here at The Crafty Mummy free for everyone.

I love to chat so please leave me a comment or ask a question.

Don't stress if your comment doesn't appear immediately - sometimes I have to moderate comments thanks to spam visitors, but the comments from real readers will always get published. Scroll down to add your thoughts or ask a question.

Comments

  1. Ros says

    March 23, 2015 at 10:08 AM

    Fantastic tip! Simple but so effective!

  2. Lizzie says

    March 23, 2015 at 4:50 PM

    What a timesaver indeed! Resourceful and it looks like it gives consistent results too.

Hi! I’m the CraftyMummy

Tonya is the voice behind The Crafty Mummy. She dabbles in lots of different crafts – patchwork, quilting, cross-stitch, scrapbooking, knitting, crochet and sewing. This is the record of projects she has done, and the projects she dreams of getting to! Read More…

Search

  • Email
  • Facebook
  • Instagram
  • Pinterest
  • Twitter
  • YouTube
Shop my Affiliate Favourites

Fat Quarter Shop for Fabric and More

Grab the Sew Sampler Box Here

AccuQuilt for Cutting Machines and Dies

QuiltyBox for Monthly Treats in the Mail

CreativeBug for Craft Classes

Pretty Darn Cute for Blog Designs like mine

Creative Market for Fonts, Images, Themes and More

OzGameShop for All the Games

Adrift for Fashion you’ll Love

Kindle Unlimited Membership Plans

Kindle Book List

Click to shop my kindle book list
Shop my Amazon Influencer Shop
Join the CrochetU and learn to crochet
New to TheCraftyMummy.com? Click here to see more
Blog Tools I use for TheCraftyMummy.com

Grammarly

Aweber for email newsletter

CoSchedule to stay organised and share

Milotree for social media

Genesis for blog framework

FoodiePro is my theme

Hosting with WPEngine

Powered by

Recent Articles

Disclosure: There are affiliate links on this site. This means that I may get a commission if you choose to purchase after browsing via these links - at absolutely no extra cost to you, of course. I only recommend products which I use and love, or that I think will be quality products that will be useful to my readers. It is the affiliate links in this site that help me keep my tutorials free of charge. Thank you!

Looking for something? Search here:

Copyright 2015 The Crafty Mummy · Built using Genesis Framework & Foodie Pro Theme