The Crafty Mummy

Crafts. Sewing. Quilting. Crochet. Tutorials.

  • Start Here
  • Welcome
    • Subscribe
    • About Me
      • Copyright
      • Disclosure
      • Privacy Policies
    • Advertise
    • Sharing
      • Recommendations
      • Shopping & Coupons
      • Books
  • Explore
    • Crafts
      • Beading
      • Kids
      • Paint
      • Storage
      • Christmas Crafts
    • Sewing
    • Quilting
    • Stitching
    • Crochet
      • Yarn
    • Life
      • Food
      • Organisation
    • Blogging
      • How To
      • Social Media
      • WordPress Plugins
      • Photography
  • Tutorials
    • Tips
  • Shop on Etsy
  • Shop on Redbubble

How to add a Handle to a Mini Bag

by Tonya Grant |Filed Under: Sewing, Tutorials Tagged With: Bags Get a Weekly Update of all Articles

cherry bag handle

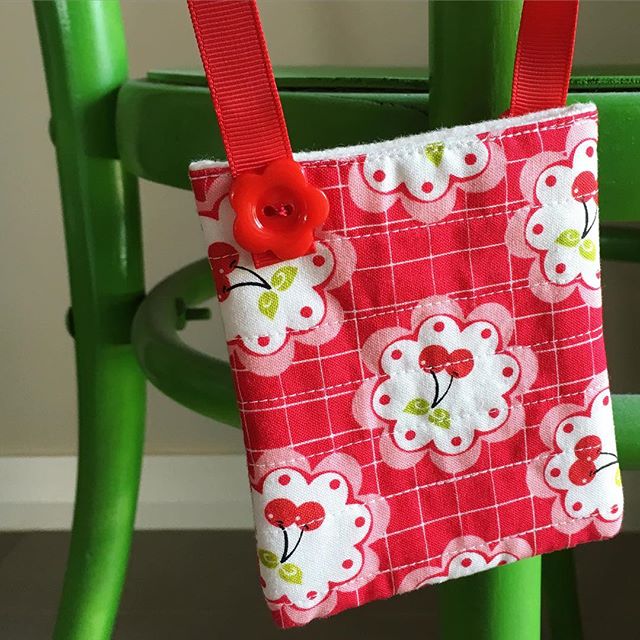
Little girls need little bags, right?

As much as it can be super cute to see a toddler with a Mummy size handbag, really, if you’re going to let her bring her treasures with her for the grocery shop or the school run, then a toddler size bag is much better. All little girls want to be like Mummy and carrying her bag around is just one of those ways she will copy you.

So I totally understood when a colleague suggested we add a handle to this cute little purse to make it a toddler sized handbag.

cherry bag

The purse was already in my stash – the stash of bits and pieces I have made over the years and occasionally listed in an online shop or sold to friends but are now languishing in a big plastic crate. When the girls at work asked to see my stash, I was happy to show them and this little cutie caught an eye.

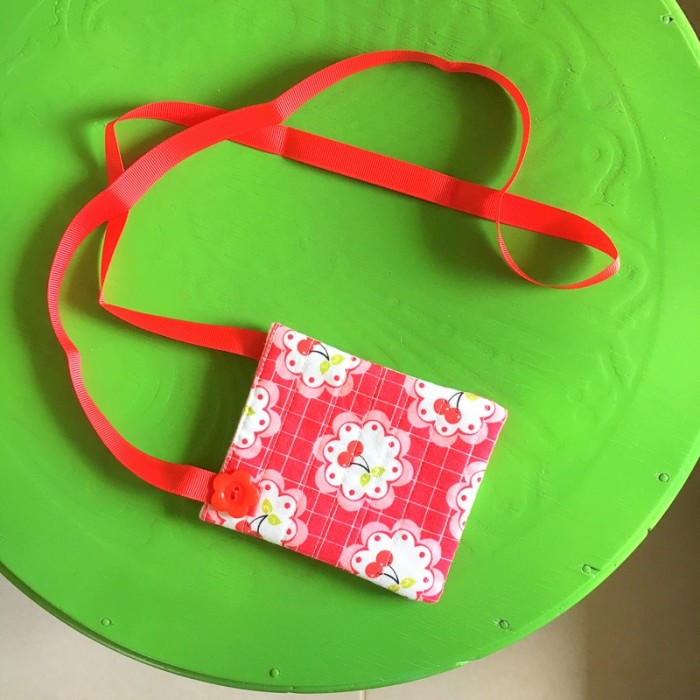
It is about 15cm x 20cm, padded with a little quilt batting and quilted in a simple straight line design. All it needed was a simple handle. The handle is 1cm grosgrain ribbon about 95cm long. I folded the ends under then attached with a cute flower button. The fabric was from Spotlight a few years back – still so gorgeous!

How to Attach the Handle

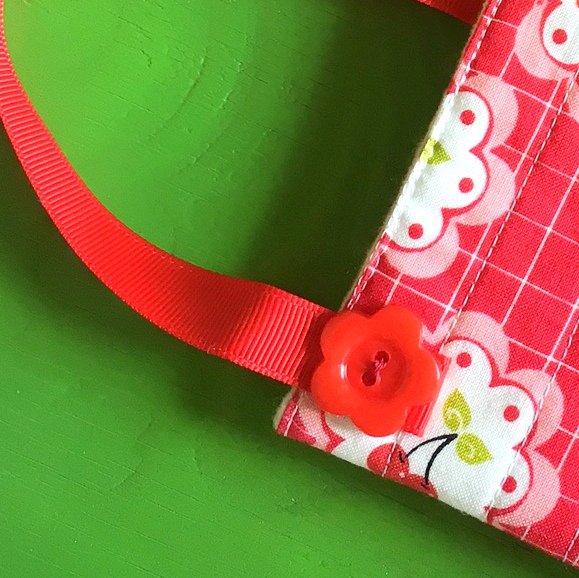
The handle is 1cm grosgrain ribbon about 95cm long. I folded the ends under then attached it with a cute flower button to the outside of the bag on opposite corners. (You might recognise my button from this recent stitching project.) Adding the button makes the join a feature rather than needing to hide the stitching inside the bag. If you don’t have the right button, perhaps try a large sequin or a small applique. You could even make a tiny fabric yoyo (like the ones in this Christmas tree project) and use that to cover the attachment.

cherry bag close up

Quick Tutorial for the Bag

  • Cut two rectangles of fabric – 9.5″ x 5″ – I used a pattern on the outside and a plain on the inside.
  • Cut batting or iron pellon – 9″ x 4.5″
  • Iron on pellon to wrong side of one piece of fabric, or spray baste the batting to hold it in place.
  • Place the two pieces of fabric (one with pellon) right sides together and stitch all around the outer edge about a quarter of an inch from the edge, leaving a gap of 3″ for turning on one of the long sides.
  • Clip the corners and turn through.
  • Quilt the layers as desired, and top stitch around the edge about an eighth of an inch in to close the turning gap.
  • Fold in half with the outsides of your bag together and stitch down each side to create a pocket type bag.
  • Turn through and press.
  • Optional extra: I added a couple of press studs to the opening so that it stays closed.
  • Add your handle as described above if desired.

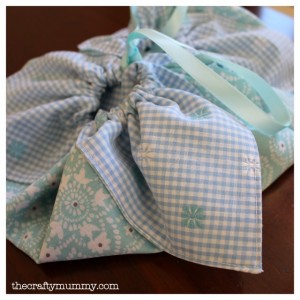
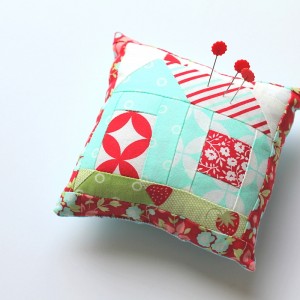
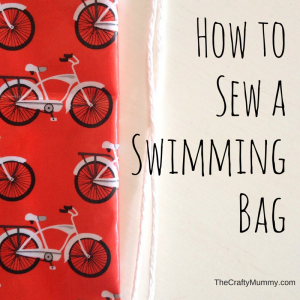
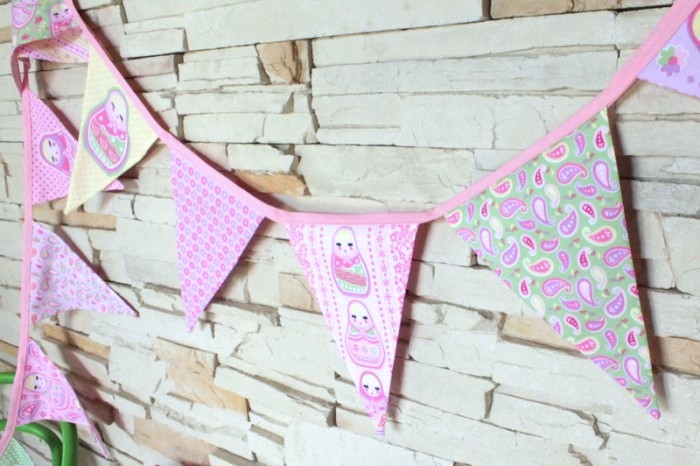
More small sewing projects like this:

origami bag tutorial   sew a library bag
Cozy Cottage Pin Cushion   Tutorial: How to Sew a SwimmingBag
pink babushka bunting   chair bag done

Filed Under: Sewing, Tutorials Tagged With: Bags

« Easy Easter Crafts for Kids
5 Things to Make with Bottles »
Disclosure: There are affiliate links in this post.  This just means that if you click through and choose to purchase something I may get a small commission - at no extra cost to you, of course.  This helps me keep the content here at The Crafty Mummy free for everyone.

I love to chat so please leave me a comment or ask a question.

Don't stress if your comment doesn't appear immediately - sometimes I have to moderate comments thanks to spam visitors, but the comments from real readers will always get published. Scroll down to add your thoughts or ask a question.

Hi! I’m the CraftyMummy

Tonya is the voice behind The Crafty Mummy. She dabbles in lots of different crafts – patchwork, quilting, cross-stitch, scrapbooking, knitting, crochet and sewing. This is the record of projects she has done, and the projects she dreams of getting to! Read More…

Search

  • Email
  • Facebook
  • Instagram
  • Pinterest
  • Twitter
  • YouTube
Shop my Affiliate Favourites

Fat Quarter Shop for Fabric and More

Grab the Sew Sampler Box Here

AccuQuilt for Cutting Machines and Dies

QuiltyBox for Monthly Treats in the Mail

CreativeBug for Craft Classes

Pretty Darn Cute for Blog Designs like mine

Creative Market for Fonts, Images, Themes and More

OzGameShop for All the Games

Adrift for Fashion you’ll Love

Kindle Unlimited Membership Plans

Kindle Book List

Click to shop my kindle book list
Shop my Amazon Influencer Shop
Join the CrochetU and learn to crochet
New to TheCraftyMummy.com? Click here to see more
Blog Tools I use for TheCraftyMummy.com

Grammarly

Aweber for email newsletter

CoSchedule to stay organised and share

Milotree for social media

Genesis for blog framework

FoodiePro is my theme

Hosting with WPEngine

Powered by

Recent Articles

Disclosure: There are affiliate links on this site. This means that I may get a commission if you choose to purchase after browsing via these links - at absolutely no extra cost to you, of course. I only recommend products which I use and love, or that I think will be quality products that will be useful to my readers. It is the affiliate links in this site that help me keep my tutorials free of charge. Thank you!

Looking for something? Search here:

Copyright 2015 The Crafty Mummy · Built using Genesis Framework & Foodie Pro Theme