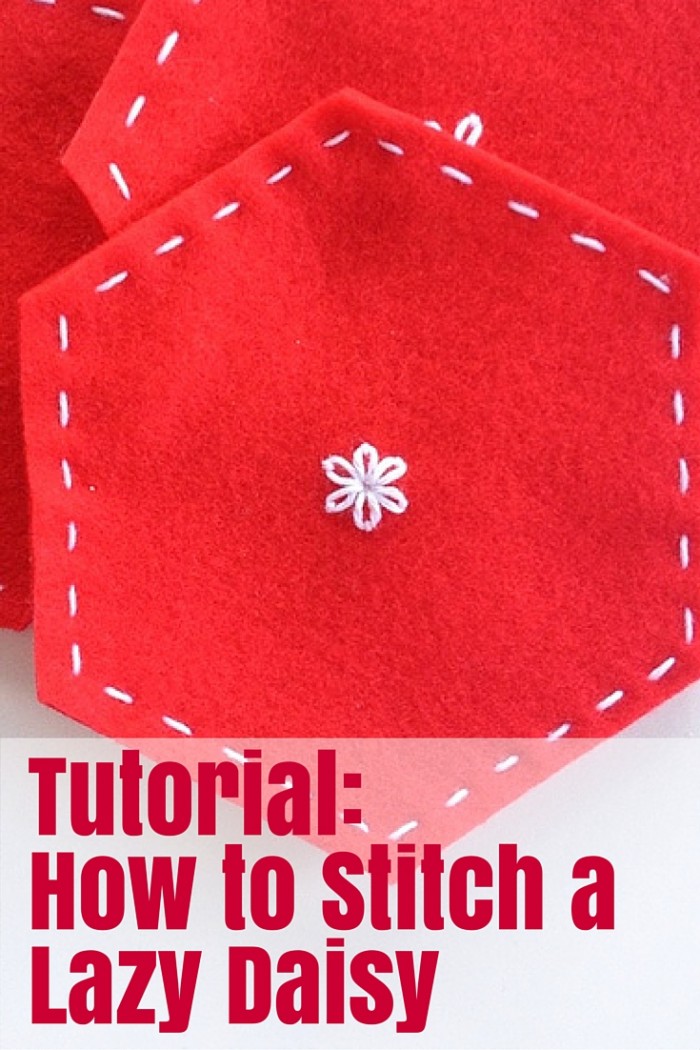
Of all embroidery stitches Lazy Daisy is one of my favourite. It is so simple to stitch but looks so cute.
While it can be stitched to look like a daisy, it can also be used to create other shapes and patterns so it is quite versatile.
Let me explain how to stitch a Lazy Daisy.
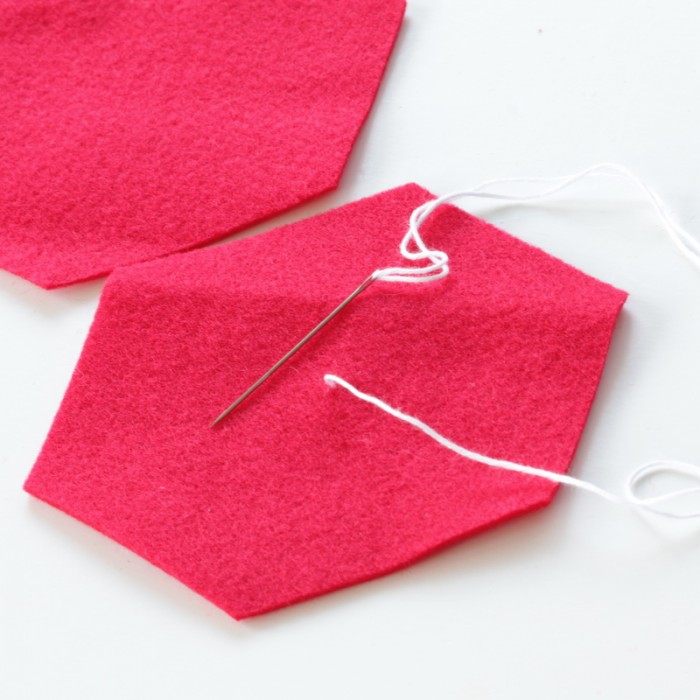
Step 1
Start by bringing your needle up in the centre of your daisy.
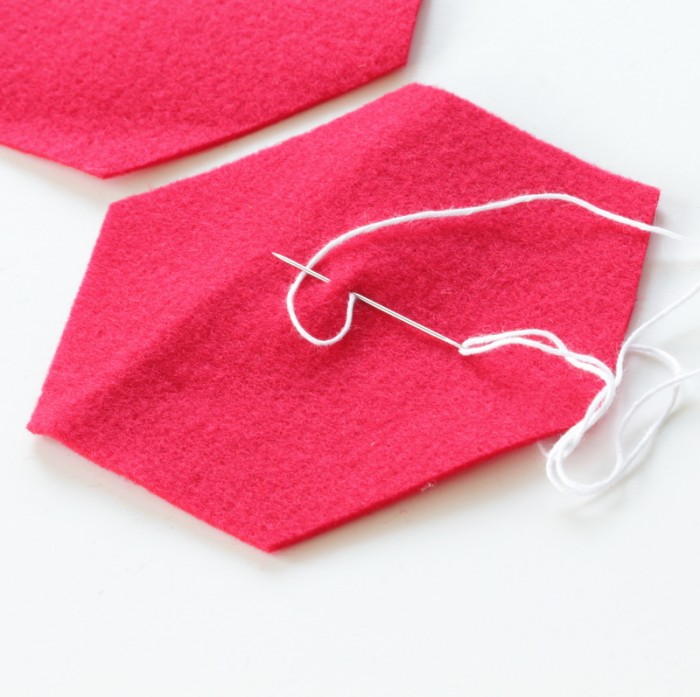
Step 2
Lay your thread in a circle running clockwise. Insert the needle back into the centre of your daisy and bring it up where you want the outer tip of the petal to be.
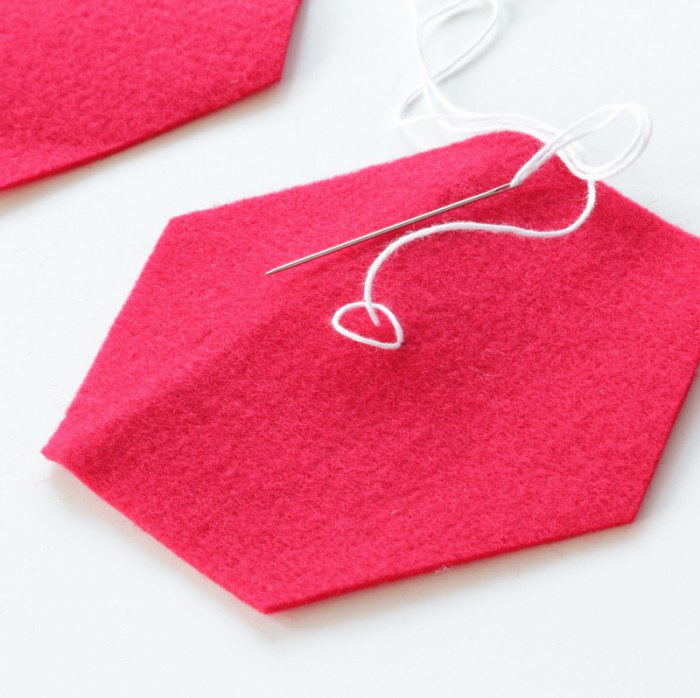
Step 3
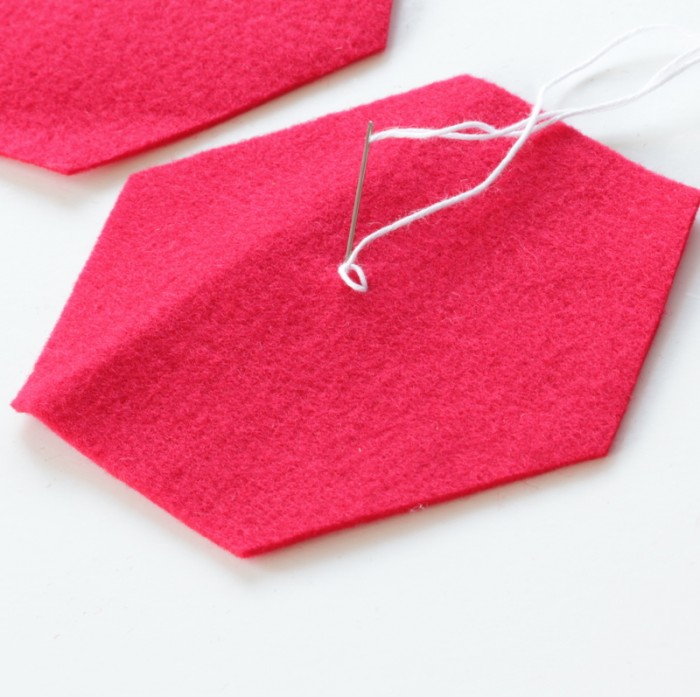
Make sure the loop of thread is under the top of the needle and gently pull the needle through.
Step 4
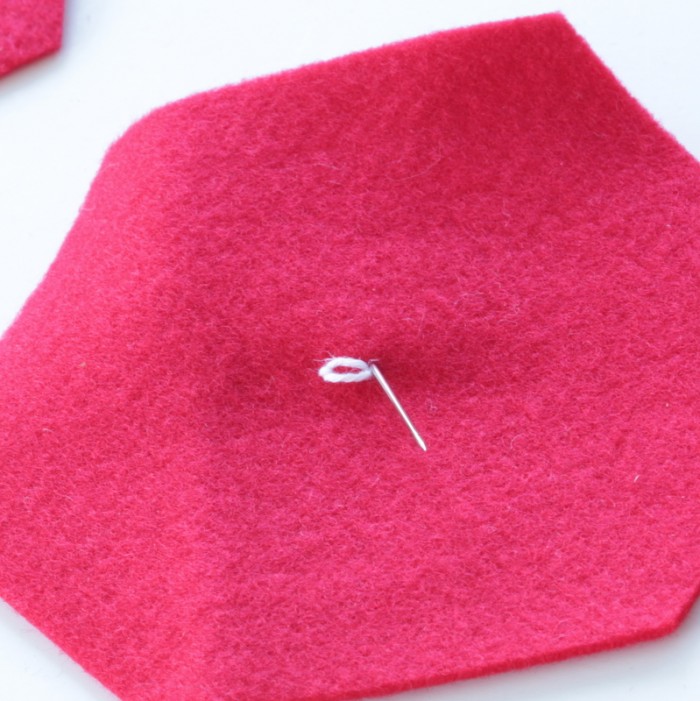
Pull the thread tight enough to make the petal shape then put the needle down almost in the same spot that it came up to create a tiny stitch over the top of the petal loop.
Step 5
Bring the needle up in the middle of the daisy again, ready to create the next petal.
Step 6
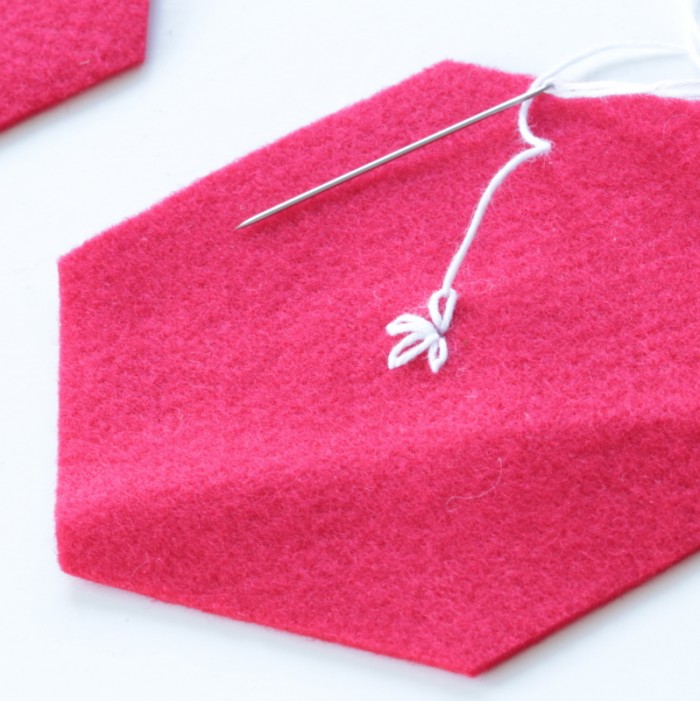
Continue to create as many petals as you would like on your daisy.
The distance from the centre to the end of the petal can be varied to create smaller or larger petals so experiment with what looks best. You could also experiment with different types or weights of thread. I’ve used Perle Cotton for this tutorial on red felt.
Bonus:
These images were originally from a post created for The Organised Housewife to make Hexagon Coasters. Practice your lazy daisy stitch and create them using the tutorial here.
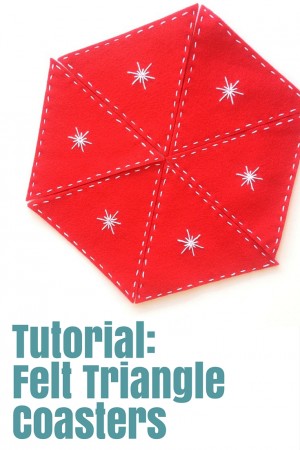
Or create Triangle Coasters instead – you could easily stitch lazy daisies on these too:



Hi Tonya. I just discovered your blog and I really love it. I’m a stay-at-home mom and I really love crafting.
Thanks Ani! So sweet of you to take the time to leave me a comment. Do you have a favourite craft?