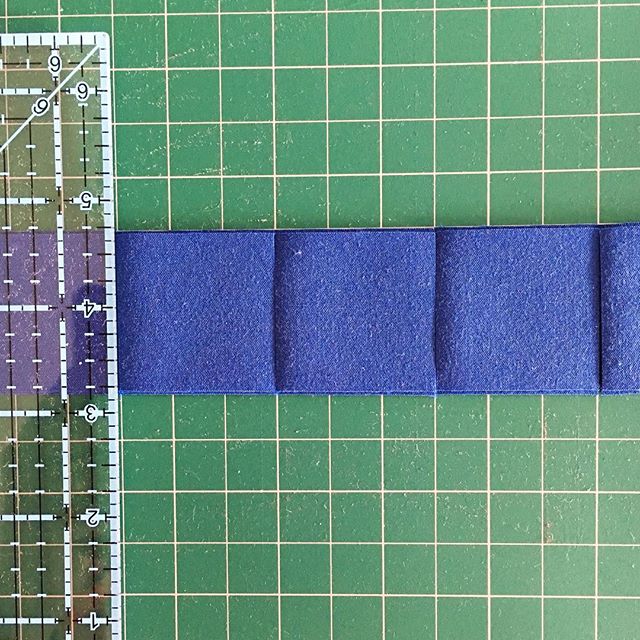
One of the most common way that quilters cut fabric pieces for patchwork designs is by cutting fabric first into strips across the width of the fabric and then cross-cutting the strips into squares, rectangles or other shapes. It can save a lot of time especially when you can stack the strips and cut them at the same time. But I also have another trick that I use for cutting fabric strips quickly and accurately.
What You Need
Make it easy for yourself and start with the best tools you can. I have a couple of different cutting mats but my absolute favourite is the biggest one because I can line up my fabric and then not have to move it until I finish cutting. Every time you have to stop and move fabric you are adding time to your cutting session. So big is better for the cutting mat! I’d go at least 24″ x 36″ but my favourite mat is 36″ x 48″ – it covers my half my table which is awesome.

Next, make sure you have a sharp blade in your rotary cutter. Blades do get blunt over time and can also get blunt spots on them if they accidentally hit pins or other things that they shouldn’t so if you are finding that you need to do multiple cuts to get through the layers of fabric, it is time to replace the blade.

Quick Tip for Cutting Fabric Strips
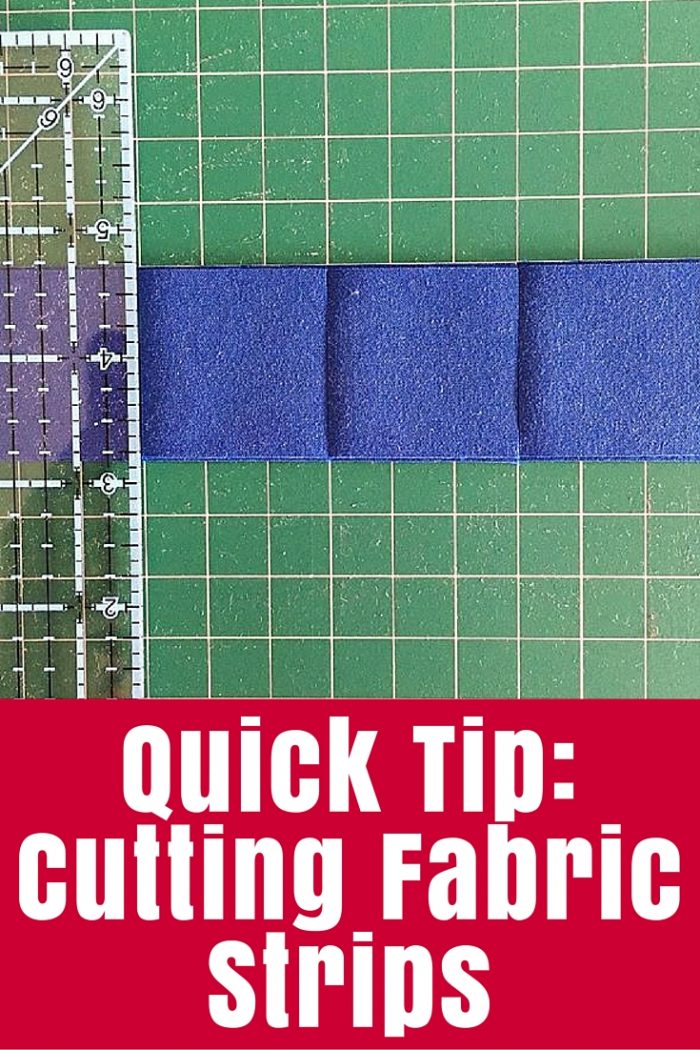
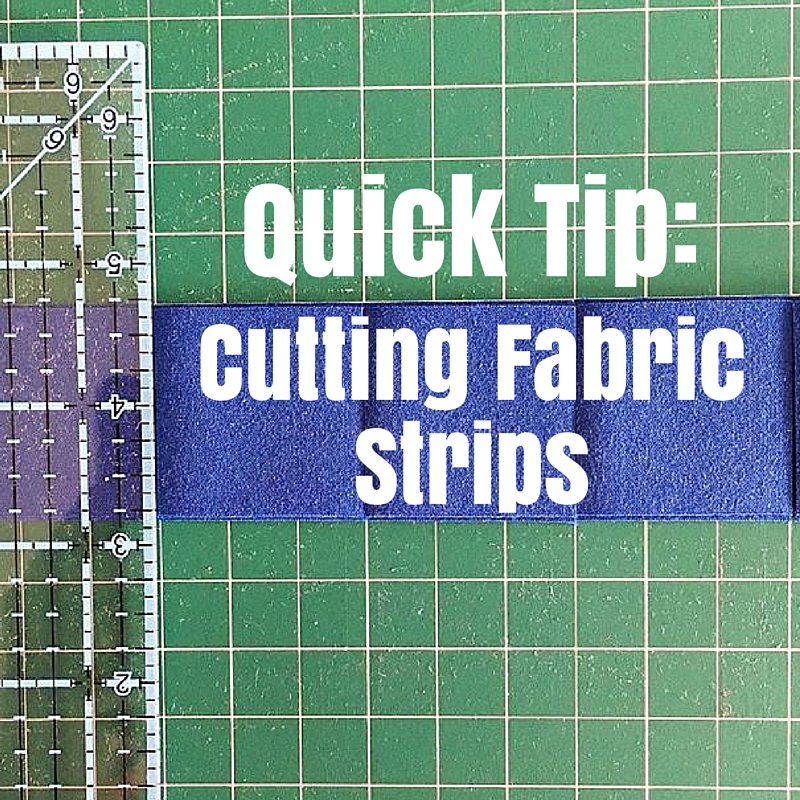
If you’re cross-cutting a fabric strip into smaller pieces, see if you can use your cutting mat lines.
Line up your strip, then start from the far right and cut each piece, gradually moving the ruler to the left and lining up the next cut with lines. I cut over 200 1.5″ squares this afternoon using this method in less than 20 minutes! It was much quicker than my usual method where I work from the left-hand side of the strip and remove the cut pieces as I go along.
I was cutting tiny blue squares for the background of a table runner – you can get a glimpse of the other fabric for this project in this post:
More Quilting Tips:




I bought something called a “Quilt Stick”. It is made out of a lightweight board and you can get it in all different widths. Being a quilter, of course mine is 2 and 1/2 inches. It has kind of a rough finish on the back and when you put it down it stays where you put it. no slip, no slide. I love it and when I have several pieces to cut it really speeds things up when you don’t have to worry that the ruler is going to fly across the table.
Oh, and don’t feel too guilty about feeling just a little bit like celebrating about the kiddos going back to school. I have GREAT grand kids, but I still remember that first day of excitement of what can I do??? I’m all by myself!!!
Thanks, Sandi – that sounds like a tool I need!
Hi Tonya
Love all of your hints and tips I am always very happy too receive your Amazing Newsletters
Lots of Huggs
Januk Keep them comming (e/mails) thank you