The Crafty Mummy

Crafts. Sewing. Quilting. Crochet. Tutorials.

  • Start Here
  • Welcome
    • Subscribe
    • About Me
      • Copyright
      • Disclosure
      • Privacy Policies
    • Advertise
    • Sharing
      • Recommendations
      • Shopping & Coupons
      • Books
  • Explore
    • Crafts
      • Beading
      • Kids
      • Paint
      • Storage
      • Christmas Crafts
    • Sewing
    • Quilting
    • Stitching
    • Crochet
      • Yarn
    • Life
      • Food
      • Organisation
    • Blogging
      • How To
      • Social Media
      • WordPress Plugins
      • Photography
  • Tutorials
    • Tips
  • Shop on Etsy
  • Shop on Redbubble

Quilt Binding

by Tonya Grant |Filed Under: Quilting, Tips Tagged With: Baby, Binding, Charm squares, Quilt Get a Weekly Update of all Articles

baby quilt charm squares

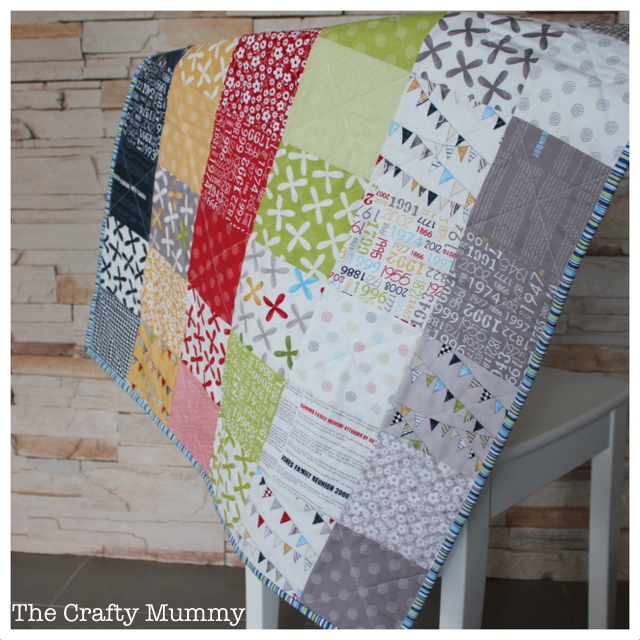
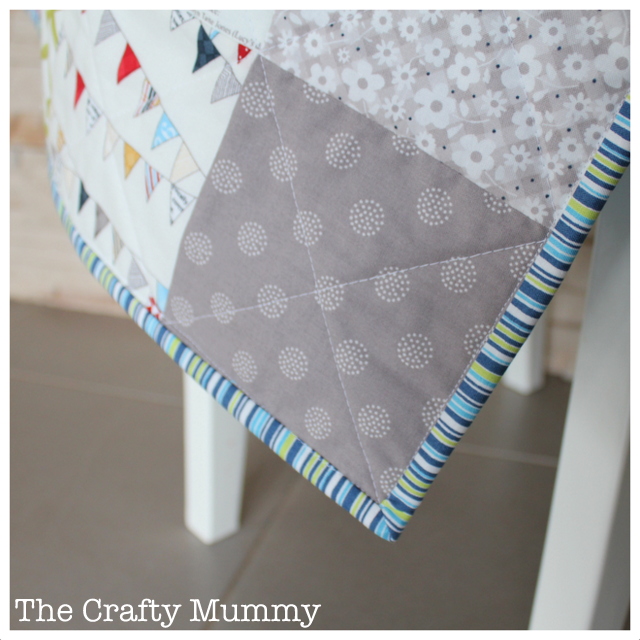
I’ve realised that I love striped quilt binding! I can think of at least 3 or 4 quilts that I have finished with stripes around the edge. It just looks so cute! This quilt binding was done a little differently than I usually do it so I thought I’d share.

baby quilt charm squares

Generally I start by cutting 2″ strips and joining enough to go all the way around the outside of the quilt. Then I iron the whole strip in half with wrong sides together. Next I machine sew the strip to the front of the quilt with the raw edges of the strip lining up with the raw edge of the quilt.

baby quilt charm squares

You can see how I do the corners in this YouTube clip:

You can see how I join the two ends in this YouTube clip:

Then I fold the binding strip over to the back of the quilt and hand slip stitch all the way around. This takes a little while (I usually stitch on the couch in front of the TV!) but the stitches are not visible when I finish.

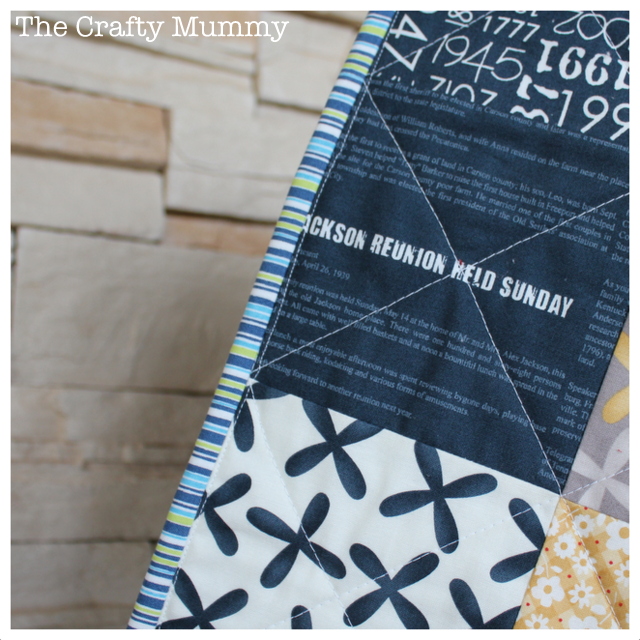
This time, however, I decided to try finishing the binding with my sewing machine. So I folded the strip over and stitched just inside the edge. This means there is a visible stitch line on the front of the quilt as well. In most places, you can’t see the row of stitching, but the white thread shows up quite clearly on the navy blue blocks.

It was certainly a quicker way to finish a quilt, but I’m not sure I like the stitch line on the front. I have seen others use a zig zag stitch for this last step so perhaps next time I’ll try that instead.

baby quilt charm squares

This quilt is made from charm squares from a Moda range called Reunion. I used it in my post about How to Spray Baste a Quilt over at And Sew We Craft recently, and I’ve also written about the straight line quilting.

Read about how to turn corners on your binding.

Read another tip for quilt binding here.


Filed Under: Quilting, Tips Tagged With: Baby, Binding, Charm squares, Quilt

« How to use Email Templates on Gmail
Christmas Fabric Ideas »
Disclosure: There are affiliate links in this post.  This just means that if you click through and choose to purchase something I may get a small commission - at no extra cost to you, of course.  This helps me keep the content here at The Crafty Mummy free for everyone.

I love to chat so please leave me a comment or ask a question.

Don't stress if your comment doesn't appear immediately - sometimes I have to moderate comments thanks to spam visitors, but the comments from real readers will always get published. Scroll down to add your thoughts or ask a question.

Comments

  1. Leanne V says

    November 2, 2012 at 6:59 AM

    When you machine the binding on boths sides try attaching the binding initially to the back of the quilt and top stitch it down from the front (reverse to normal) this way that extra line of stitching is actuallly on the back of your quilt not on the front.

    Leanne

    • CraftyMummy says

      November 2, 2012 at 7:17 AM

      That would have been a smart move, Leanne! You can tell this was my first time doing it this way.

      • BRENDA HOFFSTOT says

        March 13, 2013 at 2:39 AM

        When I bring binding to the front to machine stitch, I use a decorative stitch or the blanket stitch so it is part of the design.

    • Penny says

      November 2, 2012 at 10:46 AM

      That’s how I do it too.

Hi! I’m the CraftyMummy

Tonya is the voice behind The Crafty Mummy. She dabbles in lots of different crafts – patchwork, quilting, cross-stitch, scrapbooking, knitting, crochet and sewing. This is the record of projects she has done, and the projects she dreams of getting to! Read More…

Search

  • Email
  • Facebook
  • Instagram
  • Pinterest
  • Twitter
  • YouTube
Shop my Affiliate Favourites

Fat Quarter Shop for Fabric and More

Grab the Sew Sampler Box Here

AccuQuilt for Cutting Machines and Dies

QuiltyBox for Monthly Treats in the Mail

CreativeBug for Craft Classes

Pretty Darn Cute for Blog Designs like mine

Creative Market for Fonts, Images, Themes and More

OzGameShop for All the Games

Adrift for Fashion you’ll Love

Kindle Unlimited Membership Plans

Kindle Book List

Click to shop my kindle book list
Shop my Amazon Influencer Shop
Join the CrochetU and learn to crochet
New to TheCraftyMummy.com? Click here to see more
Blog Tools I use for TheCraftyMummy.com

Grammarly

Aweber for email newsletter

CoSchedule to stay organised and share

Milotree for social media

Genesis for blog framework

FoodiePro is my theme

Hosting with WPEngine

Powered by

Recent Articles

Disclosure: There are affiliate links on this site. This means that I may get a commission if you choose to purchase after browsing via these links - at absolutely no extra cost to you, of course. I only recommend products which I use and love, or that I think will be quality products that will be useful to my readers. It is the affiliate links in this site that help me keep my tutorials free of charge. Thank you!

Looking for something? Search here:

Copyright 2015 The Crafty Mummy · Built using Genesis Framework & Foodie Pro Theme