The Crafty Mummy

Crafts. Sewing. Quilting. Crochet. Tutorials.

  • Start Here
  • Welcome
    • Subscribe
    • About Me
      • Copyright
      • Disclosure
      • Privacy Policies
    • Advertise
    • Sharing
      • Recommendations
      • Shopping & Coupons
      • Books
  • Explore
    • Crafts
      • Beading
      • Kids
      • Paint
      • Storage
      • Christmas Crafts
    • Sewing
    • Quilting
    • Stitching
    • Crochet
      • Yarn
    • Life
      • Food
      • Organisation
    • Blogging
      • How To
      • Social Media
      • WordPress Plugins
      • Photography
  • Tutorials
    • Tips
  • Shop on Etsy
  • Shop on Redbubble

Mouse Mat Tutorial…

by Tonya Grant |Filed Under: Quilting, Sewing, Tutorials Get a Weekly Update of all Articles

Welcome to my first blog tutorial!

I read tutorials on lots of other blogs so here’s one from my sewing room…
How to sew a Mouse Mat 


You’ll need…
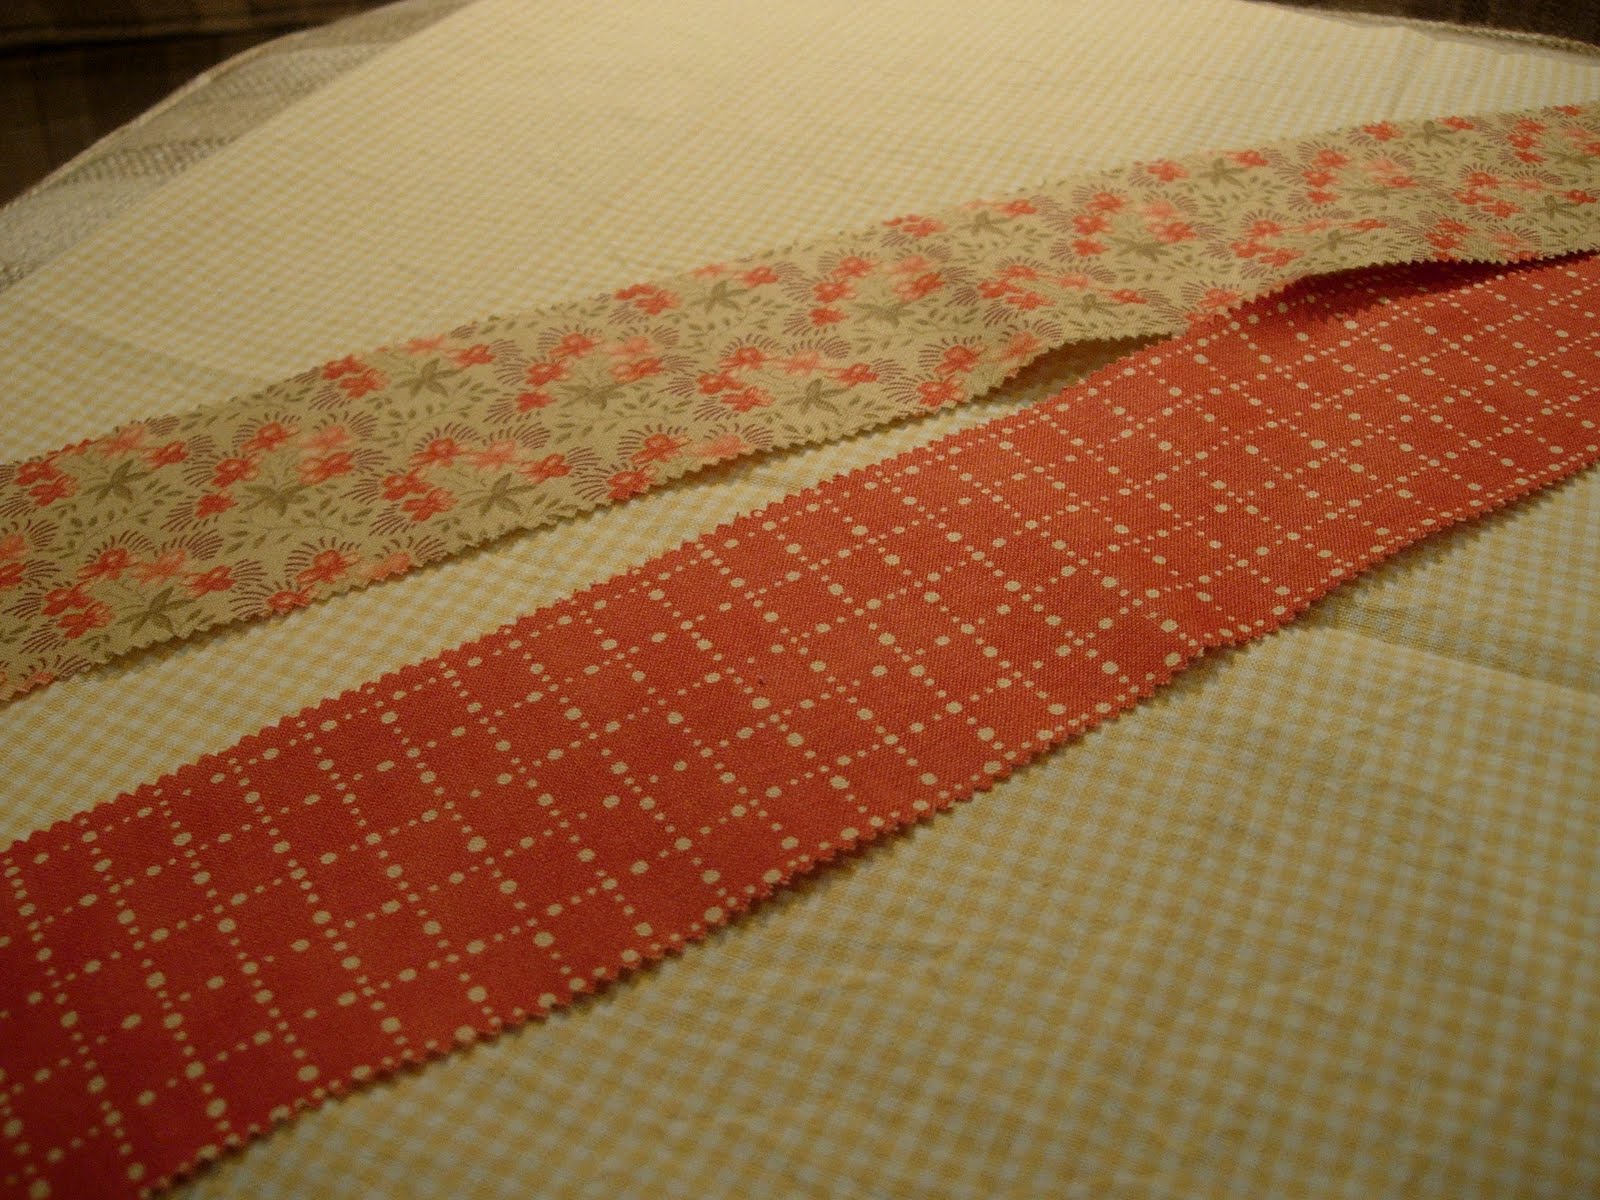
4 strips of fabric for the top – 2.5″ x 8.5″
(I used 2 jelly roll strips leftover from my laptop case, so I have 2 patterns.
You could use 4 different patterns or once piece of fabric 8.5″ x 8.5″ and do no piecing at all 🙂
1 piece of backing fabric – 8.5″ x 8.5″
1 piece of wadding or pellon – 8″ x 8″
(I used iron-on pellon which was super easy to use and didn’t shift around)
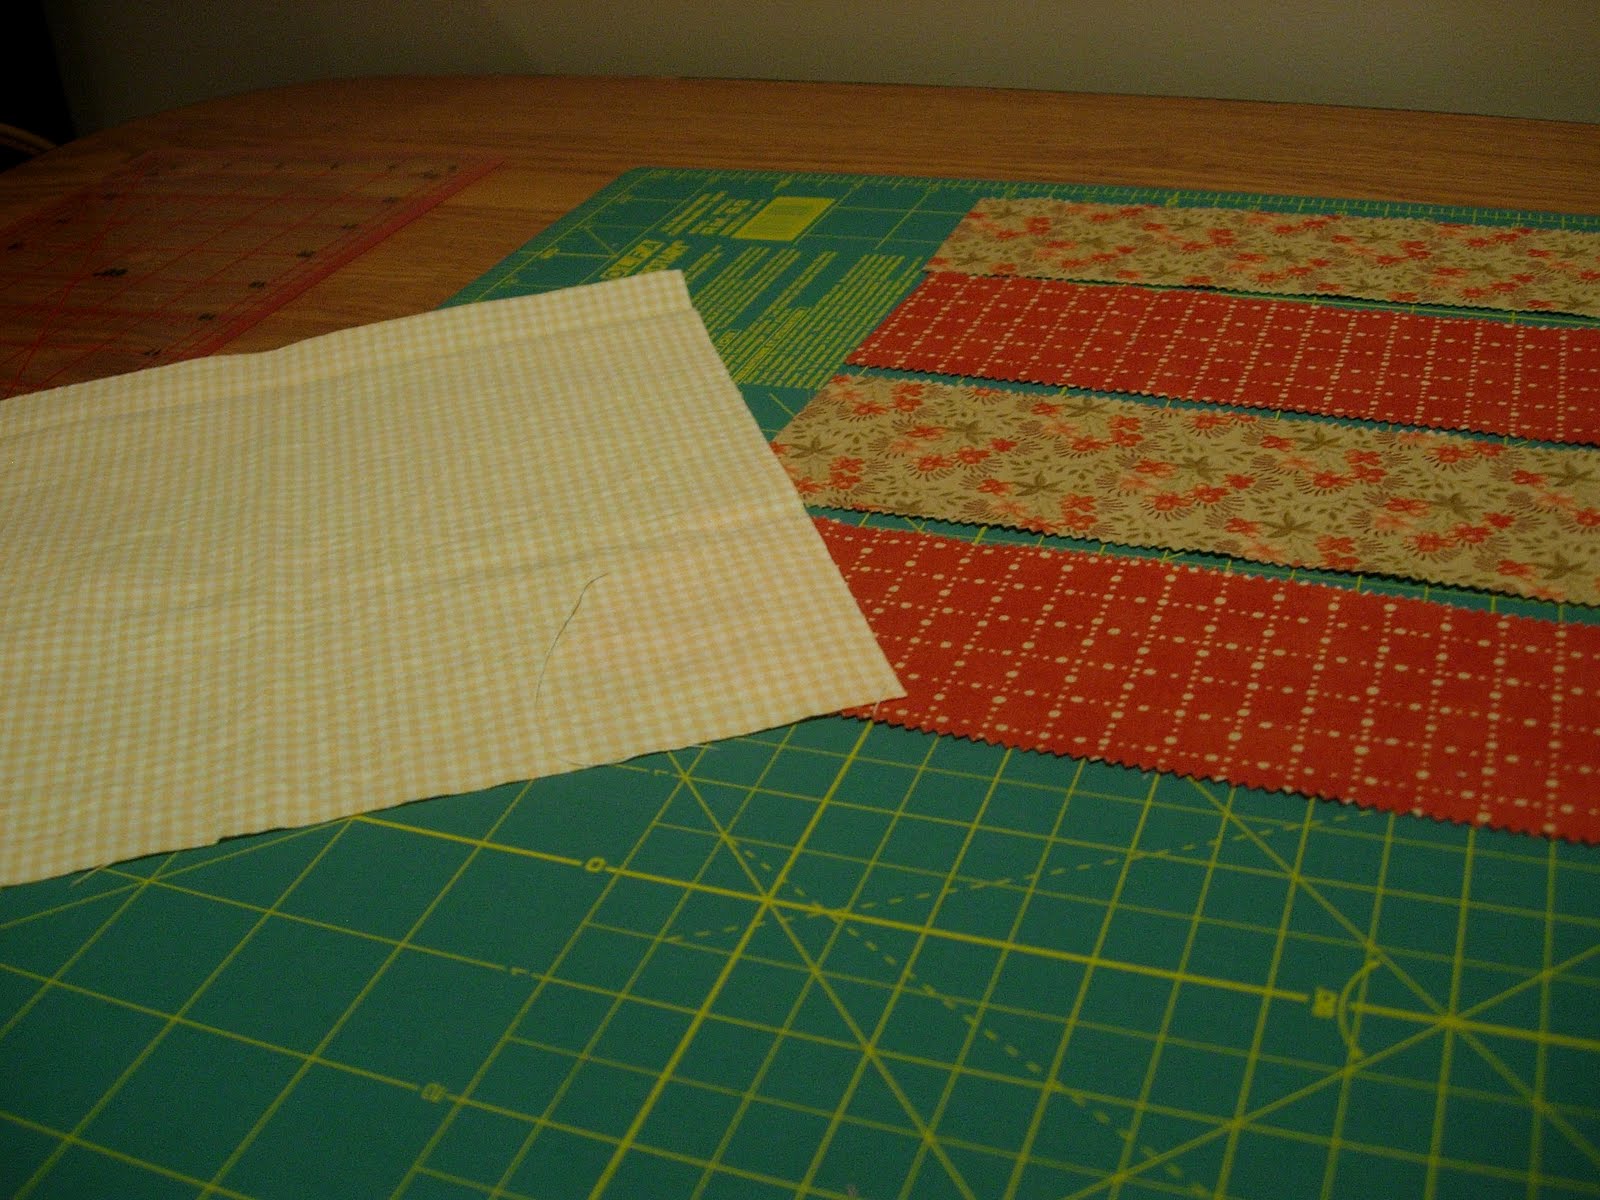
I started with 2 jelly roll strips so I had to cut them down to 8.5″ each.
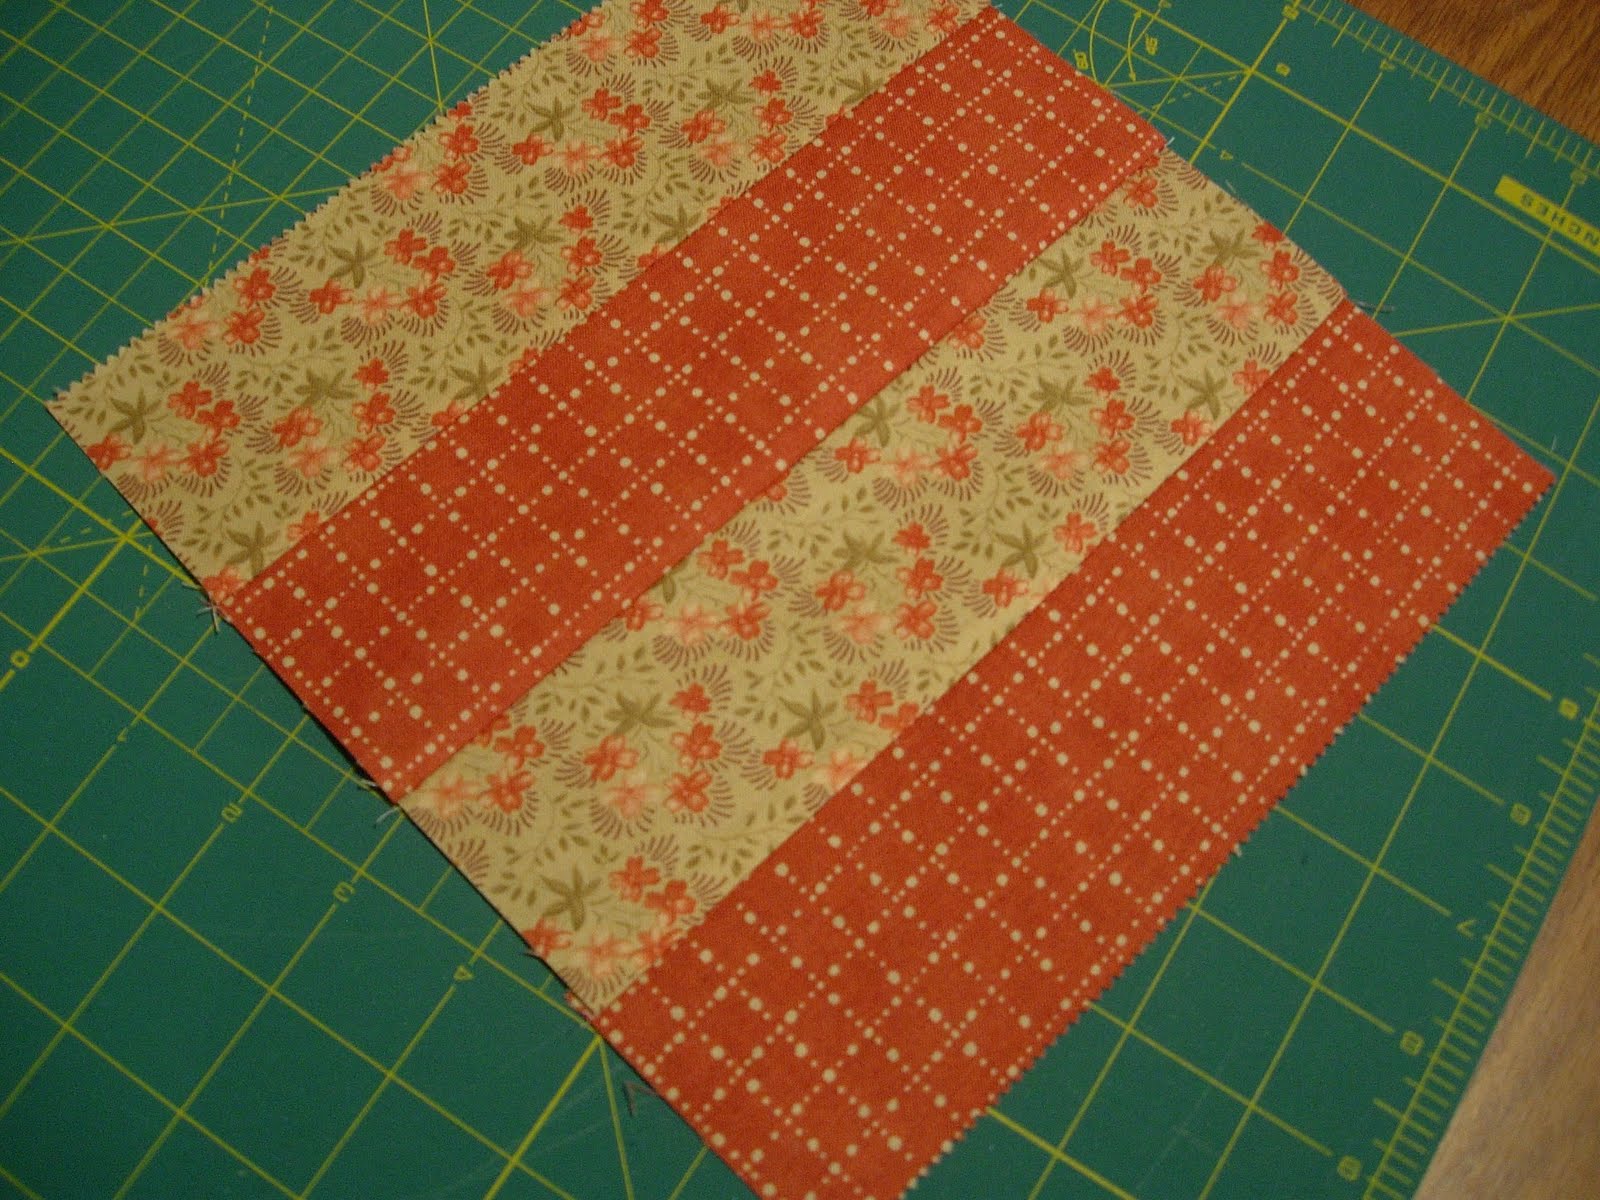
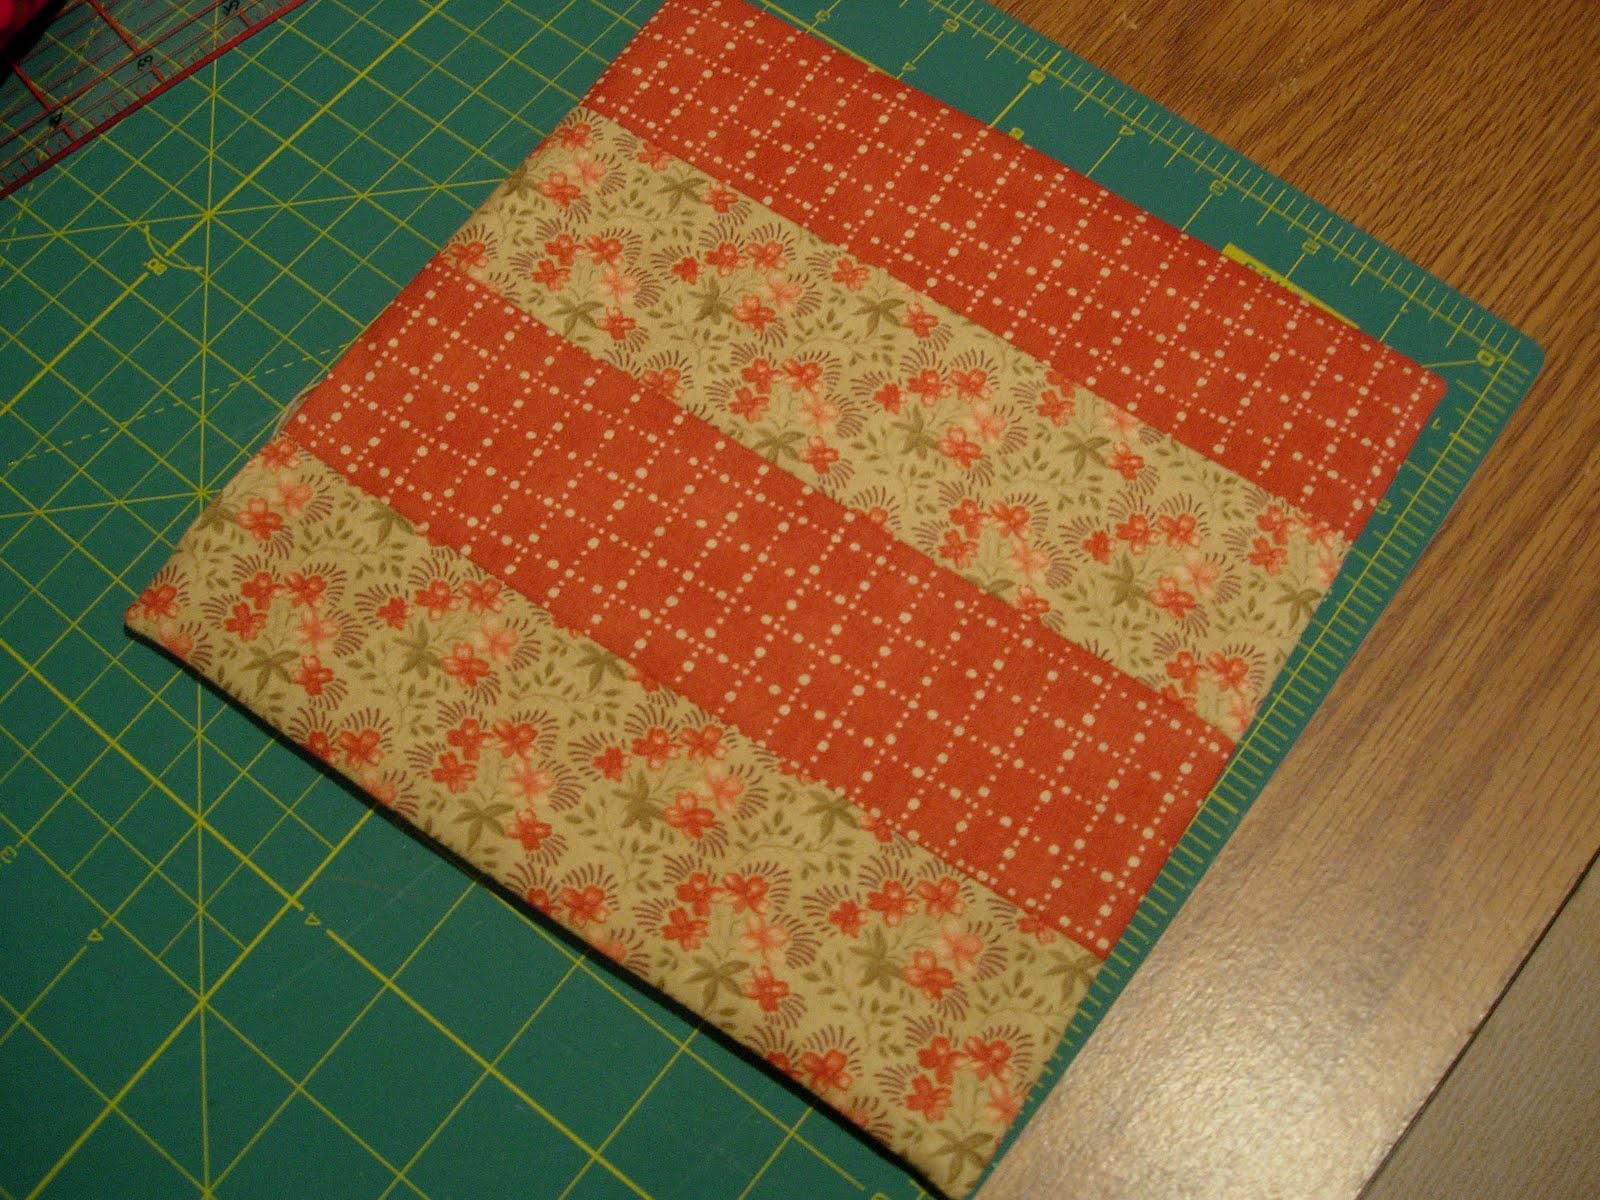
Sew your 4 strips together along the length and iron the seams flat.
You’ll end up with a 8.5″ x 8.5″ square.
Next iron your pellon onto the wrong side of your backing piece.
You want to position it so that you have a quarter inch of backing fabric
showing around the edge.
Lay your top layer down, right side up.
Than on top of that, lay your backing piece, right side down.
You should see your pellon on top.
Pin it all together so it doesn’t shift.
Then sew a quarter inch seam around the edge,
leaving an opening on one side, about 2 inches wide.
Clip the corners, but watch out for your stitching 😉
Turn your mat through so your pellon is inside,
and use a knitting needle to get your corners nice and sharp.
Give it a good iron, being careful to get the opening edges lying flat.
Finally top stitch around the edge about an eighth of an inch in from the edge.
This will close the opening for you and give a nice finish.
Enjoy!

The Girl CreativeAlso linked to The Ideas Room

Filed Under: Quilting, Sewing, Tutorials

« Rag quilt
Mug bag »
Disclosure: There are affiliate links in this post.  This just means that if you click through and choose to purchase something I may get a small commission - at no extra cost to you, of course.  This helps me keep the content here at The Crafty Mummy free for everyone.

I love to chat so please leave me a comment or ask a question.

Don't stress if your comment doesn't appear immediately - sometimes I have to moderate comments thanks to spam visitors, but the comments from real readers will always get published. Scroll down to add your thoughts or ask a question.

Comments

  1. Kaysi says

    April 13, 2010 at 3:21 AM

    What a great idea! I really like the fabric, it looks great!

  2. mel says

    May 1, 2010 at 6:34 PM

    oh nice, to have a custom pretty mousepad! happy sits saturday, i hope you have a great weekend!

  3. Everyday Kathy says

    May 1, 2010 at 6:43 PM

    Hi there! Visiting from SITS. I don't sew but you made it seem like I actually could! Hmmm who knows what you may have sparked!

    Kathy

  4. JDaniel4's Mom says

    May 2, 2010 at 12:17 AM

    This is so much prettier than my black foam mouse pad. Stopping from SITS!

  5. Clara says

    January 31, 2011 at 7:18 AM

    We can all use these and what better way to customize. Thanks for the tutorial.

Hi! I’m the CraftyMummy

Tonya is the voice behind The Crafty Mummy. She dabbles in lots of different crafts – patchwork, quilting, cross-stitch, scrapbooking, knitting, crochet and sewing. This is the record of projects she has done, and the projects she dreams of getting to! Read More…

Search

  • Email
  • Facebook
  • Instagram
  • Pinterest
  • Twitter
  • YouTube
Shop my Affiliate Favourites

Fat Quarter Shop for Fabric and More

Grab the Sew Sampler Box Here

AccuQuilt for Cutting Machines and Dies

QuiltyBox for Monthly Treats in the Mail

CreativeBug for Craft Classes

Pretty Darn Cute for Blog Designs like mine

Creative Market for Fonts, Images, Themes and More

OzGameShop for All the Games

Adrift for Fashion you’ll Love

Kindle Unlimited Membership Plans

Kindle Book List

Click to shop my kindle book list
Shop my Amazon Influencer Shop
Join the CrochetU and learn to crochet
New to TheCraftyMummy.com? Click here to see more
Blog Tools I use for TheCraftyMummy.com

Grammarly

Aweber for email newsletter

CoSchedule to stay organised and share

Milotree for social media

Genesis for blog framework

FoodiePro is my theme

Hosting with WPEngine

Powered by

Recent Articles

Disclosure: There are affiliate links on this site. This means that I may get a commission if you choose to purchase after browsing via these links - at absolutely no extra cost to you, of course. I only recommend products which I use and love, or that I think will be quality products that will be useful to my readers. It is the affiliate links in this site that help me keep my tutorials free of charge. Thank you!

Looking for something? Search here:

Copyright 2015 The Crafty Mummy · Built using Genesis Framework & Foodie Pro Theme