The Crafty Mummy

Crafts. Sewing. Quilting. Crochet. Tutorials.

  • Start Here
  • Welcome
    • Subscribe
    • About Me
      • Copyright
      • Disclosure
      • Privacy Policies
    • Advertise
    • Sharing
      • Recommendations
      • Shopping & Coupons
      • Books
  • Explore
    • Crafts
      • Beading
      • Kids
      • Paint
      • Storage
      • Christmas Crafts
    • Sewing
    • Quilting
    • Stitching
    • Crochet
      • Yarn
    • Life
      • Food
      • Organisation
    • Blogging
      • How To
      • Social Media
      • WordPress Plugins
      • Photography
  • Tutorials
    • Tips
  • Shop on Etsy
  • Shop on Redbubble

Wire Ribbon Rose Tutorial

by Tonya Grant |Filed Under: Crafts, Tutorials Tagged With: Flower, Ribbon, Wire Get a Weekly Update of all Articles

learn to make rose with wire ribbon

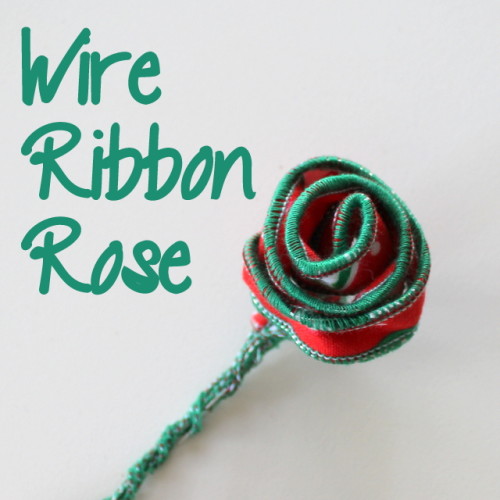
I love it when I have time to create something just by playing around with crafty stuff. This wire ribbon rose is the product of having time to play one day.

I wanted to test adding wire to the edge of various widths of fabric on my overlocker so I tried a few different things and took photos for a tutorial post. At the end of that “playing” I had a bunch of lengths of wire ribbon.

how to make wire ribbon rose

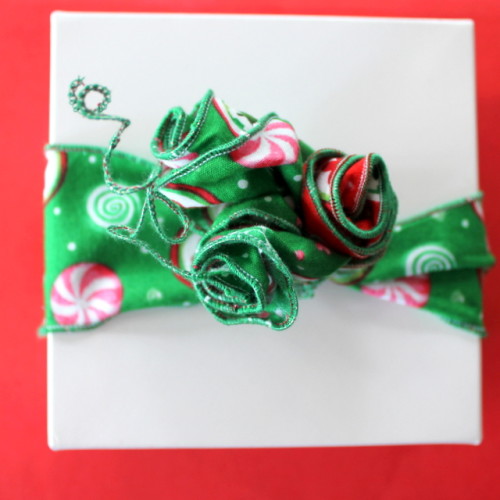
A couple of days later I wanted to wrap gifts with my ribbon for a post over at And Sew We Craft. I tried three ways of wrapping my wide ribbon around my gift and one of them included wire ribbon roses. These photos show you how I created my roses.

how to make wire ribbon roses

How To

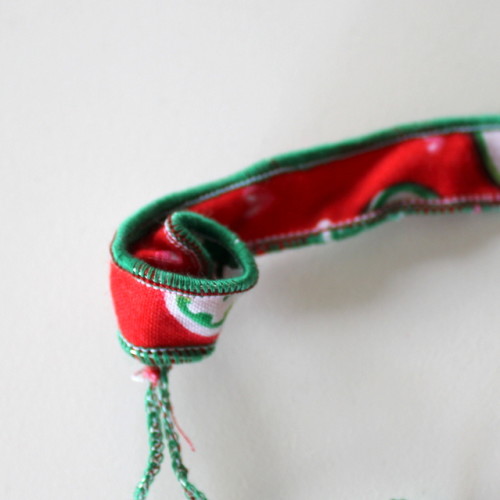
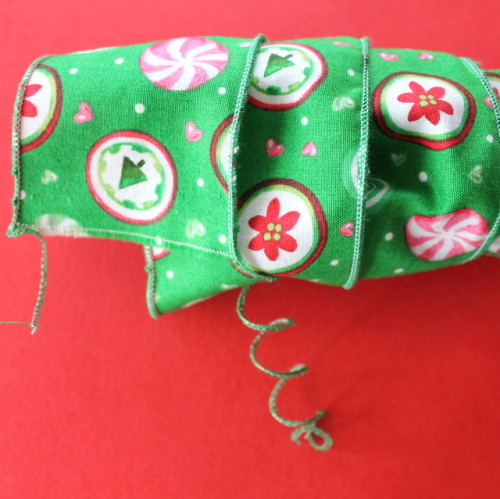
  • You need a length of wire ribbon – mine was about 20cm with excess wire at each end.
  • Start at one end of your wire ribbon – any width will work.
  • Fold the end over a little and tuck the raw edge down inside the fold.
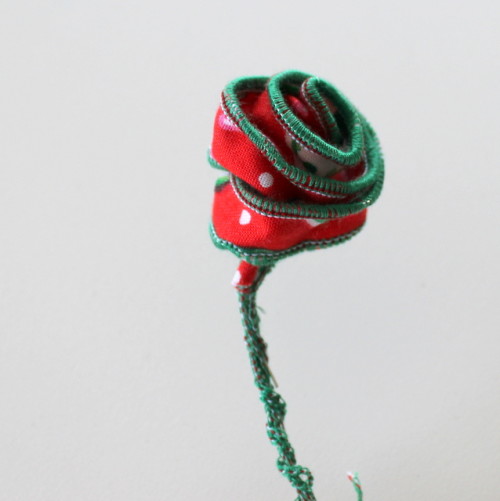
  • Carefully wrap the ribbon around the fold keeping the bottom of the rose quite tight but letting the upper edge form loose circles.
  • When you get to the end, tuck the raw edge inside.
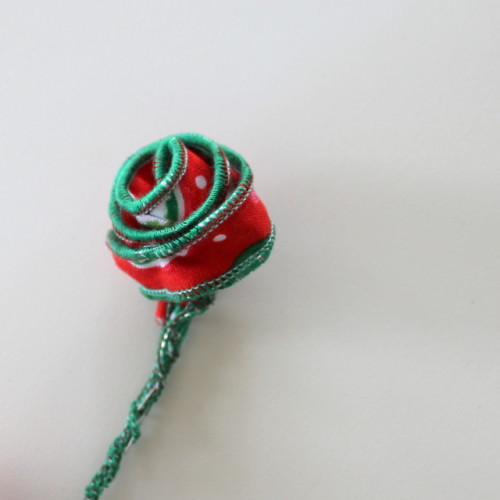
  • I wrapped the wire ends together to create a stem.
  • Alternatively you could attach wire for the stem and wrap it with ribbon.

how to wire ribbon roses

Learn to make your own wire ribbon:

wired ribbon made on overlocker serger

See where I used my Roses over at And Sew We Craft:

gift wrap with wire ribbon flowers

Filed Under: Crafts, Tutorials Tagged With: Flower, Ribbon, Wire

« Quick Tip: Cleaning your Overlocker
Roll Call »
Disclosure: There are affiliate links in this post.  This just means that if you click through and choose to purchase something I may get a small commission - at no extra cost to you, of course.  This helps me keep the content here at The Crafty Mummy free for everyone.

I love to chat so please leave me a comment or ask a question.

Don't stress if your comment doesn't appear immediately - sometimes I have to moderate comments thanks to spam visitors, but the comments from real readers will always get published. Scroll down to add your thoughts or ask a question.

Comments

  1. Mandy says

    November 22, 2013 at 8:02 PM

    Great tutorial! So easy to make and really cute too!

  2. onel says

    November 23, 2013 at 5:51 PM

    The ribbon looks so pretty as a gift topper!

  3. Susan Stephens says

    November 25, 2013 at 8:12 AM

    I enjoy reading your newsletter and your tutorials Keep up the good work

  4. Mary Preston says

    November 25, 2013 at 8:16 AM

    I love the rose idea.

Hi! I’m the CraftyMummy

Tonya is the voice behind The Crafty Mummy. She dabbles in lots of different crafts – patchwork, quilting, cross-stitch, scrapbooking, knitting, crochet and sewing. This is the record of projects she has done, and the projects she dreams of getting to! Read More…

Search

  • Email
  • Facebook
  • Instagram
  • Pinterest
  • Twitter
  • YouTube
Shop my Affiliate Favourites

Fat Quarter Shop for Fabric and More

Grab the Sew Sampler Box Here

AccuQuilt for Cutting Machines and Dies

QuiltyBox for Monthly Treats in the Mail

CreativeBug for Craft Classes

Pretty Darn Cute for Blog Designs like mine

Creative Market for Fonts, Images, Themes and More

OzGameShop for All the Games

Adrift for Fashion you’ll Love

Kindle Unlimited Membership Plans

Kindle Book List

Click to shop my kindle book list
Shop my Amazon Influencer Shop
Join the CrochetU and learn to crochet
New to TheCraftyMummy.com? Click here to see more
Blog Tools I use for TheCraftyMummy.com

Grammarly

Aweber for email newsletter

CoSchedule to stay organised and share

Milotree for social media

Genesis for blog framework

FoodiePro is my theme

Hosting with WPEngine

Powered by

Recent Articles

Disclosure: There are affiliate links on this site. This means that I may get a commission if you choose to purchase after browsing via these links - at absolutely no extra cost to you, of course. I only recommend products which I use and love, or that I think will be quality products that will be useful to my readers. It is the affiliate links in this site that help me keep my tutorials free of charge. Thank you!

Looking for something? Search here:

Copyright 2015 The Crafty Mummy · Built using Genesis Framework & Foodie Pro Theme