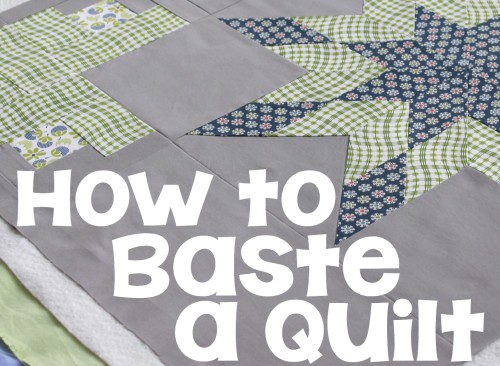
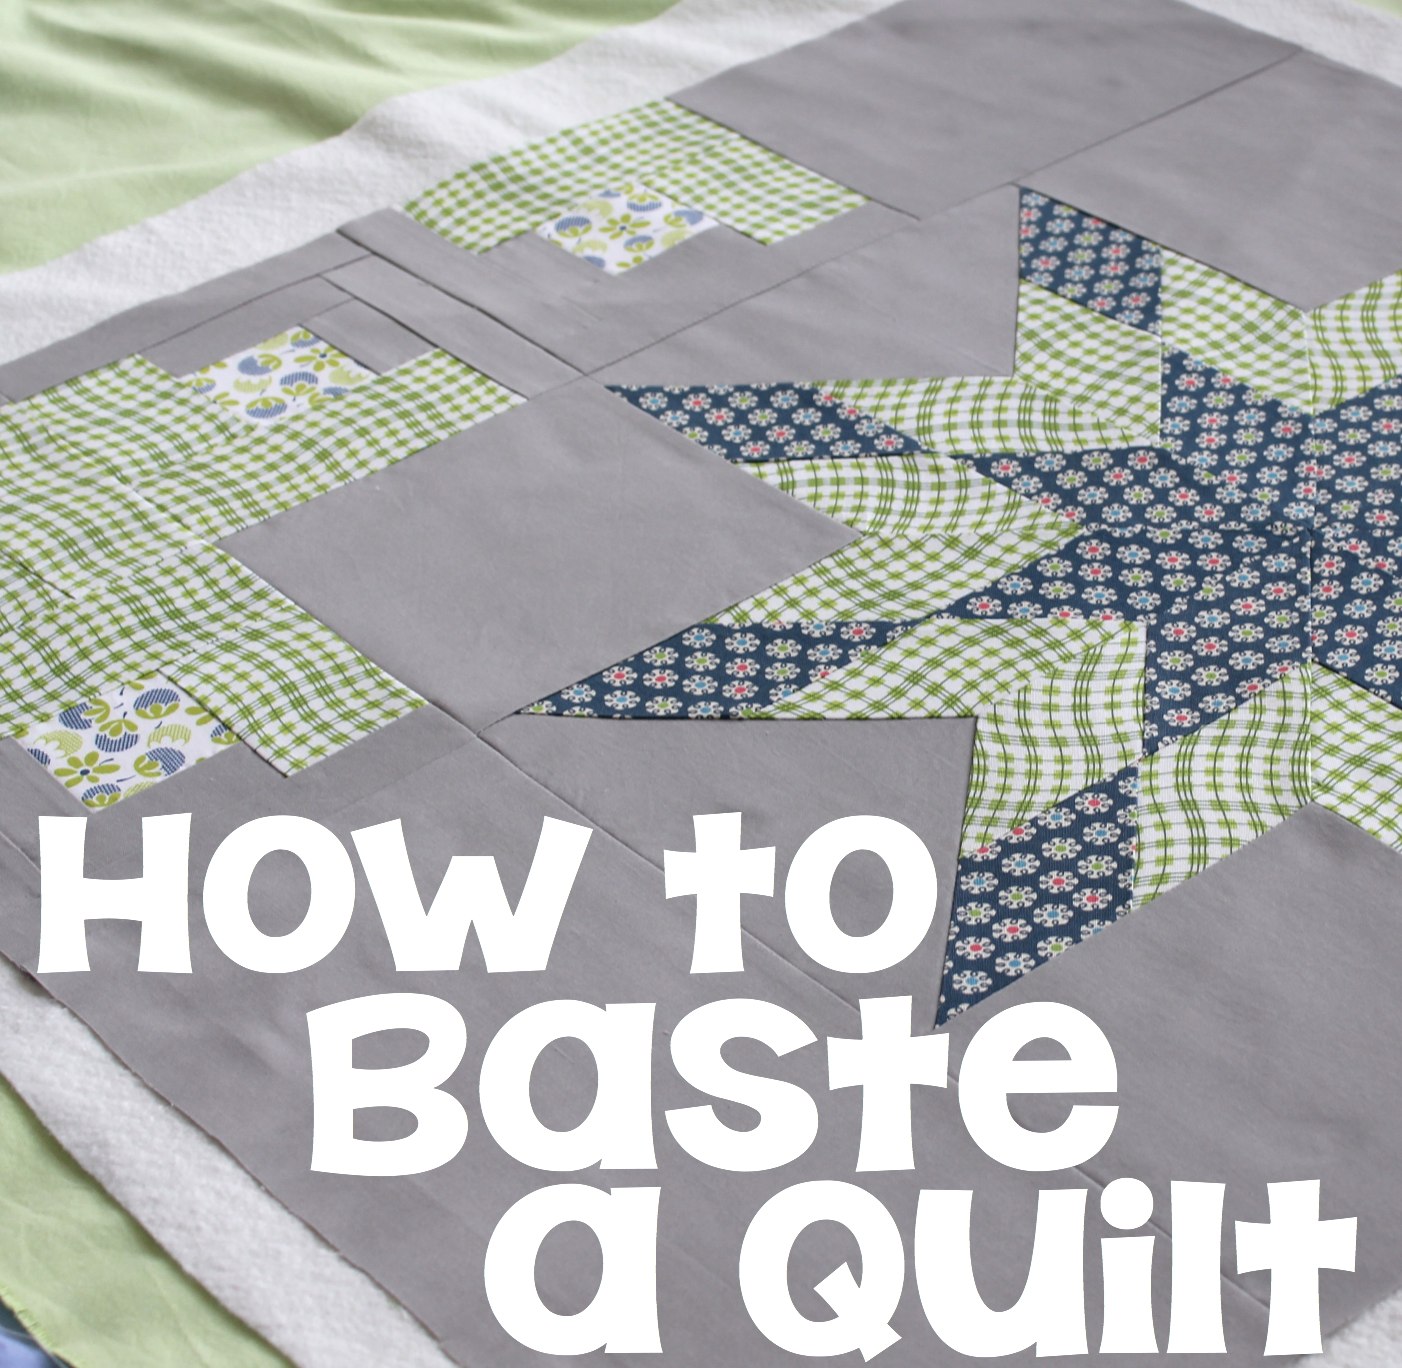
Learn how to baste a quilt with basting spray – much quicker and easier than traditional thread basting.

You’ve finished piecing a beautiful quilt top and now it is time to make it into a beautiful finished quilt. The next step is to baste the layers together ready to quilt it. The quilting is just sewing through all three layers – the quilt top, the wadding in the middle to make it fluffy and the backing fabric.
There are a number of different ways to baste quilts. Traditionally they would have been stitched together with long stitches that would be pulled out later on. This is a very secure way of holding the layers together and stopping them from shifting as you quilt. Another method is to pin the layers together with large safety pins. If you choose this way, make sure you have no more than about 15cm or 4″ between the pins to ensure the layers are held fast. This can be a lot of pins in a large quilt and often they need to be pulled out as you go, especially if you are machine quilting.
The method that I prefer is to spray baste the layers together. You can buy special basting spray in a tin and it is like spraying on glue, but it will wash away later when you wash your quilt. I find this method to be easier than the other two and much quicker. Often people don’t like the potential stickiness that can gather on the needle as you quilt the quilt, but I’m prepared to wipe my needle occasionally in order to enjoy this quicker method. Basting is probably my least favourite part of making a quilt and I often put it off and end up with quilt tops waiting to quilt. With spray basting, I am much more inclined to just get on with it!
How To Baste a Quilt with Basting Spray
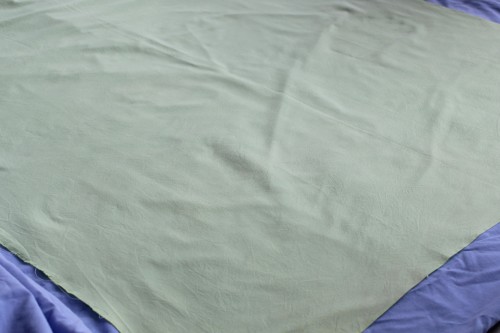
Start with a flat hard surface larger than your quilt top. I lay down a large bed sheet on my tiled living room floor so that it catches any extra spray rather than having to mop my floor at the end. (You’re welcome – I know I can’t be the only one who avoids mopping!)
Next iron your quilt top really well and the backing fabric as well. I generally use a wool wadding and it sometimes needs a light iron too, but don’t iron wadding with polyester in it – it may melt!
Lay out your backing fabric first, right side down, and smooth out all the wrinkles.
Next, lay down the wadding on top of the backing. Both of these pieces need to be at least a couple of inches bigger than your quilt top. You will trim them off after you finish quilting your quilt.(The extra size is like insurance in case things move a little!)
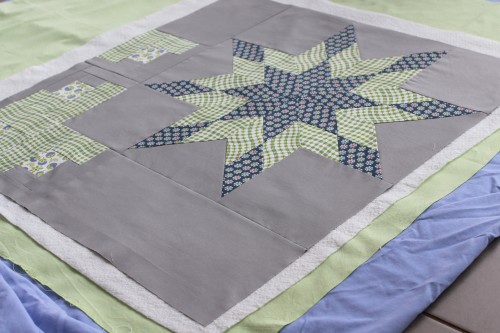
Finally lay the quilt top on the top and smooth it out carefully. Make sure you can see the wadding all around the edges.
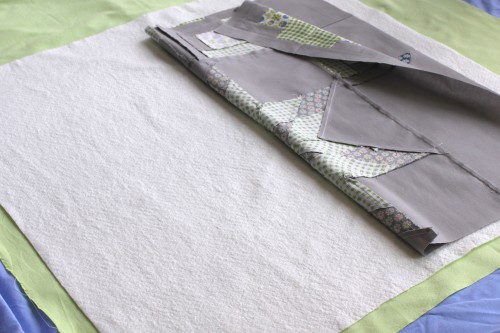
I sprayed this quilt in two halves. It is a fairly small project but I have also used exactly the same method for queen size quilts.
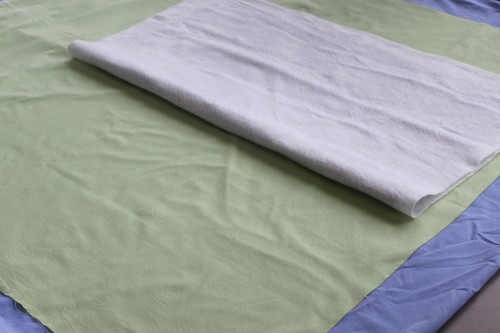
Fold back the top and the wadding to about half way like the photo above, and again smooth out the backing layer. (Oops – I hadn’t done that before I took the photo!)
Spray your basting spray over the backing layer. Give the tin a good shake first and hold it about 10cm away from the fabric. You want a nice even layer of spray.
Wait a couple of minutes for the spray to become slightly sticky or tacky. (I always find this step the hardest because I just want to get on with it so I usually wander off and tidy something up or fold a few pieces of washing while I wait.)
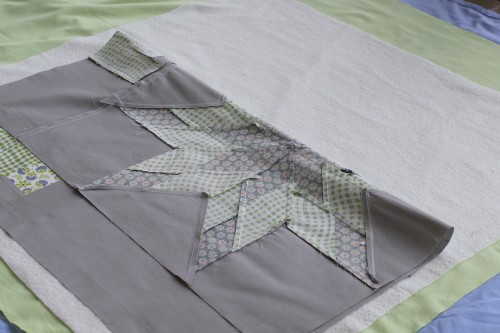
When the spray is tacky, lay the wadding layer back over the backing. Smooth it with your hands carefully into place starting from the centre and working your way to the edges. If a bubble or bump forms, just gently lift the wadding up again in that area and smooth it again. Smooth it firmly all over and the weight of your hands will help to stick it in place.
Now spray the wadding area with spray and repeat the smoothing step with the quilt top when the spray goes tacky.
When you are happy that one half is all smooth and stuck, move to the other half of the quilt. Again lift the top and wadding layers back and spray the backing fabric. Repeat all the steps you did on the other half to smooth down the wadding, then spray and smooth the quilt top.
With a small project like this, the whole process might take about 20 minutes. With a larger quilt, it will take a little longer but it is still quicker than basting with thread or pins.
Sometimes at this point, I will flip my whole project over and smooth the backing once more gently. If I do this then I always finish with smoothing the top again because that is the most important layer to have smooth for my finished project.
The spray will take a little while to dry completely so if you can leave your quilt on the floor for a couple of hours that is great. If you can’t, don’t stress. I have spray basted quilts like this on camps and quilted them immediately without any problems.
More Quilting Tips


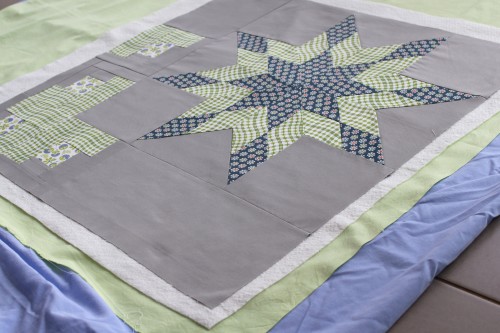
Love the star- very modern. I did a craftsy class on quilting negative space by Angela Walters it was awesome. How about swirls? They are very cute and would look amazing as a filler. My other idea is to quilt lines radiating out from the star and fill in the space between some of the lines with pebbles – it’s on Katie pedersons book I think the quilt is supernova and it’s been on my radar for a while now. Looking forward to seeing what you do with it!
Oh I love how you always have ideas, Di! Thank you!
A great tutorial thank you. I’m sure whatever you decide will be amazing.
Hi Tonya, I would quilt from the bottom right hand corner with lines radiating toward the star. I would stick to geometric instead of circles. have fun.
I love the quilt – the colours and the pattern, particularly as it is asymmetrical. Also, thanks for the tip re basting with a spray. However, I lam not experienced enough to give advice on quilting. My machine is very straightforward, so I can’t do swirls or anything fancy. What I would say, though, is that I don’t think you should distract from the star. Keep that simple. It’s lovely as it is. Swirls would be fine on the plain bits.
I baste like you but instead of a bed sheet I use a plastic, flock-lined table cloth. The flock side goes to the floor and stops it moving, even on carpet, and the shiny side makes it easy to slide the fabric around and even tape it down. It also means you can easily wipe off any overspray with a damp cloth afterwards. The best part? These tablecloths only cost a few dollars.
Great idea to use a plastic table cloth! I must try that too.
Love that idea.i will pass that on to my friend.thank you.
I am doing a very simple quilt with a preprinted panel for my “Frozen” crazy granddaughter. Your tutorial is exactly the help I needed, and you even gave me pictures … yea! Thank you for sharing your expertise.
The only thing I do differently is I don’t spray the fabric, instead I spray the batting. It seems to hold better and easier to move If I need to. But, yes, doing half at a time is the easiest.
When I’m looking for a fmq design and not sure what to use I go to Leah day’s website as she has 400+ Designs she also has a video of each one free for you to watch! Love her work! Thanks for the idea using a table cloth
I found an excellent website on how to baste a large quilt.
It certainly helped me, being a new quilter.
Even for a baby quilt, it great!
It’s called “Board Basting”.
You roll your quilt sandwich onto a stick,
then unravel as you spray baste it!
Thanks Susan – I’ll have to try that!
I have been using quilt basting spray ever since I discovered it a few quits ago. I spray the fabric and the wadding for each layer as I find this holds together really well. On my bigger quilts I also use safety pins as well as I only have a domestic machine to do my quilting on, so there’s a lot of manipulating the quilt through the machine. I also have a tendency to quilt a bit and then leave the quilt for a while if there is a space haven’t decided how to quilt. PS love the look of your quilt.