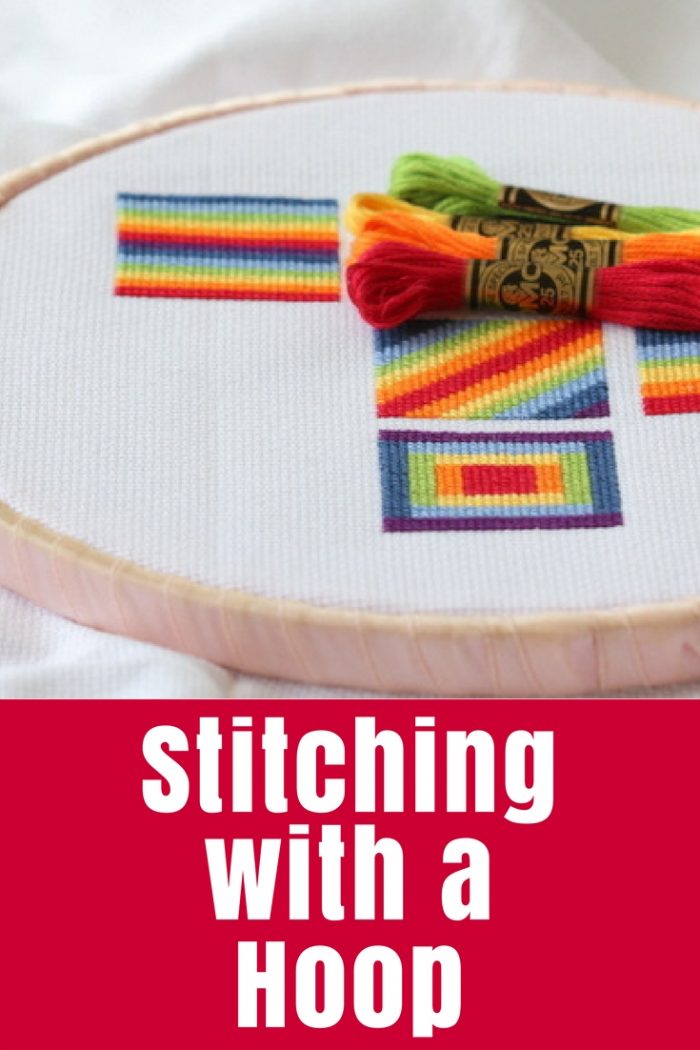
Learn the basics of stitching with a hoop – how I prepare my hoop and how to put the fabric into a wooden embroidery hoop.
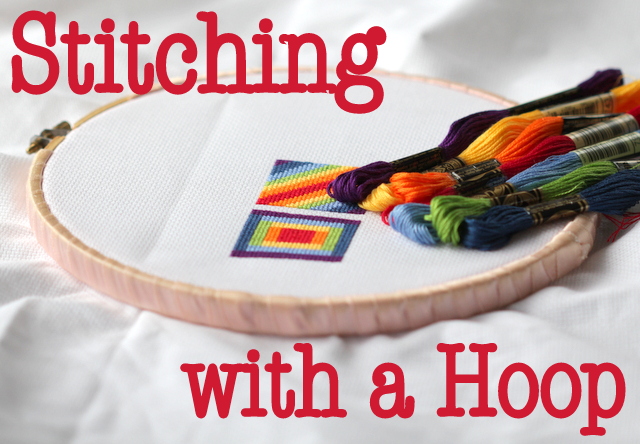
I have started working on cross stitch again lately and one of the first things I did was go and find my embroidery hoop. This hoop has been used for years now. The ribbon wrapped around the outer hoop was actually the ribbon that I used to wear on my ballet shoes as a young girl, that perfect soft pink that ‘real’ ballet dancers wear. (Not that I was ever going to be a ‘real’ ballet dancer – I realise now that I just do not have the right body shape!)
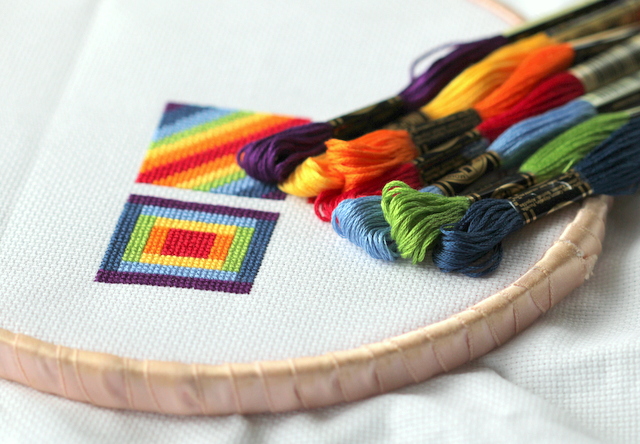
When I’m stitching cross stitch, I almost always use a hoop. I like the way that it keeps the fabric super flat and how I can easily stab stitch, drawing the thread through with each stitch for a nice even finish.
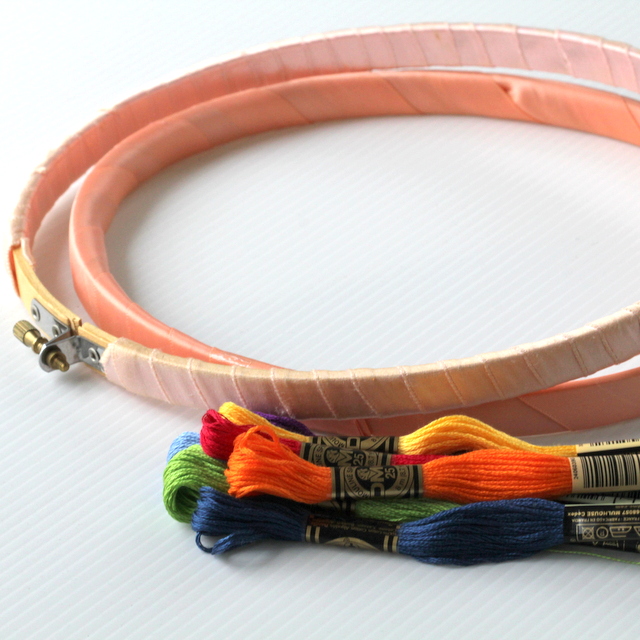
There are lots of hoops out there but mine is a basic wooden hoop. It is 8″ or 20cm across, although I do have a smaller one that is around 5″ somewhere too.
How to Prepare an Embroidery Hoop
Wooden hoops like this one can be quite rough along the edges and this can catch and damage your fabric or your threads as you are stitching. You could sand it smooth with fine sandpaper, but I think my ribbons are prettier and they provide a little extra padding so there is less line left on the fabric.
- Undo your hoop and separate the two circles.
- You’ll need a long piece of ribbon and some PVA or hot glue. My outer hoop is wrapped in satin ribbon about half an inch or 1cm wide. My inner hoop is wrapped in wider ribbon – about 2″ or 5cm wide. I would have used whatever I had on hand and you can too. For a large hoop like this one you will need a couple of metres of ribbon.
- Glue one end of your ribbon to your starting spot. For the outer hoop it makes sense to start on one side of the screw, but on the other hoop you can start anywhere. Hold tightly for a minute or so until the glue starts to dry and hold.
- Start wrapping around the hoop, overlapping just slightly as you go so that it is all covered.
- When you get back to the start, trim the ribbon and fold the raw edge under then glue down. Clamp with a peg until the glue dries completely.
- Repeat on the other hoop.
How to put Fabric in a Hoop
This is how I set up my wooden hoop:
- Separate the two sections of your hoop. This may require loosening the screw a little.
- Lay the inner hoop on a hard flat surface, like a tabletop.
- Lay the fabric you are going to stitch over the inner hoop with the section you want to stitch next roughly in the middle.
- Press the outer hoop over the fabric and the inner hoop. You may need to loosen it a little again to get it back over the extra layer.
- Gently pull the fabric edges to get the fabric taut and flat in the hoop.
- Once it is in place, tighten up the screw to keep the fabric taut and the hoop in place.
As you finish one section of stitching, you just remove the hoop and reposition it in a new place on your fabric. If you’re working close to the edge of your fabric, you may have to position the hoop without the fabric completely covering the hoop. That’s fine. Just try to get the section you’re working on flat.
Does it harm your cross stitch to put the hoop over the stitching?
I don’t think it does. These are things I would keep in mind:
- Is your hoop clean and smooth? You don’t want your work to get dirty or snagged on jagged wooden edges.
- Be careful how tight your pull the fabric in the hoop. You don’t want to stretch or warp your stitches, or pull them loose.
- Don’t leave the hoop sitting on the stitches for a long time. If you’re working on your project every day or two, then you will naturally be moving the hoop again pretty soon so it will be fine. If you’re putting it away for a period of time, remove the hoop rather than leaving it sitting on top of stitches.
Tips for Stitching with a Hoop
- It can be hard to stitch if you’re working on the fabric edge close to the hoop. It is fine to release the hoop and take it off for those last few stitches!
- Aida cloth does not have much stretch but some fabrics do so be a little careful of stretching your fabric out of shape.
- When you take off the hoop, there will be creases in your fabric. They will come out when you gently wash your finished project. I usually wash finished projects by hand in warm water and a gentle detergent just to remove any oil or dirt from my hands.
- Never leave your needle in the fabric in the middle of your design. Needles can rust over time and I’ve learnt the hard way when I’ve pulled out a project that has been packed away for a little while with the needle leaving a rusty mark! Get in the habit of leaving the needle pinned into an outer edge instead.
- If you only have a smaller hoop, you can still use it on a larger project. You will just need to move it more often.


I always use a hoop-luv the taughtness when I emroider
Hi I would like to know how to stitch on linens or 28 Ct?
Hi Gaynell, The process is the same as stitching on Aida cloth, just with smaller stitches. The linen won’t have the same defined squares as Aida but I usually stitch over two threads. Look for a post with more tips on the blog soon.
Is it ok to leave your project in the hoop while not working on it for a few weeks?
It won’t hurt the fabric or the stitching. I do it all the time. But you may end up with a circular crease in the fabric from the hoop which will come out when you hand wash your project at the end before framing.