This post is sponsored by White Knight Paints.
Problem:
Whenever we have lots of guests, we don’t have enough chairs for everyone!
A couple of times last year we had our huge Home Group come to our place for a meal. I seem to remember about 12 adults and 18 kids – the memory is vague because I kind of blanked out the scary details and just got on with it! We had a great time but we really could have used a few more chairs. Kids ended up relegated to the floor and some of the adults stood to eat. Not ideal.
Solution:
Find some more chairs.
Not just buy some (although that could be fun, too) but find some cool op shop chairs (channelling BBeingCool!) and paint them cool bright colours.
Disclaimer:
I have never painted a chair in my life. I don’t even know the first step although I’m thinking it includes sandpaper. So this too is a slightly scary prospect for me. I’m a total novice! But sometimes it is fun to learn something new and I can’t wait to share chairs that I have spruced up all by myself. As always I have to share the crafty fun so you can learn how to paint chairs too!
The Plan:
- Find old chairs – not too old and damaged – must be still usable; preferably four that match; not too expensive
- Choose paint – must be good quality; must have great colours; preferably spray paint because I think that will be easier for a beginner like me; must dry pretty quickly because I’m impatient; must be safe to use around the kids; not too expensive
- Research how in the world to do this!
- Prep the chairs
- Paint the chairs
- Share it all with you guys! (that means take lots of photos along the way)
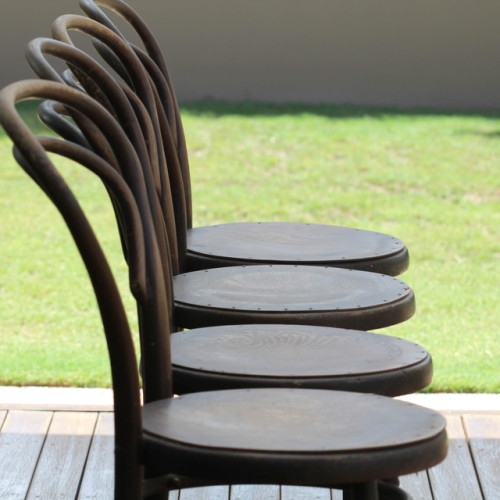
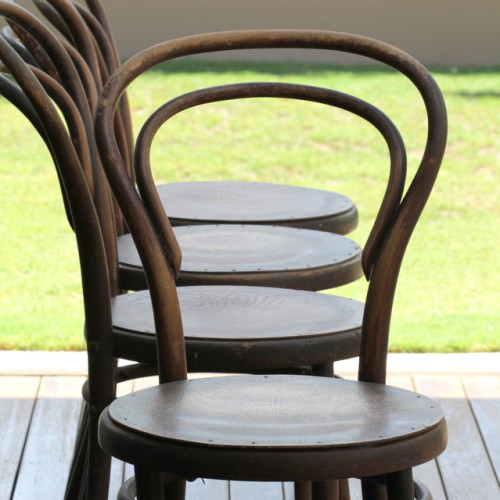
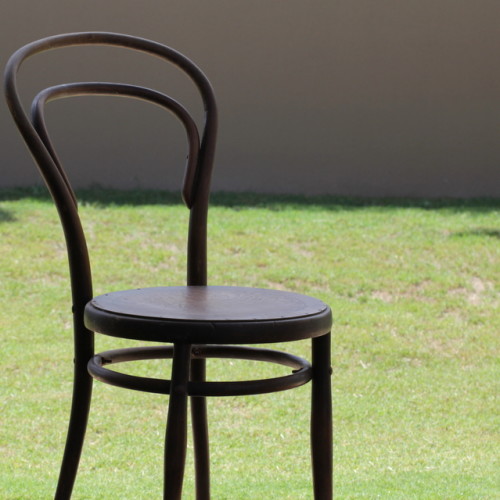
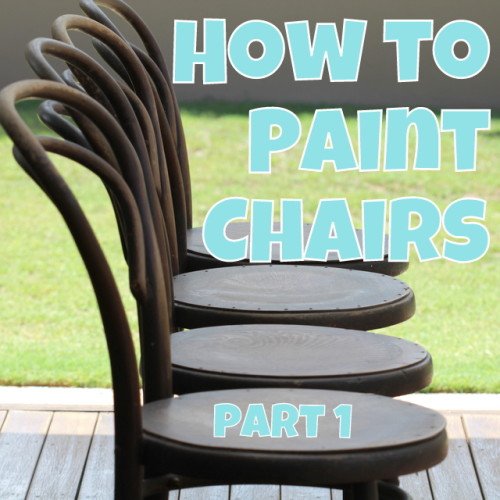
The Chairs
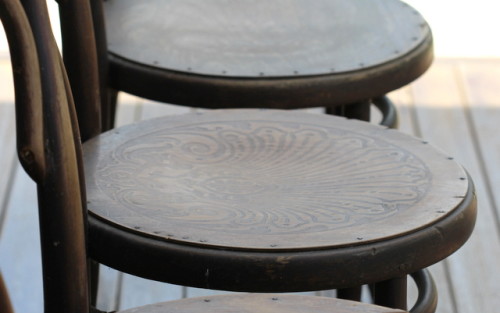
I found them! Four old chairs that almost match. They are a type called Bentwood chairs and while a bit worn and slightly wobbly, they are perfect for my purpose. The seats have previously been rattan but have been replaced with round pressed wood seats, maybe from similar style chairs. The seats now don’t all match and one has the pattern sideways, but that seems to give them character and individuality which I like. The rattan is still there on one of them so I will have to remove that and they will need a good sand before I paint them.
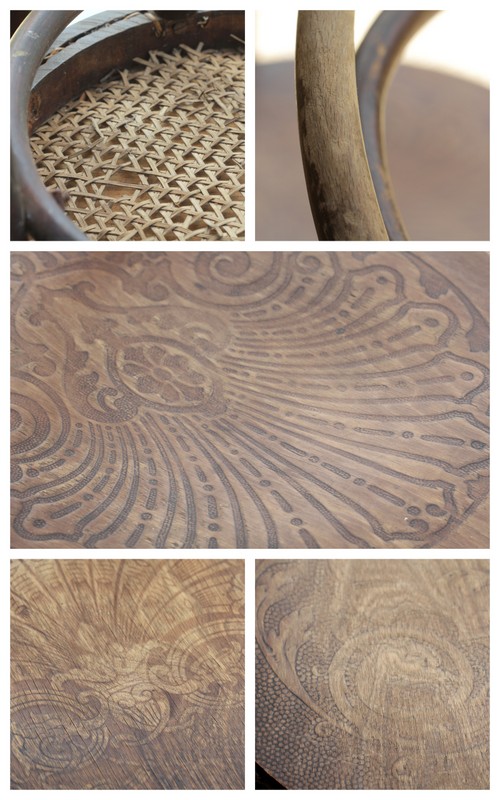
I’m not sure how the seats will look once I paint them. I’m not sure the pressed pattern will still be visible. My husband loves timber and we have a lot in our home so he is slightly aghast that I will be painting them at all. But I feel like the current state of the seats is not that great anyway so the paint can only improve them.
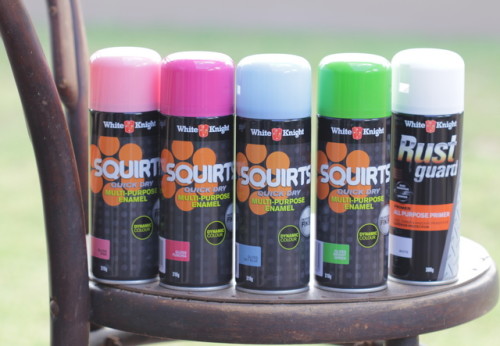
The Paint
I’ve chosen Squirts by White Knight Paints. White Knight Paints makes lots of different types of paint covering just about any project you can imagine inside or outside. After reading a bunch of websites trying to get my head around this project, I discovered that all the information I needed was right there on their website. There are clear pages explaining which paints to use for which surfaces plus safety instructions and tips. Then there is a downloadable PDF with step by step instructions on preparation and painting. According to the site it will dry quickly (touch dry in 10 minutes), and is CFC and lead free so it is safe to use. It can also be used indoors or outdoors, in case you’re looking for something to use on outside decor.
All set!
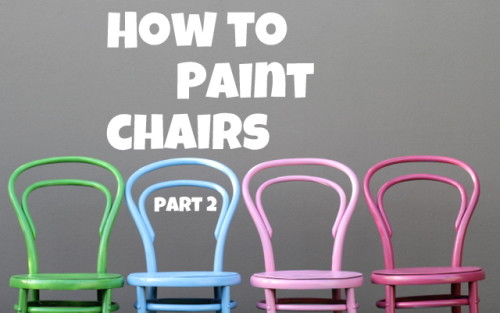
Now for colours: Squirts comes in 42 different colours including 4 versions of white (gloss, flat, satin and appliance), 2 versions of black and clear. After much debate I’ve chosen Bright Green, Fuschia, Pink and Sky Blue. All pretty and bright! These chairs are going to have to live somewhere in our house between entertaining so having some ‘girl’ colours and some ‘boy’ colours means that one could go in each of the kids’ rooms.
I also have Rust Guard All Purpose Primer ready to prepare them. This will seal the surface so that the colours will not soak into the wood. It is a spray, too – easy!
How to Prepare your Chairs:
- Thoroughly clean your chairs. Warm soapy water and a cloth is a good start. You need to remove all the dirt – and in my case old cobwebs – from the surface.
- To remove any grease, oil or rust, try White Knight Rust Guard Solvent.
- Allow your chairs to dry completely.
- Lightly sand them next with a #400 or finer sand paper. My chairs have a number of scratches and some areas where the paint has been removed previously so I’ll be trying to smooth some of those spots.
- The next step is to prime them.
According to the White Knight Paints website, the wood should be primed with White Knight Rust Guard All Purpose Primer.
- Make sure they are completely dry.
My chairs are washed, sanded and primed. I can’t wait to finish them off and share the colourful results with you!
See my finished chairs here:
Disclosure: This post is sponsored by White Knight Paints. They provided the paint for this project. As always all opinions are my own.


Can’t wait to see the finished results. I have dining chairs that I need to finish, but I’ve been putting them off because of the sanding involved.
I was surprised how quick the sanding was one I started, Erlene. I certainly didn’t take off all the old paint as the primer covered it anyway.
What a score! Those chairs are worth a lot of money. I can’t wait to see how they turn out x
They would have been gorgeous when they were new, Cybele. Hubby is a little aghast that I’m painting them but they have seen better days and the paint will cover the “dodgy factor” I hope.
Hi loved your post. Are those chairs antiques? I’d love to know where you got them from…
Thanks. I love them too! In fact you can catch a sneak peek at the painted chairs on my Instagram. They came from a second hand furniture place in Toowoomba called Searcher’s End.
PS Please use a real name next time you comment over here – my blog thinks your comment is spam!