This post is sponsored by White Knight Paints.
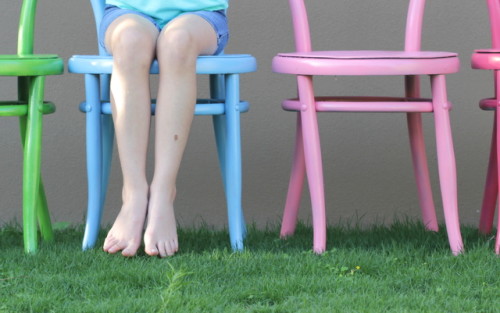
Four extras for dinner?
No problem.
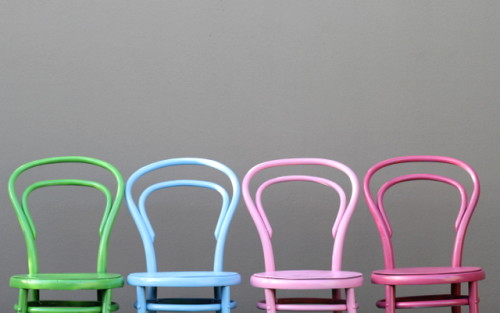
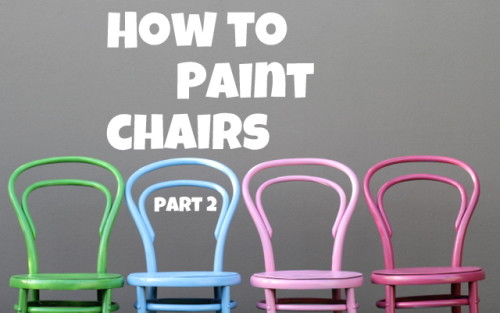
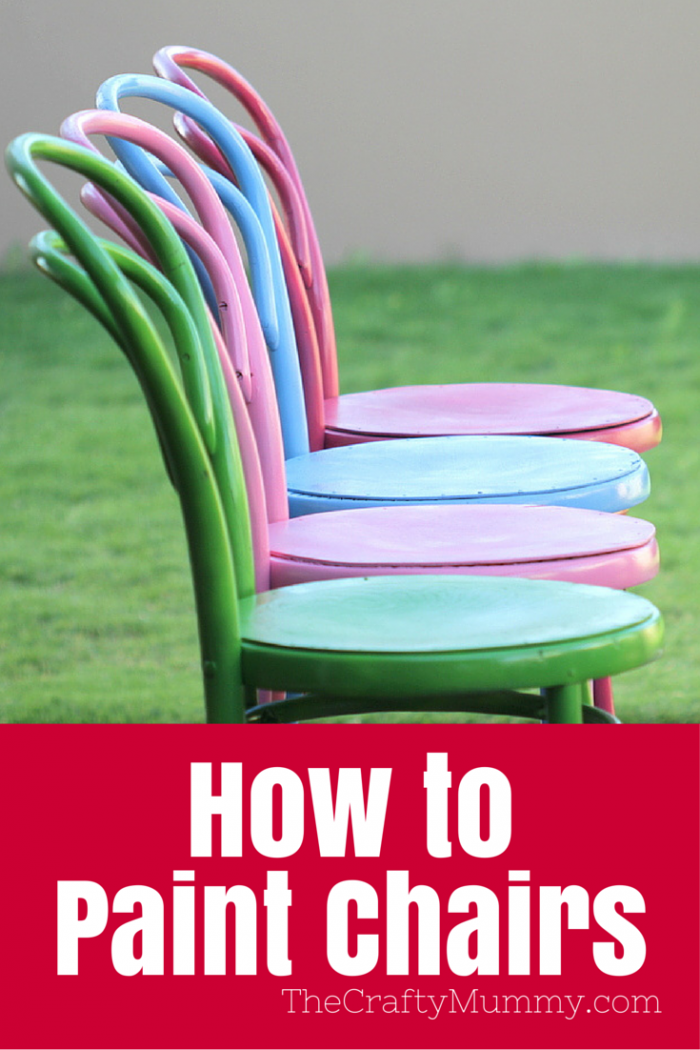
We have four lovely new chairs for them to use at our kitchen table!
Don’t you just LOVE the colours!?
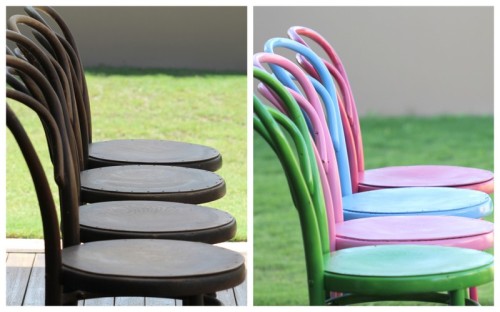
Remember a couple of weeks ago I shared my painting project: How to Paint Chairs Part 1? I was a little nervous about this one because I’ve never spray painted a chair – or anything else! – in my life. In a little corner of my brain I was afraid that I might be sharing a “craft fail” post rather than a “cute project all finished” post.
But look at my cute chairs!!
I’m so happy with the finished results. The White Knight Paint was super easy to use and gave fabulous coverage. I had seen painted chairs with runs and blotches so I wasn’t sure whether I would end up with a totally unprofessional look, but I’m so pleased. These don’t look to me like a first attempt at painting.
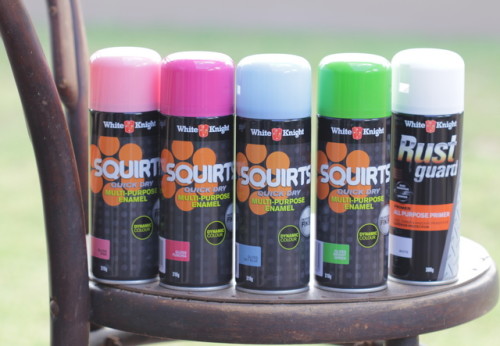
The paint is from the Squirts range and I used these four colours: Bright Green, Fuschia, Pink and Sky Blue. I also used the Rust Guard All Purpose Primer to undercoat them after a quick sand.
Tip for the Novice (like me!)
Four chairs need more than one tin of primer to cover them – oops! I had to pop out and buy more. Silly me had not really thought the quantities through before I started – novice mistake I’m sure!
FYI: I found my White Knight Paints Primer at my local Bunnings store, after finding they didn’t carry it in my local Masters store.
I had to do some tightening of bolts on these beauties before I could paint them. You might notice in the photos that the legs of the pink chair look particularly odd. Luckily once I had tightened all the bolts, the Primer was suitable to cover the rusty metal as well as the timber. Each chair then got two coats of colour. Plus the green one had to have a touch up on the bottom of the legs – see what I learnt below.
The paint was touch dry in only 10 minutes, and the second coat could be done after an hour so a couple of nice sunny days saw them all finished. I was surprised at how quick it was to paint them really – I expected it to take more care and time to get into all the curves but it was quite easy.
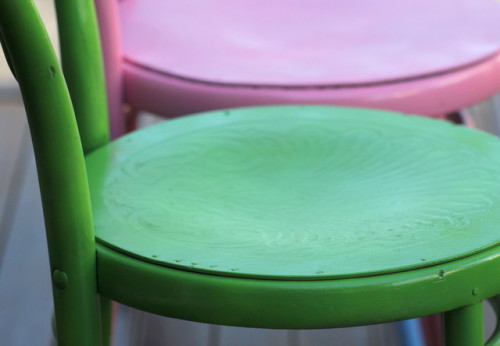
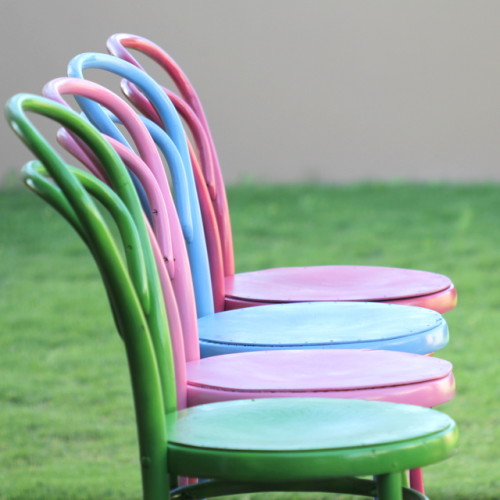
You might remember that the seats each had a pressed pattern in them and I wasn’t sure how these would look after painting. I’m happy to report that the gorgeous designs are still quite visible and really add to the chairs. A friend suggested that crochet cushions would be a very “crafty mummy” touch to add to these but I’m not sure that I want to cover the lovely seats.
What I Learnt
- Preparing and spray painting chairs was much easier than I expected – both in terms of the time it took and the ease of using the paint.
- Waiting for clear sunny days was worth it to make them dry relatively quickly.
- Be careful of the breeze! One of the days I was painting there was more breeze than I realised which meant I had misty paint heading my way each time I sprayed. Wear old clothes and an apron just to be careful.
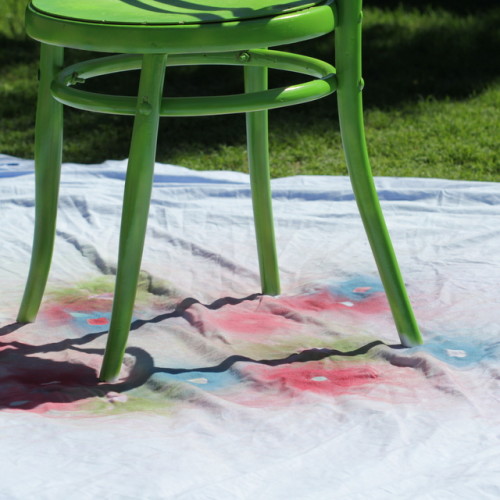
- Set chairs on a solid surface. I sprayed one chair on a drop sheet on our grass. It was great for catching any overspray, but after I finished I saw the very bottom of the legs had been down within the soft grass and were not covered well. The next day I set a packing box under my sheet and that stopped the legs dropping into the grass. Much better results!
Would I play with paint again?
Yes! I’m actually already thinking about what else we could use around the house (practical mummy, as always) that I could paint. White Knight Paint also makes chalkboard paint, glass frosting paint, and glow in the dark paint – so many crafty possibilities!


Lovely job — I will be sure to mention these paints to my hubby as he builds custom transformers and is often looking for various colors that aren’t readily available at Lowes or Walmart in the paint isle
Great job, Tonya! Good on you for tackling this not so ‘up your alley’ project!
Great! Now I want to paint something. I saw a cool craft project using the frosted paint. For example: clean a used jar (jam or pasta sauce etc). Cut letters out of contact (for example SUGAR) and stick them around the middle of the jar. Leave a space below and above and then cover the top and the bottom in newspaper or glad wrap etc to stop I getting sprayed (make sure it has a crisp line above and below your contact letters). Spray the jar/bottle around the centre where you letters are, allow to dry, peel of the letters and the other coverings and you should have a nice frosted label around the centre with clear letters. I hope that made sense! I want to try it now!
I have old bentwood chairs and just came across your post when researching how to paint them white. Like yours, they are all a bit wobbly and mismatched. How many tins of the primer did you need to cover all 4 chairs and would one tin of colour do two coats on more than chair do you think? Thanks so much for the inspiration. They look awesome!