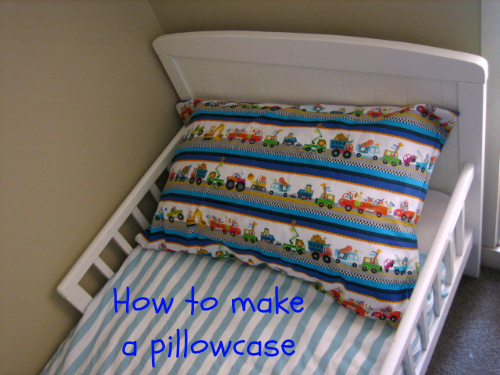
Today I’m excited to have Amy from Ladybugs and Daisy chains sharing a tutorial. She has made this cute pillowcase for her son. I think I’ll need to make one for my son now!
Have you ever picked up a fabric and just had to buy it?
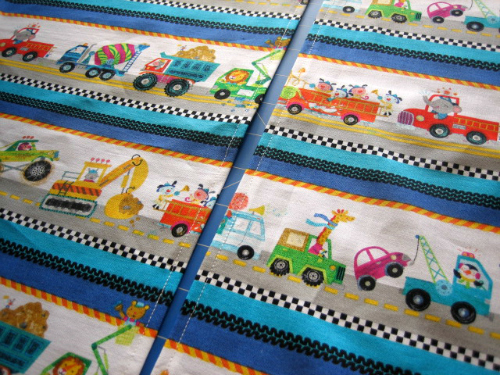
Who am I kidding. It happens all the time! But this time it wasn’t for me. It was for my 2 year old. About a month ago I was shopping in Spotlight with my mum and two boys as you do when there’s a sale. On the way out we stumbled across this cute fabric (It’s Honk Honk Hooray! by Betsy Snyder). Oscar thought the trucks and diggers on the fabric were amazing, so much so he started crying when I put it back on the shelf. It was almost heartbreaking so I headed back to the counter to see how much was left. “About a metre and I’ll give it to you as a remnant” said the girl at the counter. Sold! I promised Oscar I’d make him a pillow case for his new pillow and he was super excited to carry HIS fabric home.
Here’s how to make it:
I’m using a standard pillow for this project and you’ll need:
19″ x 36″ of fabric for the front
19″ x 30″ of fabric for the back
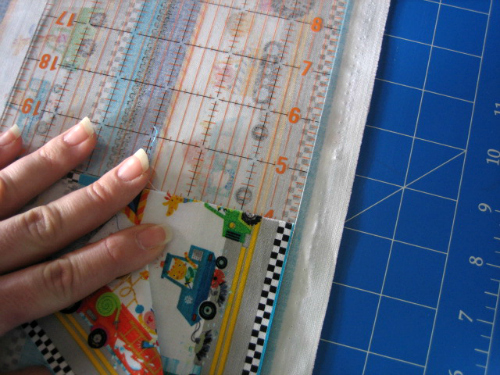
Cut 2 pieces of fabric 19″ wide. If using a directional print you may wish to fussy cut so that the print matches in the seam. To do this place the first piece on top of your ruler and line up the print and cut using a rotary cutter. Cut each piece to the required size.
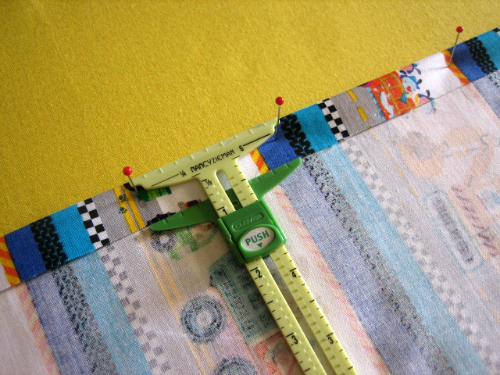
Hem one short side on each piece of fabric. These must be opposite sides. I have made the opening on the right hand side of the pillowcase and am hemming the right side of the long piece and left side of the short piece with fabric right sides facing up. After working out which side you are hemming, place the wrong up on your ironing board. Fold back the edge 3/4″ and press. I find pinning through the ironing board here makes it easier to iron the edges of the fabric.
Unfold the seam allowance just created and fold the raw edge into the crease. Press and pin. Repeat this on the other piece of fabric.
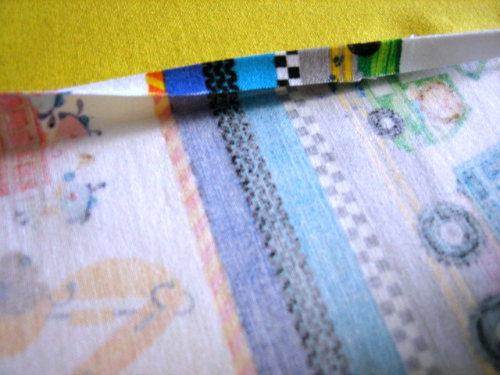
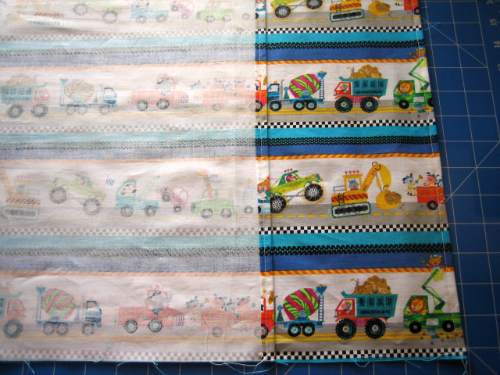
Straight stitch the seams. Your fabric should now look like this.
Now to join it all together. Place the smaller piece on top of the larger piece right sides together matching up the end with raw edges. Pin your pillowcase together.
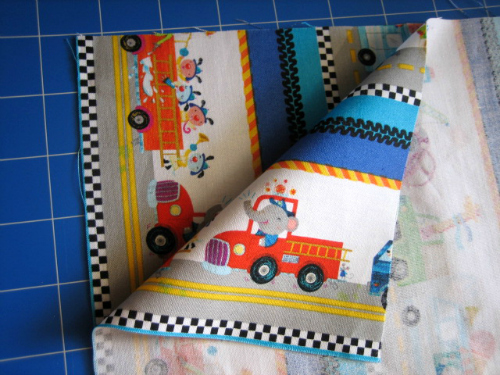
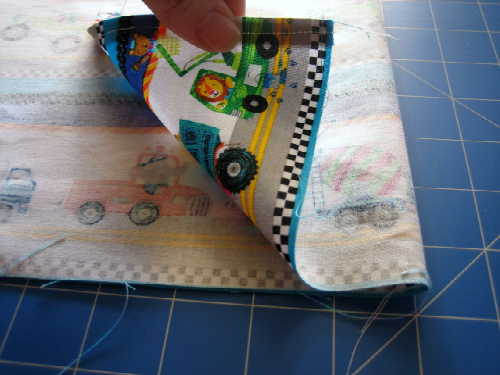
Fold the long edge up and over the top piece. This end will encase the pillow and hide the raw edges at the top. Pin in place.
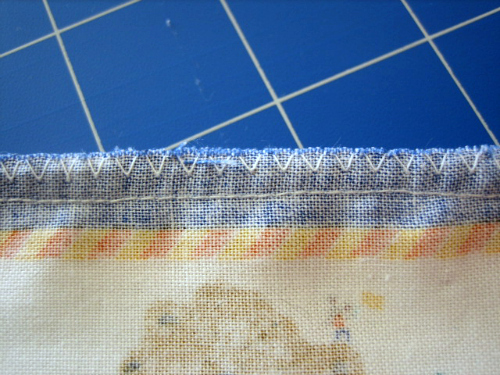
If you have an overlocker (or serger) you can use it to sew around the 3 raw edges. If not straight stitch them and then zig zag stitch around the edges.
Turn your pillowcase inside out and stuff it with your pillow. It’s ready to be slept on.
Thank you so much, Amy!
Hi! I’m Amy, a mummy to two boys, a 2yo & newborn. I love all sorts of crafting from sewing to baking, but at the end of the day I enjoy making bags and purses the most.
Visit my Blog, Ladybugs and Daisychains, or find me on Facebook.


What a great idea, Amy. Really must make a few special ones for my two as well! Thanks for the tutorial.
This is awesome on several different levels. I am not very crafty but I think even I could do this and i love that it’s a guest blog too!
Nice and easy tutorial. I still remember 20 old years ago at school when they taught us how to make a pillow case in about 4 or 5 30 min lessons. Turned me off sewing for few years.
hi love your tutorial can you tell me the brand name of the hem measure/ruler you are using I have not seen one before
Thanks Joyce, it’s the Clover 5in1 Sliding Gauge with Nancy Zieman. It’s a fantastic tool to have in the sewing box.
Hi Amy, was just looking at the pillow case tute. I hope I haven’t misread it, but to make your life even simpler a pillowcase can be made with one piece of fabric. This is the best way to explain – decide size of pillowcase length & width. Length :Double length of pillowcase add flap measurement & 2 hems. Width : width of pillowcase plus two seams. Construction: Hem each end of the pillowcase. Placing right sides together pin back to front according to the length of the pillowcase. Now taking flap at end fold over the opening, pin to pillowcase body & stitch both sides. Turn inside out. Voila. Done. I hate making seams I don’t need.
Absolutely Peta. Thanks for your tips. I only had a metre of this fabric to use. This tutorial is also great for directional prints when they don’t run along the selvedge.
I usually put a different fabric up every month to cover one wall in my bedroom and match a pillowcase to it.