The Crafty Mummy

Crafts. Sewing. Quilting. Crochet. Tutorials.

  • Start Here
  • Welcome
    • Subscribe
    • About Me
      • Copyright
      • Disclosure
      • Privacy Policies
    • Advertise
    • Sharing
      • Recommendations
      • Shopping & Coupons
      • Books
  • Explore
    • Crafts
      • Beading
      • Kids
      • Paint
      • Storage
      • Christmas Crafts
    • Sewing
    • Quilting
    • Stitching
    • Crochet
      • Yarn
    • Life
      • Food
      • Organisation
    • Blogging
      • How To
      • Social Media
      • WordPress Plugins
      • Photography
  • Tutorials
    • Tips
  • Shop on Etsy
  • Shop on Redbubble

Zippered Money Bag Tutorial

by Tonya Grant |Filed Under: Sewing, Tutorials Tagged With: Bags Get a Weekly Update of all Articles

zippered money pouch tutorial

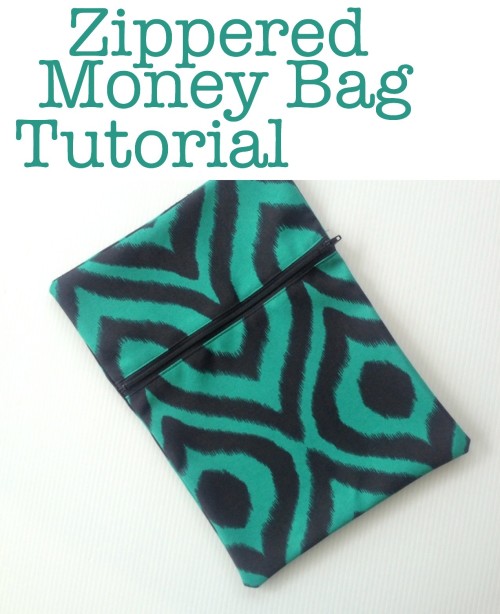
When you run a small business or sell handmade items at markets, you always need to have a float, the money you start the day with so you can give change to your customers. It is the same for our local school office and Tuckshop. I spend a bit of time in the Tuckshop and around the school, so I noticed that they needed something to put the float into each night that was secure and easy to carry back and forth from the safe.  I made a zippered money bag for the Tuckshop float a while ago now and it has been so appreciated. I recently made another couple of bags for the for the office ladies to use and I thought I’d share the tutorial in case you ever need to make one.

Thy are just a pretty basic bag with the zipper across the front – large enough to fit some change bags into but small enough to carry easily. You could easily adjust the size by making your starting rectangles larger or smaller and using an appropriate zipper. Money bags tend to get a lot of use and possibly get quite heavy with coins so I used a heavier fabric for this project. You might need to switch your sewing machine needle to a size 90 to sew the heavier fabric.

zippered money bag pieces

What You Need:

Fabric – I used an upholstery weight fabric so that it will be strong and durable.

Cut pieces:

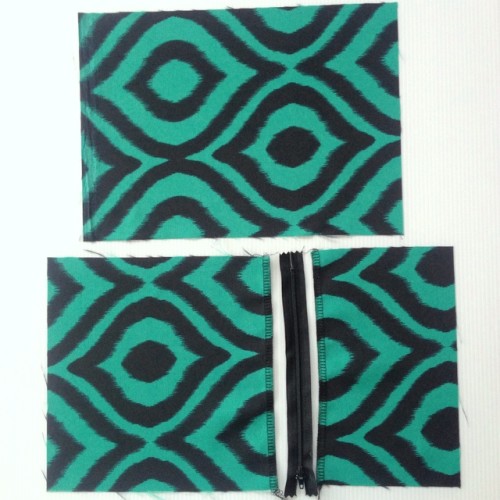
  • 9″ x 12.5″ – back piece
  • 9″ x 9″ – front piece 1
  • 9″ x 5.5″ – front piece 2

8″ zipper

Usual sewing supplies and sewing machine (I used and overlocker/ serger but you can use a regular machine)

zipper money bag 2

What To Do

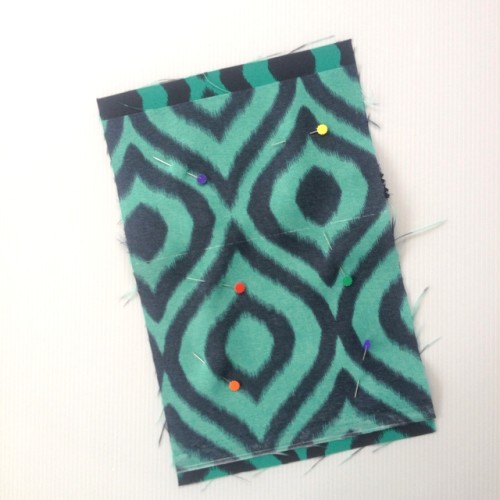
1. Start with front pieces 1 & 2 and overlock the two edges as you see in the first photo. If you don’t have an overlocker (or serger) you could use pinking shears or zigzag stitch to stop those edges from fraying later.

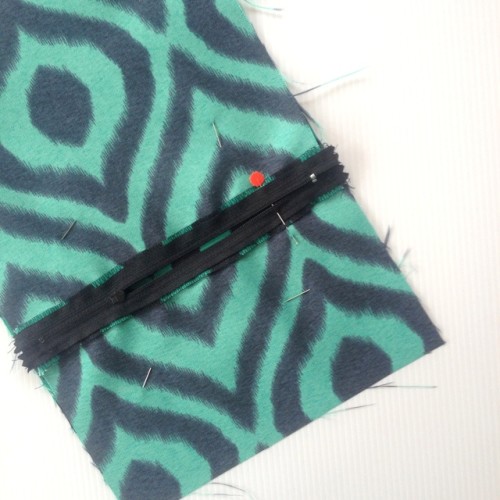
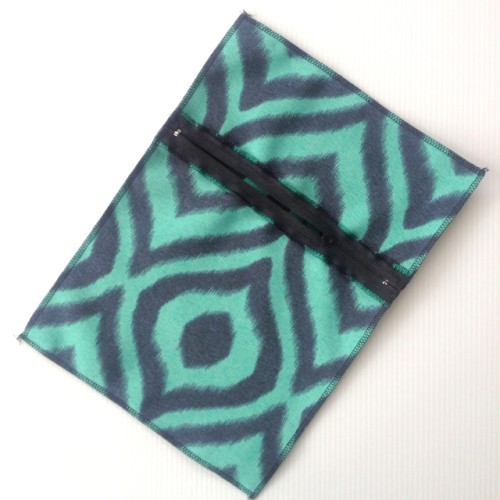
2. Pin the zipper to the right side of one of those finished edges and stitch in place. Fold back and top stitch the edge next to the zipper for a nice finish.

3. Next pin the zipper to the right side of the other piece and stitch into place. Fold back and top stitch. (See this tutorial for more photos and tips on inserting a zipper)

4. Open the zipper about half way – this is really important before you do the next step!

5. Lay the back piece down, right side up. Then lay the front piece (with the zipper) on top, right side down. You will see that the front piece is larger than the back so that you can adjust where you want the zipper to sit. Carefully pin the zipper into place so that the open ends won’t move when you are stitching.

zipper money pouch 3

6. Flip the whole bag over and pin it all together.

zippered money bag 4

7. Overlocker (or stitch) around the whole bag, trimming off the excess fabric as you go. If you are stitching, then trim with pinking shears and finish with a zigzag stitch to stop fraying.

zippered money bag 5

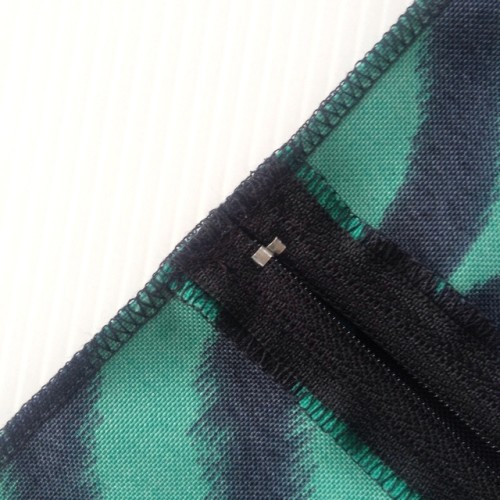
8. I added some extra stitching at the end of the zipper to reinforce it. Just stitch back and forth over that section of seam a couple of time to hold it more securely.

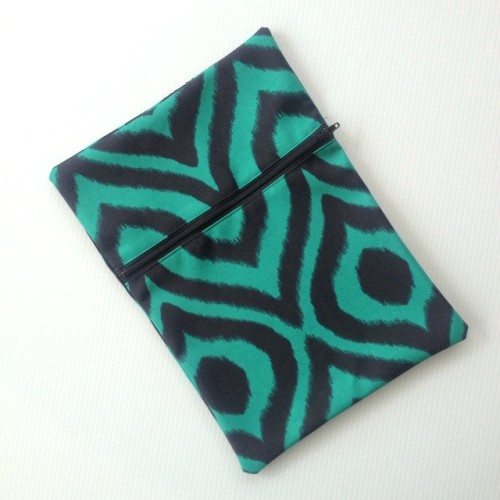
9. Turn it though, press and you’re done.

This might also be a great bag for a notebook and pen when you’re on the go, or for a toddler to bring a few small toys in the car.

Zippered Money Bag Tutorial

Filed Under: Sewing, Tutorials Tagged With: Bags

« Make a Loopy Flower Bow
The Crafty Life »
Disclosure: There are affiliate links in this post.  This just means that if you click through and choose to purchase something I may get a small commission - at no extra cost to you, of course.  This helps me keep the content here at The Crafty Mummy free for everyone.

I love to chat so please leave me a comment or ask a question.

Don't stress if your comment doesn't appear immediately - sometimes I have to moderate comments thanks to spam visitors, but the comments from real readers will always get published. Scroll down to add your thoughts or ask a question.

Hi! I’m the CraftyMummy

Tonya is the voice behind The Crafty Mummy. She dabbles in lots of different crafts – patchwork, quilting, cross-stitch, scrapbooking, knitting, crochet and sewing. This is the record of projects she has done, and the projects she dreams of getting to! Read More…

Search

  • Email
  • Facebook
  • Instagram
  • Pinterest
  • Twitter
  • YouTube
Shop my Affiliate Favourites

Fat Quarter Shop for Fabric and More

Grab the Sew Sampler Box Here

AccuQuilt for Cutting Machines and Dies

QuiltyBox for Monthly Treats in the Mail

CreativeBug for Craft Classes

Pretty Darn Cute for Blog Designs like mine

Creative Market for Fonts, Images, Themes and More

OzGameShop for All the Games

Adrift for Fashion you’ll Love

Kindle Unlimited Membership Plans

Kindle Book List

Click to shop my kindle book list
Shop my Amazon Influencer Shop
Join the CrochetU and learn to crochet
New to TheCraftyMummy.com? Click here to see more
Blog Tools I use for TheCraftyMummy.com

Grammarly

Aweber for email newsletter

CoSchedule to stay organised and share

Milotree for social media

Genesis for blog framework

FoodiePro is my theme

Hosting with WPEngine

Powered by

Recent Articles

Disclosure: There are affiliate links on this site. This means that I may get a commission if you choose to purchase after browsing via these links - at absolutely no extra cost to you, of course. I only recommend products which I use and love, or that I think will be quality products that will be useful to my readers. It is the affiliate links in this site that help me keep my tutorials free of charge. Thank you!

Looking for something? Search here:

Copyright 2015 The Crafty Mummy · Built using Genesis Framework & Foodie Pro Theme