Last Sunday I declared the day a Sewing Day. I started two new quilts and had so much fun!
I probably spent the first hour or more cutting fabric. This is probably one of my least favourite parts of the quilting process so I try to set myself up for success.
I have a large table in my craft room. It has my sewing machine set up on one end of it and usually my cutting mat on the other end. My self-healing cutting mat is 24″ x 18″.
But when I’m cutting a lot of fabric, I move my cutting board out to the kitchen table. This allows me to move around the table to cut in different directions rather than having to move the board and fabric around as much. It also makes it easier to work with large cuts of fabric. I can set my ironing board up just near my table so I can easily press then cut fabric.
My tips for cutting fabric are pretty simple:
1. Wash to remove any dirt
I always wash fabric when I have bought yardage rather than pre-cuts. This removes any dirt that it might have picked up in the shipping process or in the shop. It also removes any chemicals on the fabric. Most fabrics these days have the colours well set so that they don’t ‘run’ – this is when the excess dye comes out of the fabric – but some string colours or cheaper fabric may lose some colour so pre-washing gets rid of that excess. This is a good reason the pre-wash fabrics with similar colours just in case.
I don’t wash pre-cuts and they are usually smaller pieces and can fray a lot if washed. I try to then wash the quilt when it is finished with a colour catcher in case the colour runs.
I know some quilters prefer not to wash and take advantage of the slight stiffness in the fabric caused by these chemical, sometimes called “sizing”, but I prefer to wash first.
2. Press and check for flaws
My next step before I start cutting is to press my fabric with my iron on steam. I want to remove as many of the crinkles and bumps as I can so that when I cut I get accurate straight lines.
This is also a chance to look over every part of the fabric and check for flaws. One of my fabrics from my weekend sewing day actually had a tiny hole in one spot. It looked as if it had been caught on something and rips a couple of threads. I spotted it while I was ironing, so I was able to make sure that I cut around it. It would have been disappointing to only find it as I was piecing my quilt! I often look out for pulls in the fabric or mistakes in the printing.
Again some people do things differently and I know some quilters prefer not to use steam. This is often due to concerns about stretching the fabric out of shape. I find that I can just be careful as I press but if you are concerned, try ironing without steam instead.
3. Have plenty of space
Finally make sure you have plenty of space. You need enough space to line up your fabric on your cutting mat and have the excess off to the side without falling off the edge of your table and potentially pulling to whole lot down! As you cut pieces you need somewhere flat to place those.
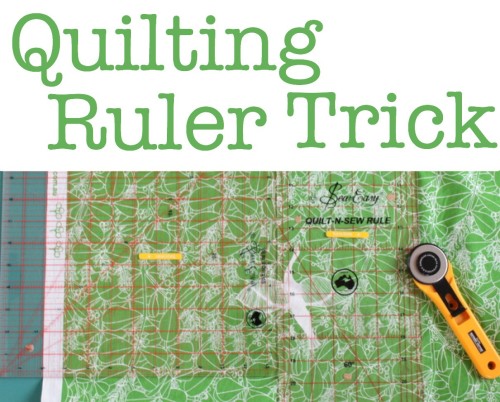
You also may need space to turn your mat at times. If I’m cutting across the width of a piece of fabric, I will fold it in half with the selvage edges together. Then I can fit the piece across the 24″ width of my cutting mat so I can cut in one movement using my long rule. If I’m then going to cross-cut that piece, I might turn my mat sideways and use a smaller ruler that is easier to reposition. So having a nice big space to turn my mat in is helpful.
Another Cutting Tip:
For more tips for cutting fabric for patchwork and quilting, check out this Craftsy class. I took this one recently and learnt some clever tricks to make my cutting a little quicker and easier: Cut to It: Strategies for Smarter Quilting (w/ Debbie Caffrey)