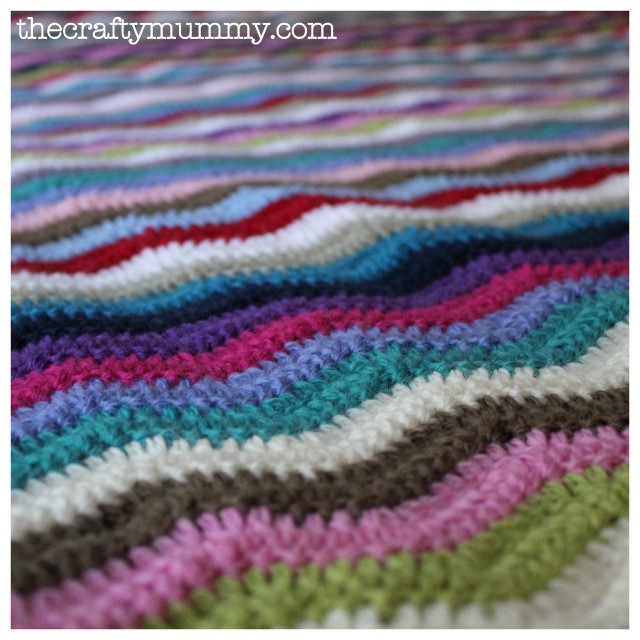
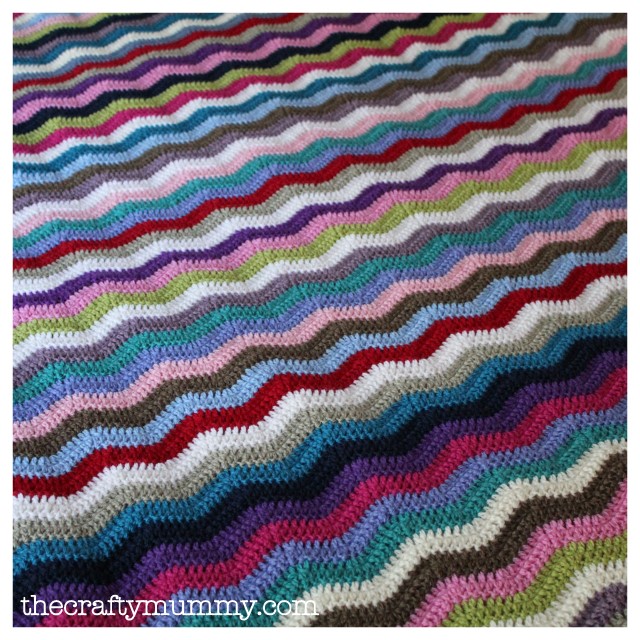
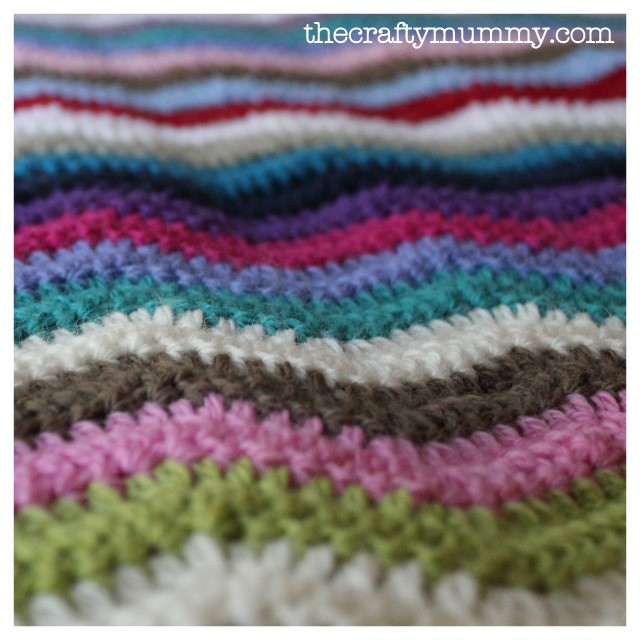
 I’ve been talking for a while now about my crochet ripple blanket. I wrote about starting it, and progress, and more progress.
Finally, I finished!
I love it. It’s warm and soft and snuggly. The colours are gorgeous. It’s big enough to cover me up for a little nap on the couch – if that ever happens! I’m already thinking that I might try to make another one with lots of soft cream and splashes of all the leftover colours from this one.
Details for those who want them:
- Pattern with tutorial from Attic 24
- Moda Vera Pure Wool 8 ply from Spotlight, about 30 balls (I lost count)
- Size 4.5 crochet hook
- 220 stitches in my starting chain
- 124 rows
- Each colour is made of two rows, so 62 colour changes
- 15 different colours
- Each row took me about half an hour
- That’s 62 hours all up!!!
 Things I learnt along the way:
- When changing colours, leave your crochet hook in the stitch loop and knot the new colour as close as you can.
- As you work from your knot, lay the loose ends along the row and crochet them in for an inch or so. Then you just chop them off instead of having to go back and weave them in at the end. This YouTube video will show you how I do it but there are other ways to do it too – search YouTube for “changing colours in crochet” to find more options.
- If you make your initial chain too long, you can leave it hanging then weave it into the blanket at the end.
- If you want wider ripples, just add extra trebles into the pattern. For example, instead of doing 4 trebles on each side of the increase and decrease stitches, you could do 5 or 6 or even more.
- I changed colours every two rows but you could create wider rows of colour by changing colours every 4 or 6 or 8 rows.
- I like my blanket of “many colours” but I would also consider doing my next one with less colours. I think 4 or 5 would look just as effective and more cohesive.
- If you do choose to go with lots of colour, have one colour that repeats more often that the rest. In my blanket that colour is the soft white. Friends commented last week that those white rows broke up the darker colours. I think they serve like the background fabric in a quilt that offsets the other colours. You could also choose another neutral colour , such as black, grey, cream, beige or chocolate.
- It really isn’t as tricky as it looks!
 So I hope I have inspired you to have a go at crochet. If you’ve never tried before, grab a hook and check out these crochet tutorials. If you have the basics, then this blanket could be your next project. I’d love to hear about it if you give it a go!
Learn to Crochet:


Congratulations Crafty Mummy! Such a lot of work and the results look amazing. I think you will have to do a ‘Show and Tell’ at playgroup.
Sure! So long as you bring something to show and tell as well
Hi Crafty Mummy! I’m visiting from Yesterday On Tuesday! I saw your cute link
up there – AMAZING I absolutely LOVE this tutorial thank you for sharing
Great job!! I’m your newest follower 😉
Cheers!
Lilli
You can find me here:
http://onestopbabygifts.blogspot.com
Thanks for dropping by, Lilli. Off to visit your blog right now!
Congrats CM. I look forward to seeing it in real life 🙂
Hope you get a chance to use it before summer arrives.
We’re expecting a chilly 5 overnight tonight so I’m thinking I’ll be spreading it over my doona
Your blanket is beautiful! I know is is a lot of work so well done:)!
Thanks, Elisabeth. It was a lot of work but I think your white crochet squares might be more work than mine. They are beautiful!
It’s very gorgeous!! I love all the colors and the small stripe pattern!
Thanks Beth. I’ll pop over and visit your party
Welcome!! Thanks for linking up and I hope to see you back again!!
This is beautiful…One day I will start a big project like this!
It was quite relaxing to do, Nicole. After the first few rows I knew the pattern in my head and found I could just pick it up whenever I was sitting on the couch. Perfect for Winter too as it got warm and snuggly as it got longer.
Lovely! Well done.
Neat ripples and beautiful colours. It looks amazing.
Thanks, Pradeepa. I’m intrigued by the name of your blog: The Lazy Hobby Hopper. Will have to pop over and visit you!
Hola. Es una manta magnífica¡¡¡¡
Job well done…it LOOKS snuggly!
Visiting from Cherished Treasure Sunday Blog Love Linky Party,
~Suzanne in Illinois
Thanks for dropping by, Suzanne. I’m so happy I started another one last night
Yay on finishing your ripple! I love all the colors. This is such a great pattern. I feel the need to make another one sometime soon. 🙂
Thanks Stefani. I already “felt the need” to start another one!
WOW!!!!!!! I found your blog through CraftGossip.com. Your blog is BEAUTIFUL!!!!!!!!!!! I am a knitter rather than a crocheter, but I’ve REALLY enjoyed looking at your blog!!!! Your color schemes, YOUR WORK, your photography!!!!!! You make me want to go buy more yarn & pull out the camera too!!!!!!! LOL Just BEAUTIFUL!!!!!!!! Thank you for sharing with us!!!!!!!!!!!!!!!!!! 🙂
Thanks Becky! I still myself a beginner in crochet but even a simple blanket looks great with lots of colours.
CraftMummy! Thank you for responding to my comment! I don’t do facebook or twitter. I’m just old fashioned I guess! But, I did subscribe to your blog— haven’t gotten a confirmation yet though. I don’t see you as a “beginner” AT ALL!!!!!! It takes ALOT of patience to do all the work you have done! I don’t even have that with my knitting! My BIGGEST project is a Baby Sweater Set I absolutely LOVE to make! I did one once with Victorian Lace & it took me FOREVER to finish! BUT, I DID finish that one! I ONLY WISH I had the patience to do large pieces like you! I look forward to seeing what other WONDERFUL creations you do!!!!!!!!!! 🙂 AND other BEAUTIFUL pictures you post!!!!!!!!!!!!!!!! 🙂
Thanks Becky. I hope you enjoy my updates!
Well done, it is gorgeous. A ripple is on my must do list. At present I am doing the circle one from Fox’s lane blog. I might be a hundred by the time it is finished! Then I will start the ripple.
I’m going to try it Thank you
Thank you I might just give it a go x
Hi there
I’m a new crocheter so this may be a silly question: according to Attic24’s pattern, the initial chain needs to be a multiple of fourteen (with the addition of three for the beginning of the first stitch. You used 220 stitches though — how did that work?
Any help would be appreciated!
Hi Lauren,
Attic 24’s instructions are spot on. I lost count… shhh! But I’ve learnt that if I have too many stitches in my original chain, I can just leave the extra couple hanging, then weave them back into the blanket when I finish off.
The other possibility, now I think about it, is that her blanket would have perfect rows of the full chevron pattern, whereas my rows may stop in the middle of a chevron. I have a feeling I wasn’t super careful. But it worked out!
Hope that helps,
Tonya
Thank you — that makes sense 🙂 I’ve started working on my own blanket!
Hi,
I love the ripple effect.
And after I finish my current cross stitch project, and knitted scarf, and lacy knitted shawl that I am currently doing, I think the ripple blanket may just be my next starter 🙂
I have just one question. With your 220 stitched, how wide is your blanket???
Thanks
Hi Tania,
My blanket is about 140cm or 55″ across, but remember it may vary if your stitches are tighter or looser than mine. I’d love to see pictures of your finished projects – they sound lovely!
Hi
Love the blanket …..could you please tell me how stitches or chain stitch would I need for a queen size bed and do I just follow attic 24 starting intructions?
Hi Deb,
My original ripple blanket had 220 stitches in the starting chain and is a little short of the top of my queen bed so I would add at least another 50-100 stitches to that. Keep in mind that Attic24 says you want multiples of 14 in your starting chain plus 3 chain to turn. Also keep in mind that your crochet may be tighter or looser than mine so that can make a different to the finished size. Perhaps you could make a small sample of only a few rows first to get an idea of sizing?
Hope you enjoy making yours!
Tonya