You know how there are some things that you just assume EVERYBODY knows? Those things that you just somehow have known about forever and you don’t even think twice about? Then one day someone asks you about it and you realise that not everyone knows it?
Today’s post is about one of those things: How to stop ribbon from fraying.
Simple, right? Well, I thought it was but then I grew up with long hair and started wearing ribbons in it from the day dot. Plus my Mum was super clever and seemed to know everything about everything, but especially about all things fabric and sewing so ribbons were just a part of her knowledge base, I guess.
In any case, I learnt early on that if you had a brand new hair ribbon then you had to cut it a certain way to stop it fraying. Now it might still fray a little over time but generally, this trick would mean that it would look great for ages – even the maroon ribbons I wore every day for 5 years at high school!
Anyway, someone said to me the other day “you should write a post on your blog about how to stop ribbon from fraying”. It was one of the moments when I thought “Of course! I should!” because I immediately agreed that not everyone would know this.
So here it is.
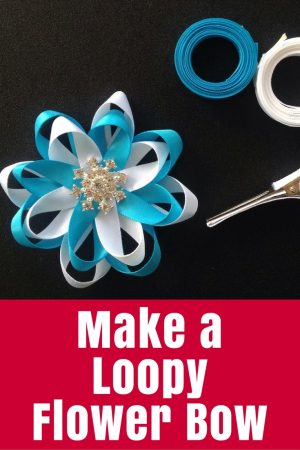
Two ways to cut a ribbon to stop fraying, plus two products you can add to the ends to make them never ever fray again.
CUTTING TRICKS
If you need a quick fix for your ribbon, there are two ways that I cut ribbons to stop fraying.
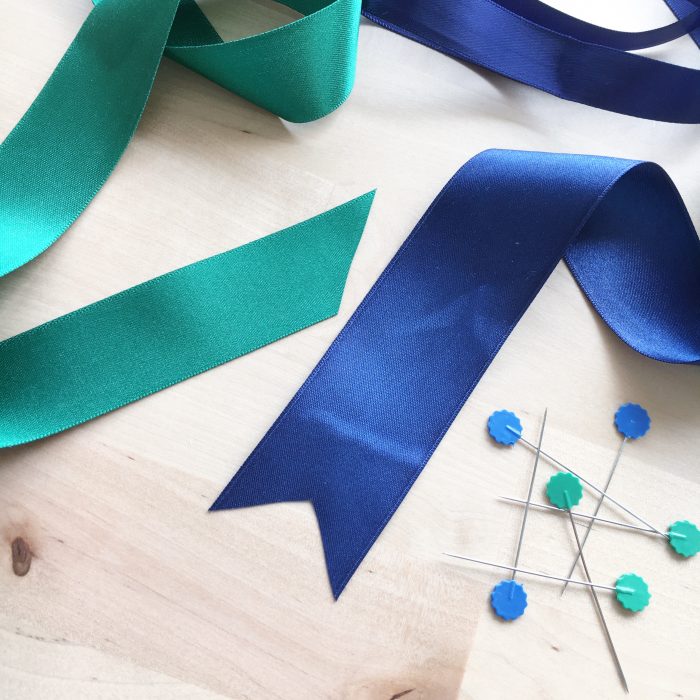
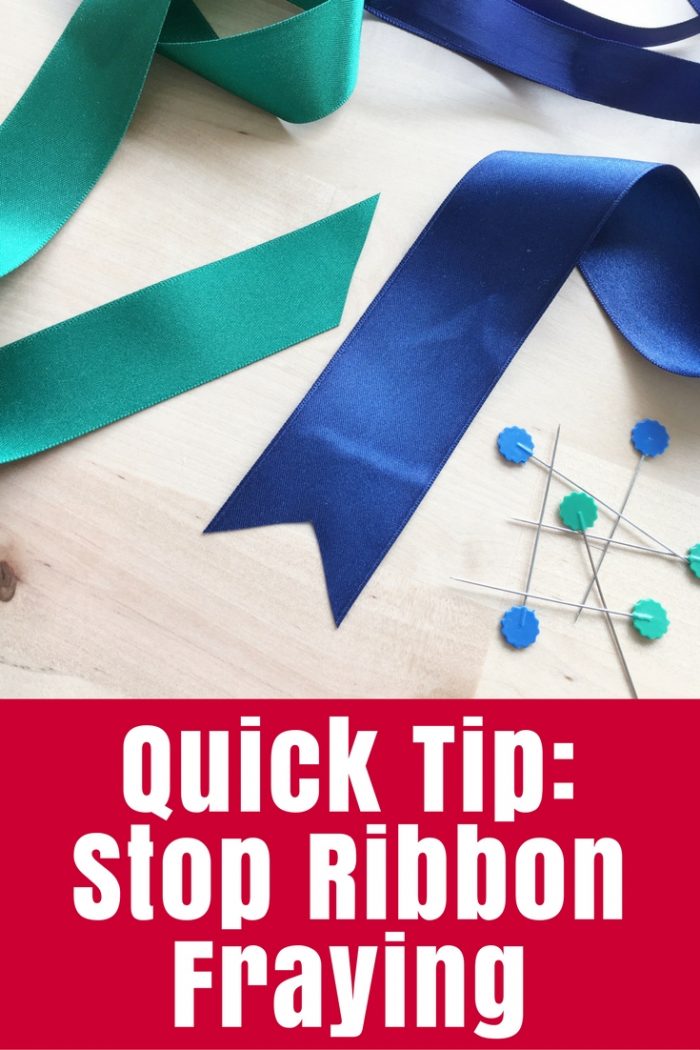
The first is to simply cut at an angle across the end. See the green ribbon in my pictures? Just like that. The angle itself is not a big deal but I aim for about a 45 degree angle, I guess. Any angle that is not straight across the ribbon width will work.
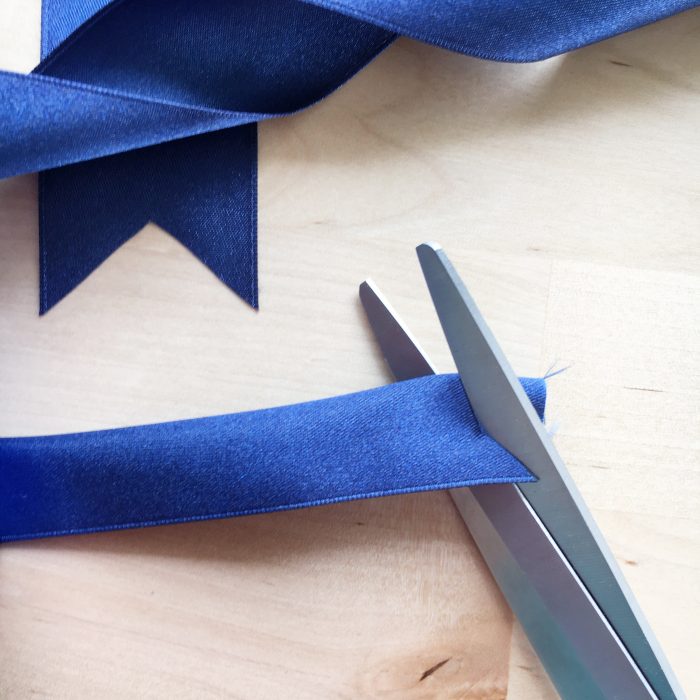
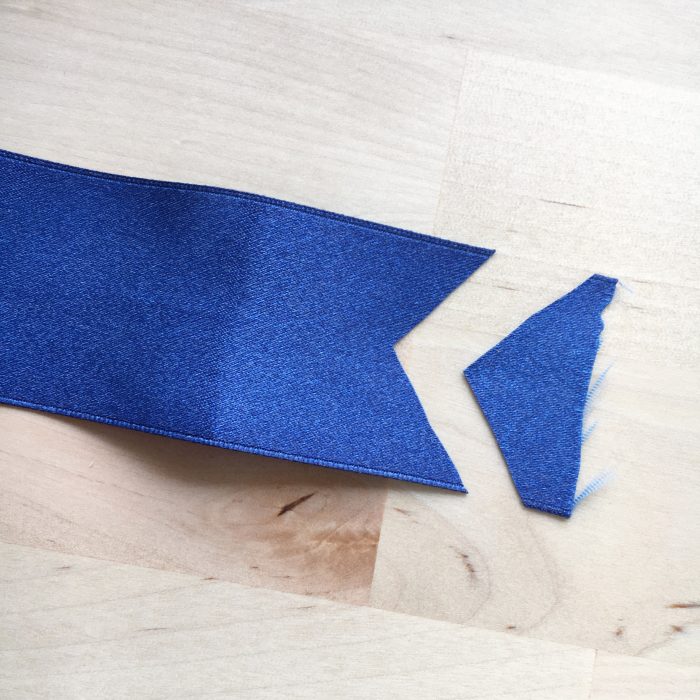
The second way requires a couple of photos but it is the way I use the most. Grab your ribbon and fold the end section lengthways in half. Then cut an angle from the open edge to the fold. When you unfold it, you should have a cute chevron shape or V shape like the picture below.
Neither of these cuts will completely stop the fraying but they will help delay it.
PRODUCTS TO STOP RIBBON FRAYING
If you really want to keep that clean cut edge, then I have two suggestions:
Both of these are liquids that you put onto the cut edge then allow them to dry. They will dry clear so you can use them on any colour ribbon. Once dry – just a couple of minutes – they will have essentially glued the fibers into place so they won’t fray. You can find fray stopping products at craft stores (eg Spotlight or Lincraft here in Australia) or pop into your local chemist or grocery store for clear nail polish.
Shop for ribbon online on Etsy:

A couple of ribbon projects:
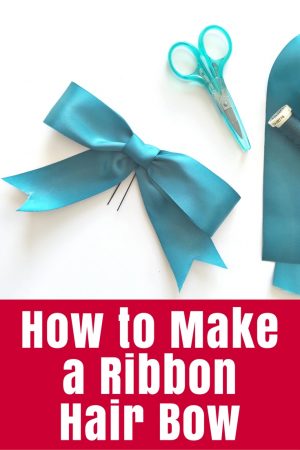
Pin for later:


Another easy way to seal your ribbon ends and stop the fraying is to seal the ends with heat.
Simply place the edge of your ribbon next to a flame can be a lighter or candle.
Don’t let the ribbon touch the flame, just place it near the flame you will see the edge of your ribbon melt slightly.
Great tip, Melissa – thanks!
I’m a landscape designer/contractor. This year I started doing outdoor seasonal decor including outdoor wreath and garland displays. I would like to use satin ribbons and bows on my outdoor Christmas wreaths. What’s the best way to make them stiff and protect them from wet weather? What products would you suggest?
Hi! I’m wanting to make a small blanket with ribbons (or tags) hanging off every few inches for my grand baby. I don’t want to use an angle cut so there’s not a point at the end of the ribbon. How do I make sure the ribbon doesn’t fray when left in a straight edge? Are any of the “no fray” products non toxic, will they not leave a mark and will they last through a baby tugging and putting them in his/her mouth?
Thanks!!
I don’t think any of the no fray products would be healthy for a little one to be chewing on. What if you folded your ribbons in half so that all the raw ends were sewn into the edge of the blanket? You could iron them flat to get the square end and even stitch them up the sides to get rid of the loop, but you’d have the raw edges hidden.
My mother always cut our hair ribbons these two ways. I just thought they were pretty; not that it served a purpose.:)
Do you have any advice for ribbon on a baby bonnet that has started to fray about an inch and needs to be fixed?!
Hi I’m in process of making doggie bandanas for my daughter who has a doggie mobile grooming service here in Calif. Sometimes I sew the ribbon onto them so that she can tie the ribbons around the doggies neck – I remember my mom always told me to make one side of the ribbon longer than the other – when I had my babies – so when you tie it – the ribbon knot is not directly under babies chin but off to the side – I tried to explain this to my daughter – am I correct in remembering this method -plus thanks so very much for your advice – I’ve been cutting the ribbon on ends on a direct angle – luv your info
The ends of the ribbons on my leather bound books, bible, Imitation of Christ,, etc. are beginning to fray. They run all the way from an 1/8″ – 1/4″ wide. I was seeking to put very light weight metal tips on them. Any ideas?