Do you have Christmas content from years gone by that is still relevant? Use my step-by-step guide to make the most of your Christmas content.
It has been a super busy year here at Crafty HQ so I have not got to craft as much as I’d like to. But I’ve been writing about my crafts since 2009 so there are heaps of Christmas crafts hiding in my Archives. This year I decided it was time to make sure that I shared all of those crafts again in the lead up to Christmas so that my new readers, who may have never seen those posts, could find them.
I thought today I’d share how I have done that with a super practical step-by-step guide so that you too can share your Christmas posts before it is too late. I hope you find this really helpful and don’t hesitate to ask me questions in the comments if you want to know more.
You will want to go through all your Christmas posts with these steps in mind:
Step 1: Update the writing
If you’ve been writing for a while, your style will have changed. My older posts are much shorter and often just had dot points or phrases so I can really turn them into better content with a little editing.
- Make sure there are no typos and that the posts still makes sense. I know some of my older posts have had errors in them but now that I use Grammarly, I can see them highlighted as soon as I go to edit.
- Expand on the ideas if possible – perhaps add more details or add steps to turn it into a tutorial.
- Add subheadings and format them – it is easy in WordPress to format your headings as “Heading 2” and I use bold on mine as well to make them stand out. Headings make it easier for your readers to scan your content.
- Check external links are still working – if you have linked to another website, just check that the article is still there.
Step 2: Update Categories and Tags
Categories and tags help to organise your website content and make things easier for visitors to find.
- Categories should be the big themes of your blog or website. Mine are things like Sewing, Quilting, Crochet, Crafts and Blogging.
- Tags should be a way to group posts that you might want to refer to as a group so make a “Christmas” tag – or in my case “Christmas Crafts”. You will then be able to send readers to those posts all in one place. Here’s my Christmas Crafts archive page: http://thecraftymummy.com/tag/christmas-crafts/
- My WordPress theme, Foodie Pro, creates a neat Archive page with images that link to the posts.
- On Blogger, you will just have Labels instead of Categories and Tags but you can easily have a Christmas label to group posts in the same way.
Step 3: Update the images
Images are so important on your posts. Whether you take your own or find good quality stock images, they provide the visual element that you really can’t leave out.
- Add images if needed – if you don’t have images in your posts then this is the time to add at least one.
- Make images larger – my older posts have quite small images so I’m gradually updating them to be larger which looks better in this theme.
- Create a Pinterest friendly image with Canva – I create tall images with the title of the post on them in Canva, which takes less than 5 minutes.
- Add alt text to your Pinterest image so that it is pulled into Pinterest as the description – just edit the image and write the description into the box for alternative text. The alt text on your other images should also relate to the blog post content.
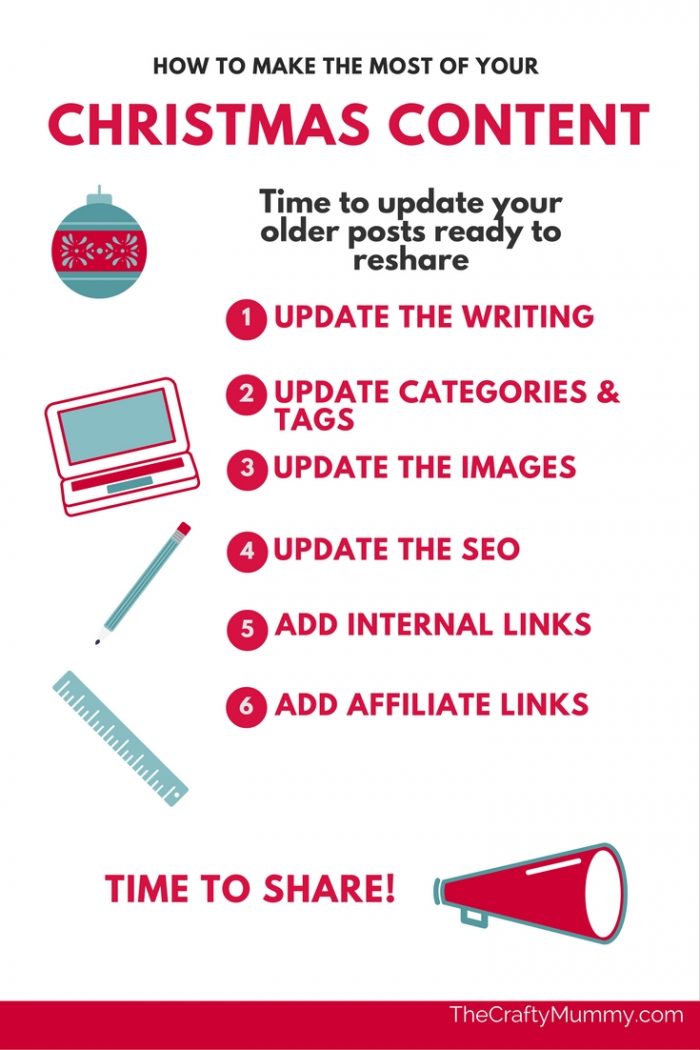
Step 4: Update the SEO
I use the Yoast SEO plugin to help me with search engine optimisation, in other words, to help the search engines find and share my posts. It makes suggestions on what you might change or add to a post to make it better. I don’t spend ages on it – just a couple of minutes when I’m editing my posts.
- Look at the sections in Yoast that may not have been filled in previously – many of my older posts were written before I started using this plugin.
- Edit the Snippet – this is the description that gets pulled to social media and search results. It will take the first paragraph of your text unless you change it. I write something that is a better summary of the post.
- Add a Focus Keyword – this is the main idea of your post and the plugin will then tell you whether you’ve optimised the post for this word or phrase.
- Tweak anything simple that it suggests – like I said, I don’t spend ages on this bet sometimes it is as simple as adding the keyword somewhere in the first paragraph or making the text a little longer with a conclusion paragraph.
Step 5: Add internal links
When people come to this post, you want them to be able to find other content on your blog that might be of interest so internal links – links to other parts of your blog – help them to do that before they leave.
- If you have mentioned something in the text that you have also written about elsewhere on your blog, then link to that other post.
- Add more Christmas posts that are similar at the bottom of the post – I use images as links so they can see the craft they will go to next.
- Add a “button” that links to your Christmas posts archive – create a simple image in Canva with the title of your Archive – “Christmas Crafts” – then use this image to link to the archive page with all those posts. You can see mine below and I often use it in my sidebar as well.
Step 6: Add Affiliate Links
If you are monetizing your blog or website, then you can use this process to update affiliate links to your Christmas posts. In my case, I have used Amazon links to help readers find the items they need to make my projects, or Craftsy affiliate links to show them classes where they could learn the craft skills to make the items. It is really important that your affiliate links be related to the content.
Sharing your Posts
Once you have updated your posts, you need to share them.
This can be VERY time-consuming but for the first time this year, I have found a tool that is making my life so much easier: CoSchedule. I have been using this tool for a while now but in the past two months I have stepped it up as they have released new features and it is fast becoming my favourite blog tool EVER!
For WordPress users, you can add the CoSchedule plugin to your Dashboard area and use it from within your post editing page. You can also use it on their website. This is a paid plugin but you can do a free 14-day trial to decide whether you like it. I have found it is definitely worth the money – in fact, I just upgraded to a Marketing Plan to get the additional features.
The major reason I upgraded was to get the feature called Social Templates. These allow you to set up a series of social media updates then save the template to use on multiple posts. It has saved me lots of time!
I set up two different templates specifically to share Christmas craft content so let me explain how it works.
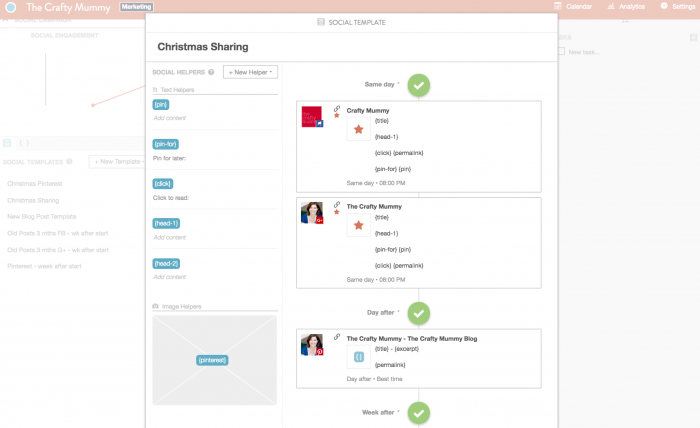
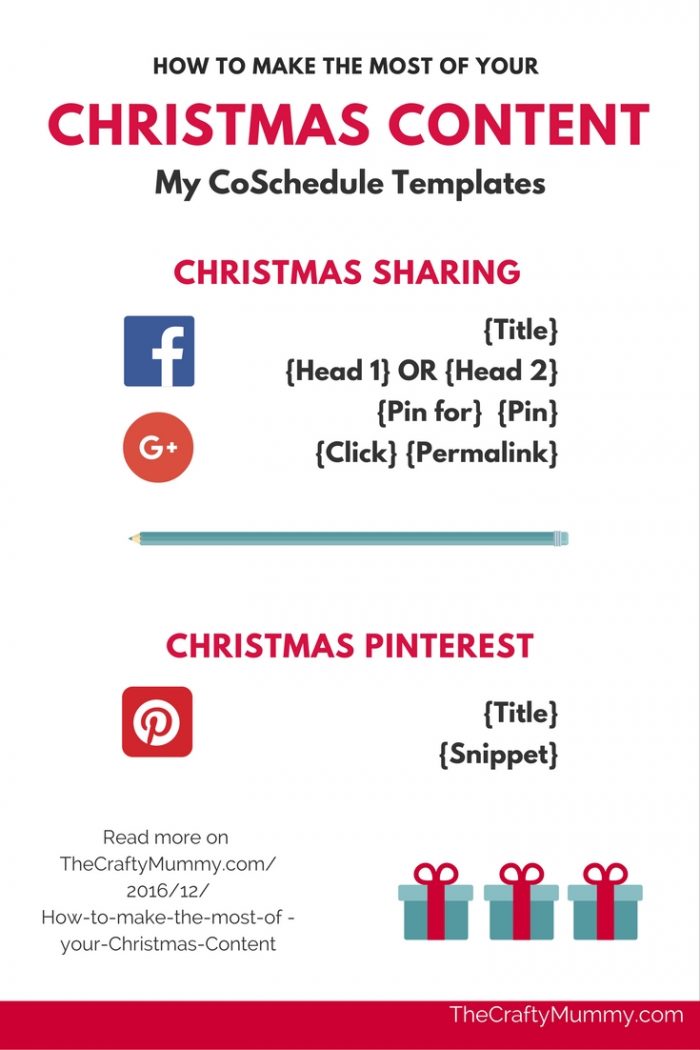
The first is called Christmas Sharing. First, you set up Social Helpers which can be used again and again in social messages. I set up these ones:
- {Pin} – to hold the URL on Pinterest that I have pinned the post to
- {Pin for} – a set phrase that says “Pin for later” to encourage readers to pin my posts
- {Click} – another set phrase that says “Click to read”
- {Head 1} – a heading or snippet that will go into the social message
- {Head 2} – another heading or snippet
There is also a Pinterest Image that I can set for the post.
Once the Social Helpers are set, you can then create the template. My template includes these messages:
- Facebook page message – on the same day the template series starts
- Google+ message – on the same day
- Pinterest post – on the next day to my main Blog Pinterest board
- Facebook page message – a week later
- Google+ message – a week later
You can either set particular times on those days to send, or you can choose “Best Time” and CoSchedule will use their software to decide when to send the messages out.
The FB and G+ messages include these Social Helpers:
- {Title} – the blog post title is a default social helper that CoSchedule creates for you
- {Head 1} or {Head 2}
- {Pin for} and {Pin} – to suggest to readers to pin and give them the link
- {Click} and {Permalink} – to remind them to read more. The Permalink is another default helper which inserts the post URL.
The Pinterest message includes these helpers:
- {Title}
- {Excerpt} – another default helper for the description of the post – similar to the Yoast snippet section – in fact, I make mine the same.
So all that sounds like a lot to set up but the magic is that once you have set up the Template and saved it, then you can easily use it again and again for each Christmas post you want to share.
Just go to the post and down the CoSchedule section a below the editing screen. From the Templates list, choose the template you just set up and press “Apply”. A screen will open so you can fill in the Social Helpers specific post. You can also choose a date to share it at the top – either a number of days from now or a specific date that you want. There are so many options to customise it all – which I love. Once you’re happy just hit the orange “Apply” button to see all the messages appear in your list.
Another aspect I love is that even once I have them all scheduled, I can still edit. If I don’t want to send a message, I can delete it altogether. If I want to change the time or date it goes out, I can edit those. I can even go in and edit the individual messages if I want to say something different. On the main CoSchedule calendar screen in my Dashboard, I can drag and drop messages to different days too. So easy!
My second Template for Christmas is called Christmas Pinterest. It schedules out 5 pins over 5 days to various group Pinterest boards. I have never used Pinterest scheduling before so this is new for me. It has so far worked really well. As I applied the template to various Christmas posts, I staggered the start dates so that I wouldn’t be sending to the same boards each day. Pinterest can take a while to start sending traffic so I’m hoping this sharing will help build momentum on those specific posts. I’m still using Pinterest each day to browse and pin things so these scheduled pins are just a little extra.
The newest feature on CoSchedule is sharing to Instagram.
This has only just started this past week so I’m looking forward to setting up some scheduled shares of my Christmas pictures to Insta as well. Instagram doesn’t allow outside apps to schedule straight to their platform, but CoSchedule works like other apps I have tried where it will notify you on your phone when the Instagram post is scheduled, then you manually post it on Instagram. The benefit of using CoSchedule for this instead of the app I have been using is that I will be able to use pictures I’ve got on my blog, saving me somehow getting those pictures onto my phone.
Phew! That turned into a long post!
I hope it has helped you get some ideas for updating and sharing your Christmas content this year. It is such a busy season that I’m finding that scheduling things in advance is the only way to go. I would not have time or remember each day amongst all our other activities!
Find out more about CoSchedule here.
Find out more about Grammarly here.
Find out more about Canva here.
Find my cute stitched Babushka Doll here.