Today I’d like to welcome Kevin from Luxury Home Stuff to give us some tips on working with chalk paint, and particularly if you want to chalk paint furniture. If you haven’t tried chalk paint before, it is one of the easiest paints to use and forgiving enough even for a novice painter like me! I hope this guest post will inspire you to have a go.
Looking for tips on how to chalk paint furniture? If so, you are at the right place. Recognised by its soft matte-like finish, chalk paint is commonly used to give furniture a distressed aged look.
This remarkable property, as well as its quick drying time, has made it a favourite when it comes to DIY projects. First produced by the paint brand Annie Sloan, chalk paint gives surfaces a dreamy chalky texture. Often, a soft wax finish is used to seal the paint.
If you’re new to chalk paint, the following overview will give you the basics on how to chalk paint furniture. You can check out more great chalk paint ideas at LuxuryHomeStuff.
Also, check out these two chalk paint projects here on TheCraftyMummy: How to Paint a Basket and Painted Canvas Art
Step 1: Workspace Preparation
Like in any other woodworking DIY project, workspace preparation is usually the very first step.
Select your location – Most paint jobs generally require an individual to work in a well-ventilated location, preferably outdoors. However, with chalk paint, an indoor setting can be better. This is because chalk paint adheres best to surfaces at room temperature. If you work outside, it might be too cold or too hot for the paint to adhere properly.
Protect your floors – After selecting the piece of furniture you wish to work on, place it in a central location leaving enough space for you to move around when working. You should also ensure that you protect your floor from paint drips by spreading newspaper, a drop sheet, or another protective material on the floor within your work area.
Step 2: Preparing the furniture
Now that you have your workspace ready, the next step is to prepare your furniture for the paint job. One of the pleasures of using chalk paint is that you don’t need to prepare your furniture as carefully as you would for some other types of paint.
Remove accessories from furniture – The first step when preparing a piece of furniture is to remove any hardware that might be attached to it. Look out for things like buttons, handles and other decorative items that you may not want to paint over and carefully detach them from the furniture. Pay special attention to the position they were fixed and also how they were fixed so you can easily re-attach them later.
Sand furniture – The next step is to ensure that you have the best surface on which to apply the paint. Feel out the woodwork for any bumps and carefully sand them down using fine grit sandpaper.
If the furniture has any deep scratches or gauges, you can a wood filler to create an even surface. Some furniture pieces might also have a high-gloss surface. In such an instance, light sanding of the entire furniture piece so as to create the best surface for painting is recommended.
Some furniture pieces might also have a high-gloss surface. In such an instance, light sanding of the entire furniture piece is recommended. This will create a surface to which the paint will adhere.
Tape off areas that won’t be painted – Use painters tape to mark off areas that you want to remain unpainted. This is important especially if you want to create a pattern or in instances where you are unable to remove an accessory, such as a lock.
Wash down the furniture – Wash down the furniture using warm water with a few drops of detergent. This is done to remove any sanding grit or debris from the furniture leaving you with an even clean surface for painting. After the furniture is completely dry, you can start painting.

Step 3: Painting the furniture
Consider applying shellac – Some types of wood such as cherry and mahogany soak up paint bringing about undesirable results. If your furniture is made of one of these timbers, it is generally recommended that you apply a thin coat of shellac with a cloth pad before you start.
Generally, you do not need to apply an undercoat when using chalk paint.
Prepare the paint – the next step is usually to prepare the paint and other materials used for painting. For starters, you should ensure that you have enough paint to cover your DIY woodworking project. Unlike other types of paints, chalk paint does not require much preparation as it is ready-to-use.
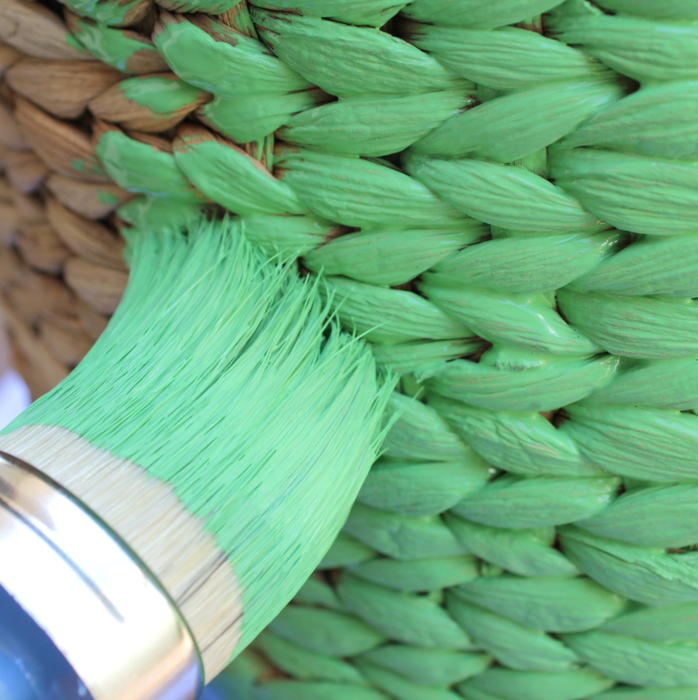
All you might need to do is stir the paint a couple of times and you are ready to go. It would also be in your best interest to go for a brush with long flexible bristles as the long bristles allow the brush to pick up a good amount of paint giving you longer strokes.
Applying the paint – The next and most important step of your DIY project is the paint application. When applying the paint, the basic rules of painting usually apply. You should always ensure that you paint along the grain of the wood so as to ensure the paint penetrates the furniture piece properly.
It is also advisable to paint from the top downwards so that there are no drip marks left behind after you finish painting. Dip the brush halfway in the paint to picking up too much paint; picking up too much paint often results in a messy paint job.
Apply additional coats – After applying the first coat, your furniture might look somewhat rough to the eye. However, you need not worry as a few more coats of paint usually cover any patches. Wait for the paint to dry and apply a second coat or even a third until you are happy with the finish, allowing each coat to dry before adding the next.
Step 4: Waxing the paint
Waxing the chalk paint is generally recommended to ensure that your furniture piece has the perfect finish. Finishing wax helps bond the paint to create a durable lasting finish and also protects the paint from water damage.
There are a number of wax finish products available on the market. When applying the finishing wax, ensure you make use of a waxing brush to get the best results.
Work over the entire furniture piece using smooth circular motions, wait for 10-15 minutes then apply a second coat. After the wax dries, you can go ahead and reattach the accessories you removed from the furniture.
It is important to note that wax takes around 20 days to completely cure so you should be careful with your furniture during this period.
With careful preparation and painting, your beautiful piece of chalk paint furniture is sure to look great for a lifetime.

About the Author:
Hi! I’m Kevin Smith of LuxuryHomeStuff.com, blog author, and passionate manufacturing engineer. This space is where I share DIY tips, smart home appliances, stories of home-improvement and home-decor, and resources to help you explore luxury home stuff.


I’d just like to suggest taking a picture of your “before” project not only to replace items like buttons, etc after painting your project but then take an “after” pictures to show your completed project to others. Place pictures in an album or scrapbook of “before” & “after ” photos.