The Crafty Mummy

Crafts. Sewing. Quilting. Crochet. Tutorials.

  • Start Here
  • Welcome
    • Subscribe
    • About Me
      • Copyright
      • Disclosure
      • Privacy Policies
    • Advertise
    • Sharing
      • Recommendations
      • Shopping & Coupons
      • Books
  • Explore
    • Crafts
      • Beading
      • Kids
      • Paint
      • Storage
      • Christmas Crafts
    • Sewing
    • Quilting
    • Stitching
    • Crochet
      • Yarn
    • Life
      • Food
      • Organisation
    • Blogging
      • How To
      • Social Media
      • WordPress Plugins
      • Photography
  • Tutorials
    • Tips
  • Shop on Etsy
  • Shop on Redbubble

Tutorial: Military Braid Barrette with Grosgrain Ribbon

by Tonya Grant |Filed Under: Crafts, Tutorials Tagged With: Guest Post, Ribbon Get a Weekly Update of all Articles

How to make a military braid barette

I’m so pleased to welcome Janine from Sarah Lauren to The Crafty Mummy today. She is a crafty mummy who also runs an amazing business selling ribbons and more. Thanks so much for popping by, Janine.

It is always nice to add a new hair clip to an outfit. If you make your own, you can have one to match every outfit! These would also make the perfect gift for a student to match their school uniform.

These cute barrettes can be made in 6mm grosgrain ribbon and 9mm grosgrain ribbon. We have included measurements for both widths and for 2 different sizes of barrette 6cm and 8cm.

What You Need

  • 6mm or 9mm grosgrain ribbon
  • E6000 glue or hot glue gun
  • Scissors
  • Wood burning tool (lighter or matches will also work)
  • Barrette
  • Using a 6cm barrette:
    • 6mm ribbon – 35cm x 2 (for 1 colour cut 70cm)
    • 9mm ribbon – 40cm x 2 (for 1 colour cut 80cm)
  • Using an 8cm barrette”
    • 6mm ribbon – 45cm x 2 (for 1 colour cut 90cm)
    • 9mm ribbon – 55cm x 2 (for 1 colour cut 110cm

Note: You can use two different coloured ribbons for the two pieces, or using only one colour and cut the longer measurement in brackets.

We will be using 9mm grosgrain ribbon in this photo tutorial but the method is the same for any width of ribbon.

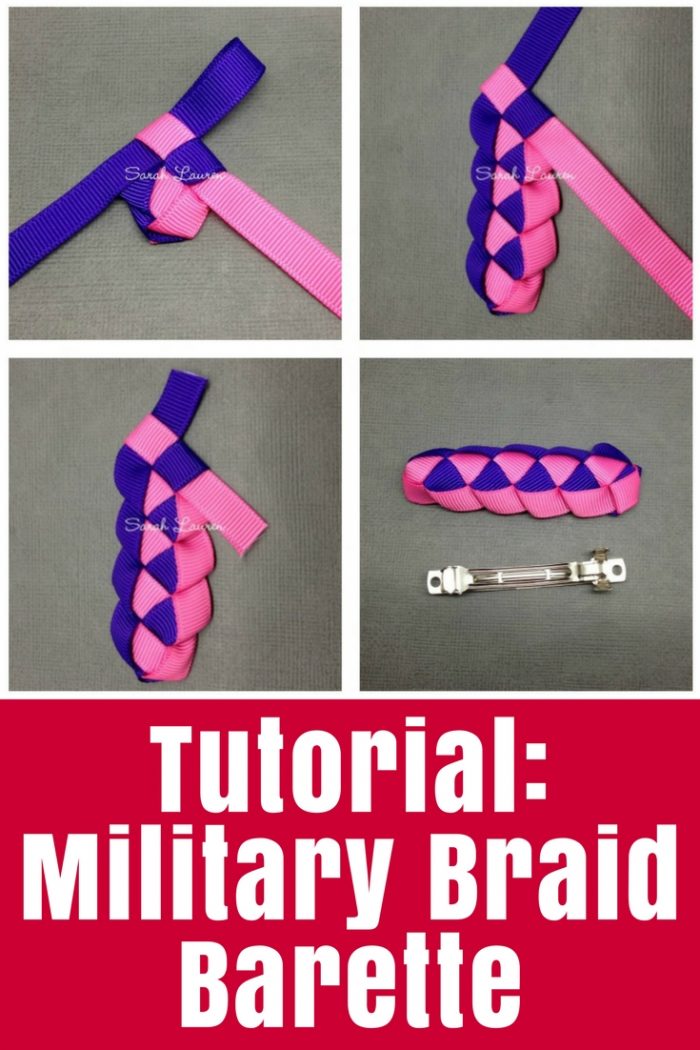
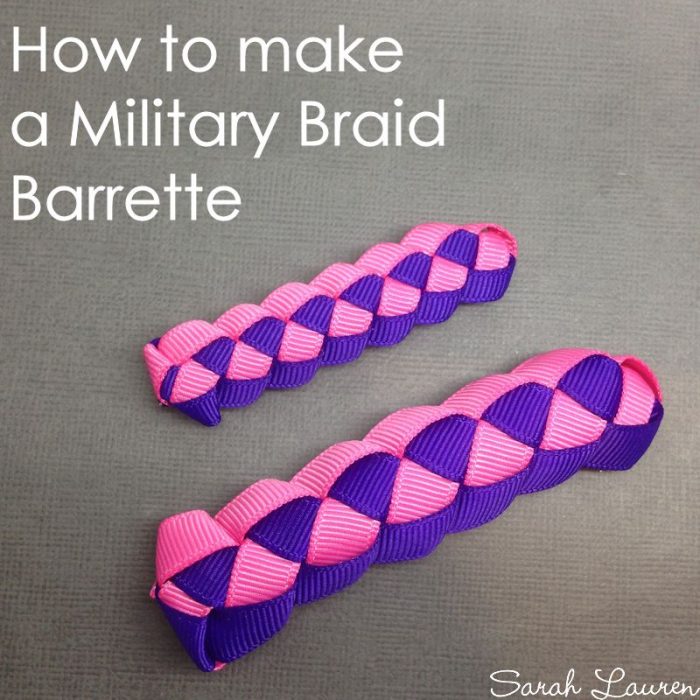
How to make a Military Braid Barrette

Tutorial Military Braid Barette

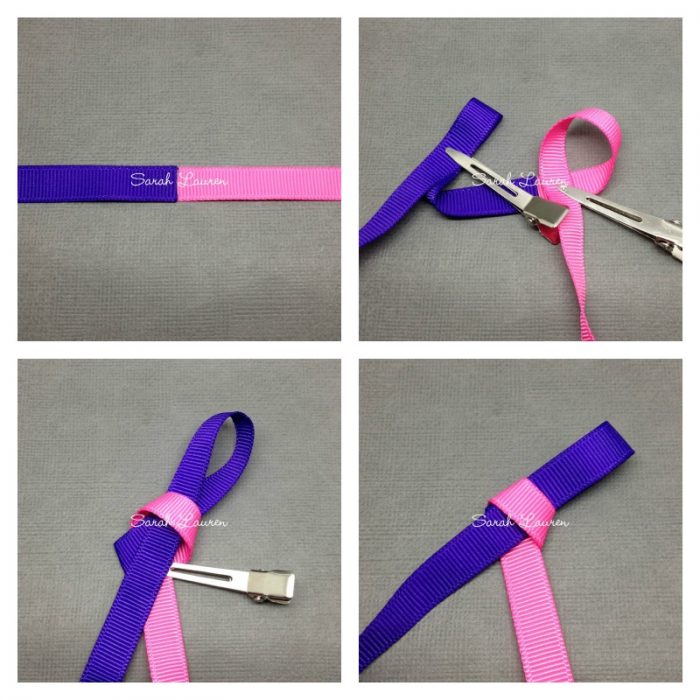
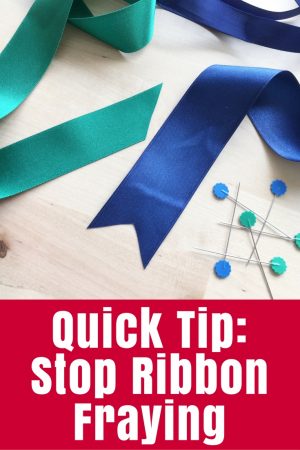
Seal the ends of the ribbons with a wood burning tool. You could use matches/lighter or tea light candle.

Join the two pieces of ribbon ribbons. Add glue to the end of the purple ribbon and overlap the pink ribbon slightly to attach the different colour ribbons. If you are using only one colour, you can skip this step and find the middle.

Make a loop with the purple ribbon and make another loop with the pink ribbon on the right as pictured. Take the loop of purple ribbon and thread it through the pink loop. The loop should not be too long. Do not pull the ribbon all the way through. Gently pull on the pink ribbon tighten it against the purple ribbon. Adjust the purple ribbon so that the ribbons are relatively secure and not sagging. You do not want to buckle the ribbon.

Tutorial Military Braid Barette

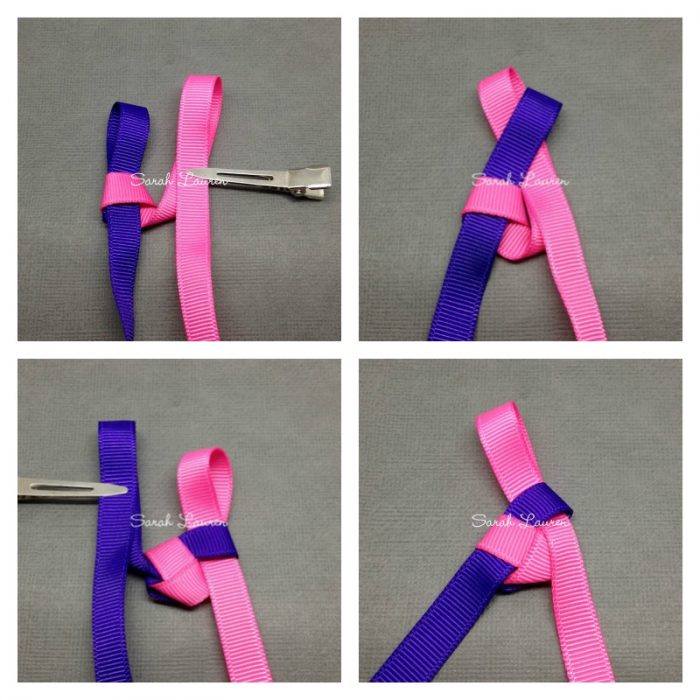
Make a loop with the pink ribbon and pass it through the purple loop that was left from the previous step. Gently tighten the purple ribbon until it is flush with the edge of the pink ribbon. The pink ribbon will need adjusting so that it is tight but not buckling. Repeat the looping steps until you have enough braid to cover your barrette. Approximately 7cm when using a 6cm barrette.

Tutorial Military Braid Barette

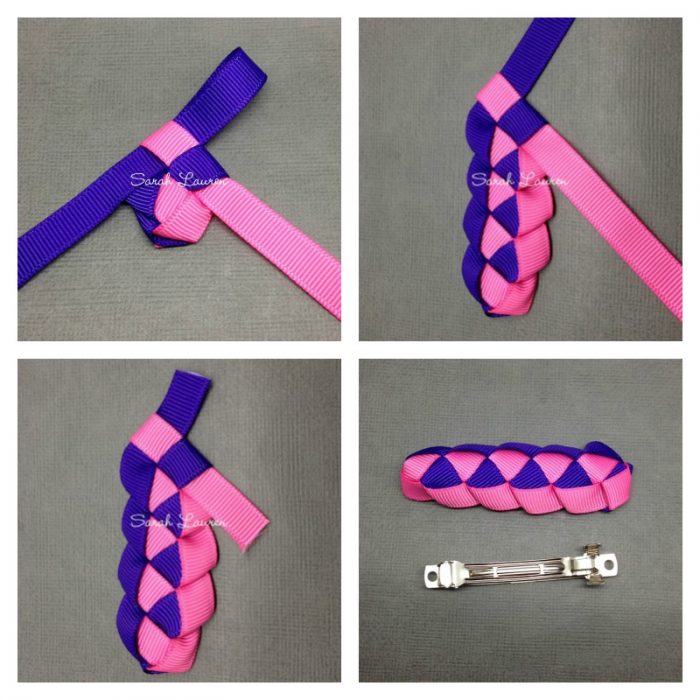
Once you have the length of braid you need, pull the last looped ribbon all the way through. Trim ribbon leaving approximately 1cm of the ribbon pointing up and 2cm of ribbon pointing down. You can fold the ribbons over to measure how long you need.

Seal the ends of the ribbon with the wood burning tool or flame. Place a small amount of glue on the ends of the ribbons folding over the long piece first followed by the shorter piece.

Finishing off the Military Braid Barrette

Tutorial Military Braid Barette

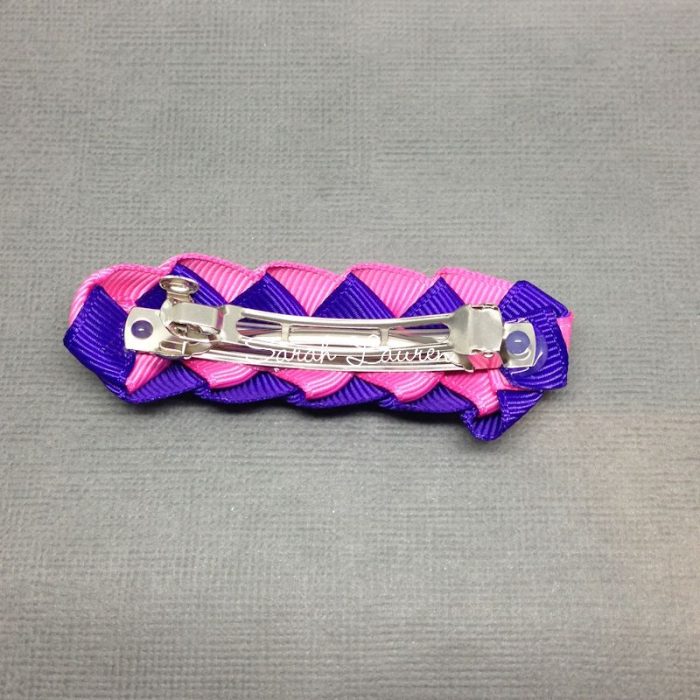
Now place glue onto the metal barrette and then position the braid onto barrette. Hold in place until the glue sets.

Tutorial Military Braid Barette

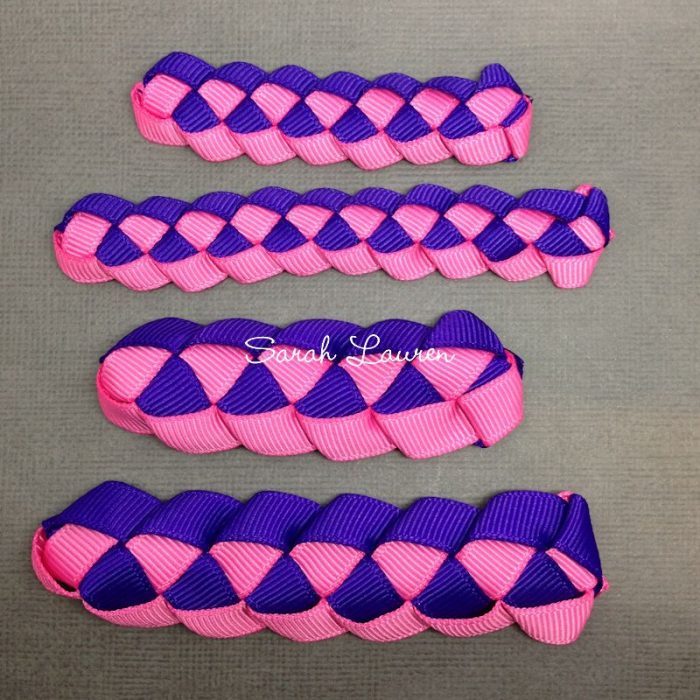
Pictured above are the 4 outcomes of using different width ribbons and different lengths.

With so many ribbons available, the possibilities for these are endless. This Candy Stripe ribbon would look gorgeous. What a great way to add a pop of colour!

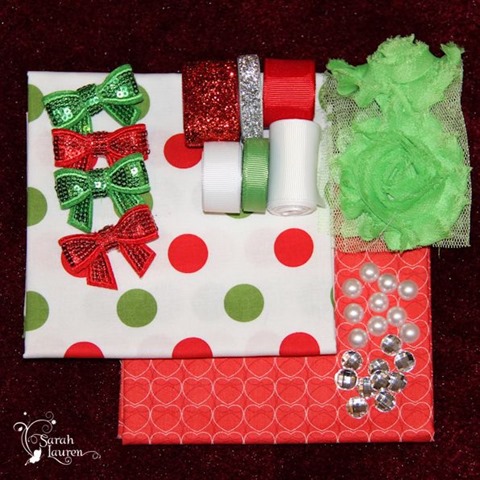
About our Guest: Janine Evans is the owner of Sarah Lauren, an online craft store supplying Satin and Grosgrain Ribbon for hair accessories, ribbon crafts, gift wrapping, card making and scrapbooking.
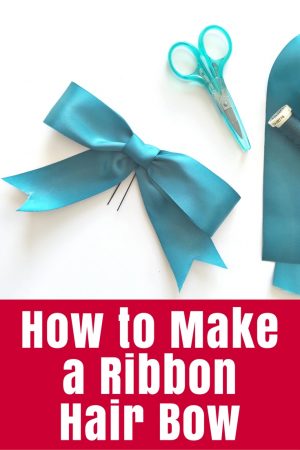
More Ribbon Crafts


Filed Under: Crafts, Tutorials Tagged With: Guest Post, Ribbon

« 5 Crochet Mistakes to Learn From
Not Too Girly Crochet Blanket »
Disclosure: There are affiliate links in this post.  This just means that if you click through and choose to purchase something I may get a small commission - at no extra cost to you, of course.  This helps me keep the content here at The Crafty Mummy free for everyone.

I love to chat so please leave me a comment or ask a question.

Don't stress if your comment doesn't appear immediately - sometimes I have to moderate comments thanks to spam visitors, but the comments from real readers will always get published. Scroll down to add your thoughts or ask a question.

Hi! I’m the CraftyMummy

Tonya is the voice behind The Crafty Mummy. She dabbles in lots of different crafts – patchwork, quilting, cross-stitch, scrapbooking, knitting, crochet and sewing. This is the record of projects she has done, and the projects she dreams of getting to! Read More…

Search

  • Email
  • Facebook
  • Instagram
  • Pinterest
  • Twitter
  • YouTube
Shop my Affiliate Favourites

Fat Quarter Shop for Fabric and More

Grab the Sew Sampler Box Here

AccuQuilt for Cutting Machines and Dies

QuiltyBox for Monthly Treats in the Mail

CreativeBug for Craft Classes

Pretty Darn Cute for Blog Designs like mine

Creative Market for Fonts, Images, Themes and More

OzGameShop for All the Games

Adrift for Fashion you’ll Love

Kindle Unlimited Membership Plans

Kindle Book List

Click to shop my kindle book list
Shop my Amazon Influencer Shop
Join the CrochetU and learn to crochet
New to TheCraftyMummy.com? Click here to see more
Blog Tools I use for TheCraftyMummy.com

Grammarly

Aweber for email newsletter

CoSchedule to stay organised and share

Milotree for social media

Genesis for blog framework

FoodiePro is my theme

Hosting with WPEngine

Powered by

Recent Articles

Disclosure: There are affiliate links on this site. This means that I may get a commission if you choose to purchase after browsing via these links - at absolutely no extra cost to you, of course. I only recommend products which I use and love, or that I think will be quality products that will be useful to my readers. It is the affiliate links in this site that help me keep my tutorials free of charge. Thank you!

Looking for something? Search here:

Copyright 2015 The Crafty Mummy · Built using Genesis Framework & Foodie Pro Theme