I’m so pleased to welcome Kate from Zen Stitching to The Crafty Mummy today. She is going to share a clever way to mend your clothes that is both practical and beautiful. Thanks so much for sharing this tutorial, Kate.
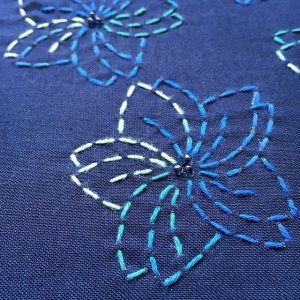
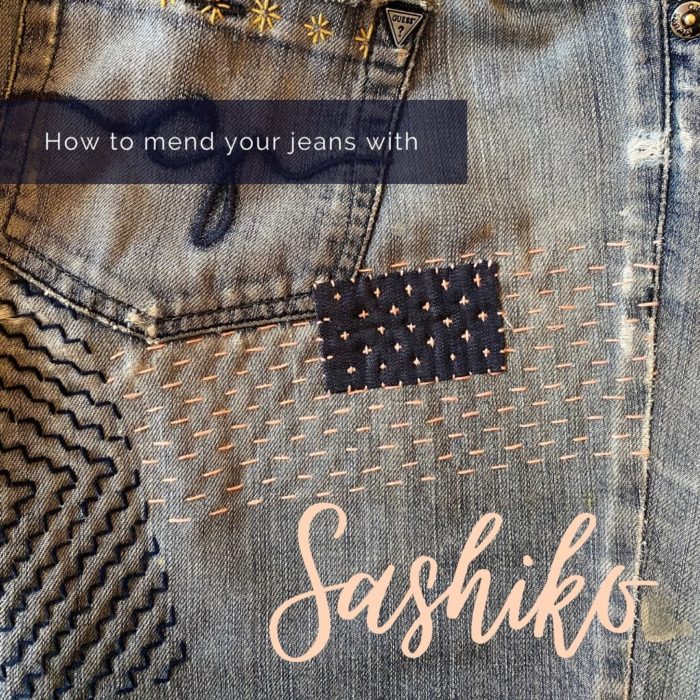
Have you seen the latest craze that is sweeping across social media? Sashiko is a form of visible mending that highlights and celebrates the age and life of textile garments.
History
Sashiko means ‘little stab’ or ‘little pierce’ (pronounced sash-co. The ‘i’ is soft and almost silent). Sashiko evolved as a rural domestic craft in Japan during the Edo era (1615 – 1868) and was originally invented for warmth and thrifty recycling, and strengthening work clothes. Traditionally it was blue and white because at the time there were laws in place that prohibited the lower classes from wearing brightly coloured clothing with large patterns. There were also laws about wearing patterns no larger than a grain of rice, or with stripes that were no thicker than straw. This could be why sashiko stitches resemble grains of rice.
Let’s Begin
For the best results, I would recommend working with a specific sashiko needle and thread (they are designed specifically for mending textiles) but, if you don’t have these you can use a regular needle and thread.
Materials
- Needle – find sashiko needles here
- Thread – this variegated sashiko thread would be great on blue denim jeans
- Scissors – these are cute!
- Fabric to patch hole
- Safety pins
- Fabric marker
- Ruler
Getting Started
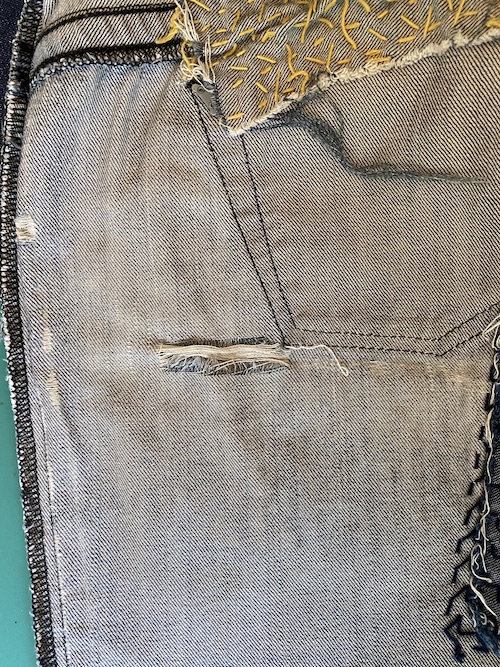
Ensure the fabric patch is larger than the area of the hole. The fabric will be well worn in this area and likely to continue to fray. A larger patch will prevent more patching in the near future.
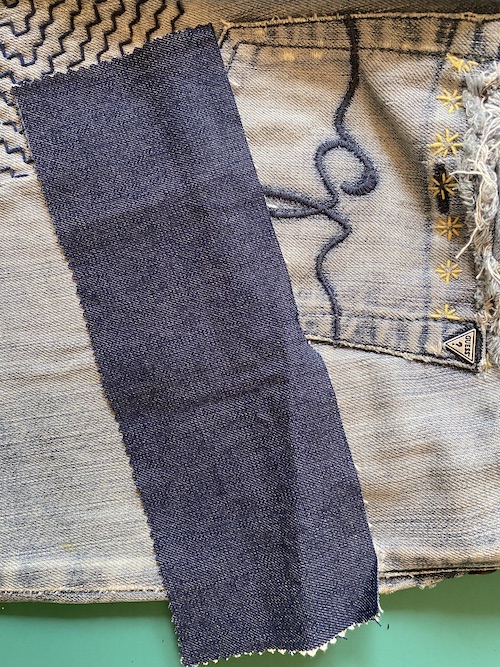
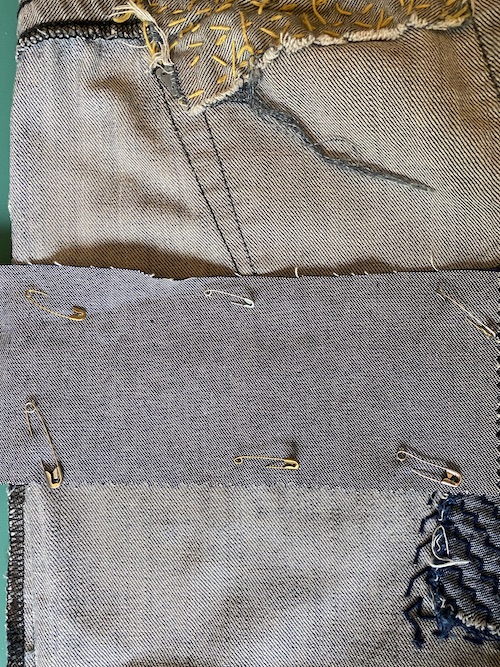
Turn your jeans inside out.
Place the fabric patch over the hole and pin in place using safety pins. I like safety pins because they will not fall out, or inadvertently stab you whilst you are mending.
Turn the fabric right side again.
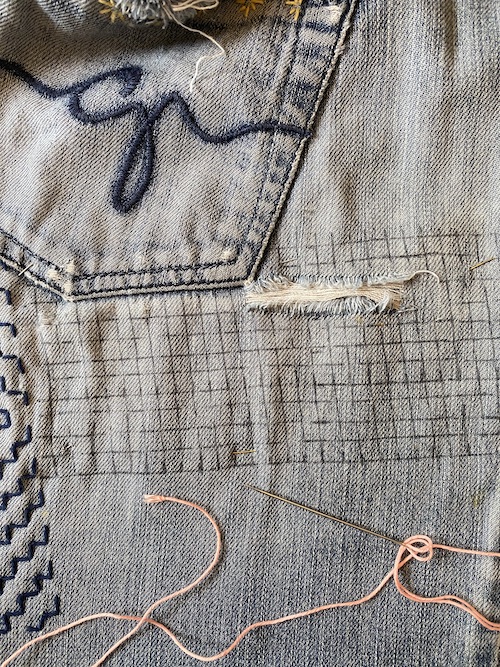
Using a ruler and a fabric marker, measure out a 1/4 inch grid over the area you wish to stitch (in my case the entire area of the patch). Using the inch measurement allows for a little extra space between stitches, compared with metric.
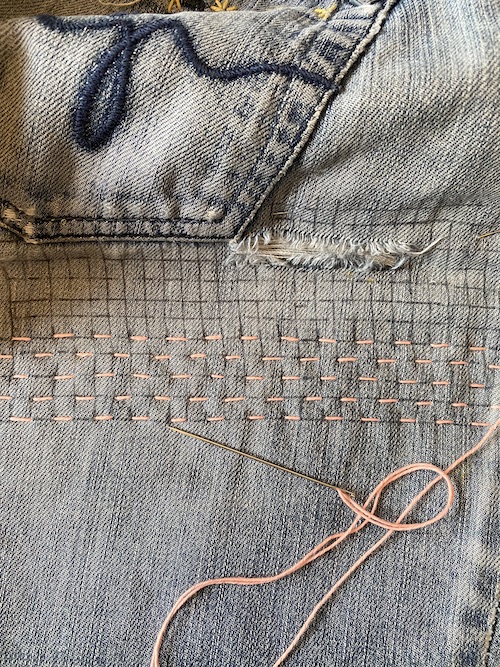
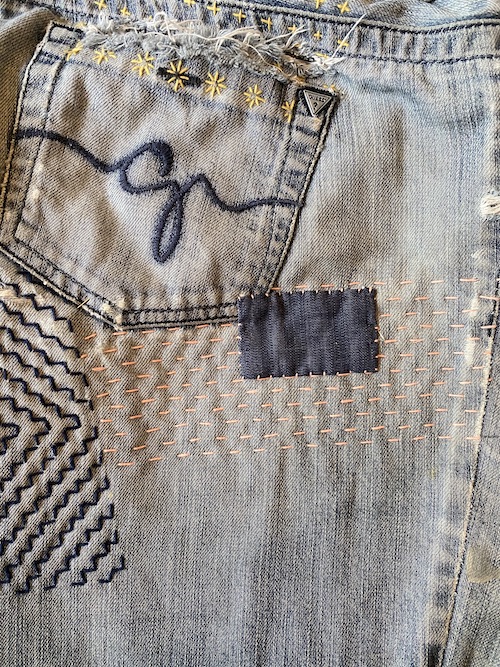
Using the grid as a guide, stitch ¼ inch stitches along the length of the patch. As you start a new row, alternate the stitch, so every second row is the same.
You may wish to stop at this step, as this has patched the hole and strengthened the jeans in this entire area. Remove safety pins and erase fabric marker. (I used a heat-sensitive pen and an iron.) However, if you want to hide the tear to keep it looking neat continue to the next step.
Using a lighter weight fabric, iron the cut edges under and pin patch in place.
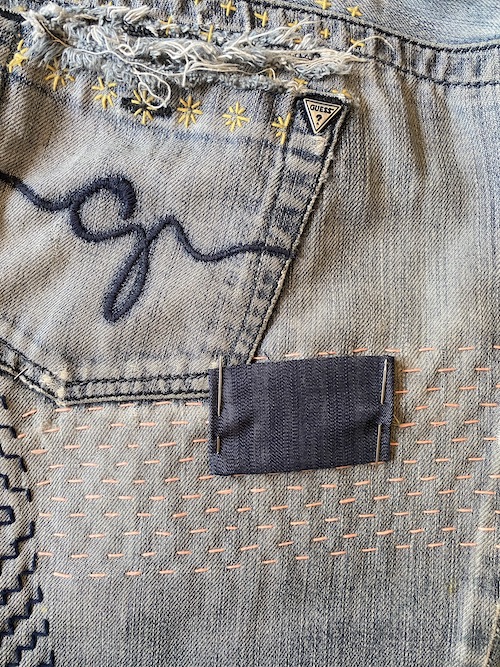
Using a whip stitch, sew the patch in place.
Using a fabric marker, mark the ¼ inch grid on the fabric patch.
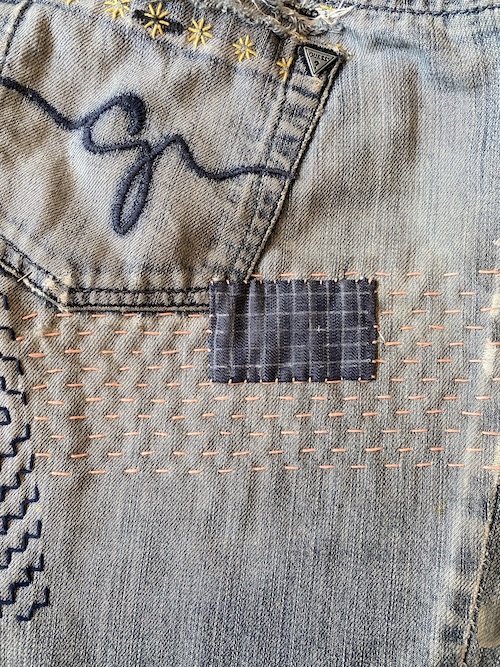
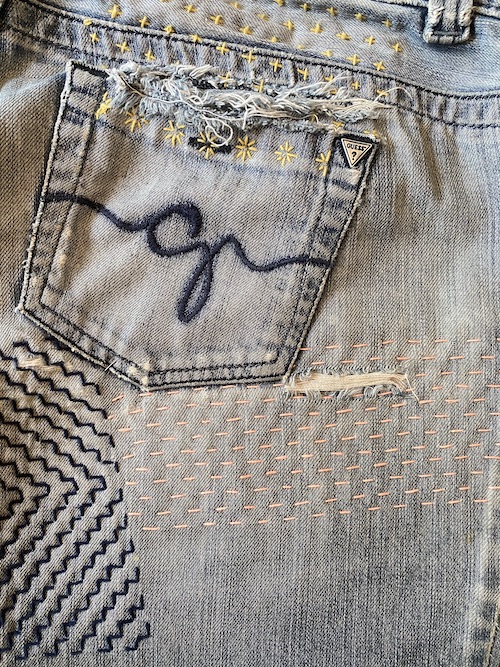
Using a smaller length stitch, sew in alternating horizontal rows across where the lines intersect.
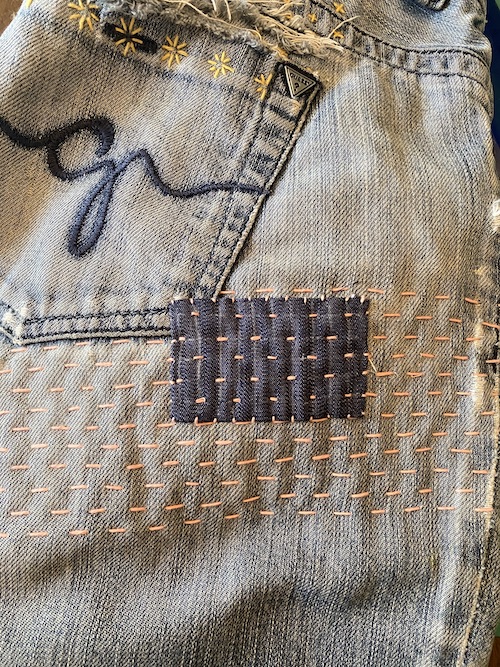
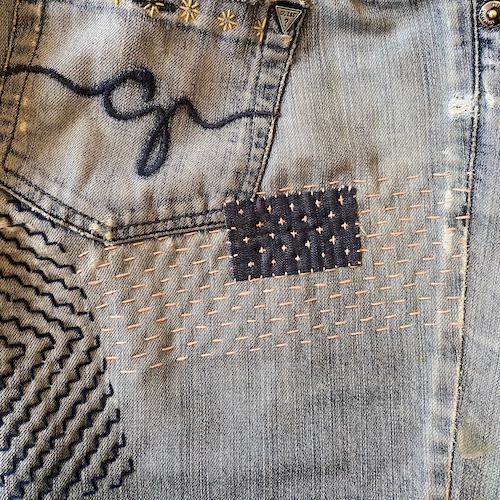
Repeat this process vertically. Your stitches will now form crosses. And you now have a very beautifully mended pair of jeans! Saved some money and possibly found peace of mind as you stitch.
About our Guest: Kate Ward is an artist and educator and the creator of Zen Stitching where she shares her love of mending through online tutorials. Download her Ultimate Sashiko Guide for all the details on how to get started sashiko mending.