 A few weeks ago I shared this tutorial for an Origami Bag on Momma’s Kinda Crafty. Today I thought I’d share it here for any of you that may have missed it. This easy bag uses two fat quarters and some ribbon. I used the bits I trimmed from the fat quarters to make a needle case and you can find the needle case tutorial here.
Let’s get started!
You’ll need:
- Two fat quarters of fabric
- 1m or 40″ of ribbon for the handles (Mine is half-inch satin ribbon)
- Matching thread
- the usual sewing tools – sewing machine, scissors, rotary cutter and mat (optional), chalk pencil, ruler, tape measure, knitting needle or similar “pointy” tool, safety pin

Step 1:
First we’re going to trim your fat quarters. Fat quarters are usually 18″ x 22″ (46cm x 56cm). You need two large squares. Measure the shorter side. Mine was 18″. Trim off a strip so that you have a 18″ square. If you have an obvious selvedge, trim that end off so you remove the selvedge at the same time. Do this to both of your fat quarters. Save the trimmed strips for your needle case. This will work with a slightly smaller square as well so don’t worry if your squares are 17″ or 16″ instead.

Step 2:
Place your two squares right sides together and pin.

Step 3:
Starting in about the middle of one side of your square, sew them together a quarter of an inch from the edge. At the corners, leave your needle down, lift your presser foot, and turn your fabric to start the next side. Leave a gap of 2-3″ so you can turn it.

Step 4:
Clip the corners carefully so you don’t snip the stitching. Turn the whole thing through. Use a knitting needle or other pointy tool to gently push the corners through to a nice point. Iron your square well.

Step 5:
Stitch around the edge again about an eighth of an inch in. This will close up the opening and give a neat finish to the edge. Again leave your needle down in the corners as you turn.

Step 6:
Decide which fabric you want on the outside of your bag and lay your square out flat with that fabric showing. Lay your ruler across the square from corner to corner, and mark a line through the centre and about 5″ either side of the centre. Your line will be about 10″ long. Use a chalk pencil or something similar that you can remove later. Do this across the other diagonal too so that you end up with an “X”.

Step 7:
Fold each corner towards the centre with the corner point on the “X” line. This will be the section of lining fabric that you will see at the top of your bag. You can adjust how much of the fabric you will see by adjusting how big you make those triangles, but you want all four corners to be the same. I folded mine in around 4.5″, measuring from the point of the triangle to the base of the triangle (that will be the top of the bag).

Pin each triangle in place. It will look like this:

Step 8:
Stitch across the edge of each triangle about 7/8″ from the edge to form a casing for your ribbon. If your ribbon is wider, just make your casing wider.

Do the same on each triangle of lining fabric. Remove your pencil marks.

Step 9:
Use a safety pin to thread the ribbon through the four casings. Tie the ends together securely and slide them back into one of the casing pockets to hide the knot. Pull your ribbon so that you have two handle opposite each other, then tie them together to close the bag.

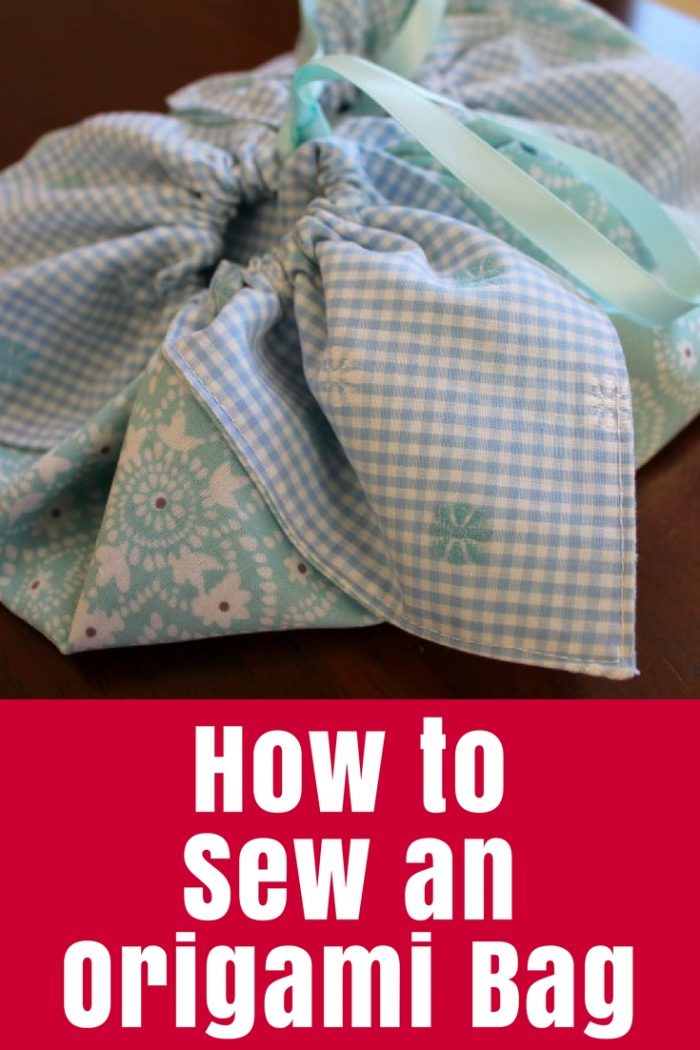
 All done! This is the set that I made and gave away earlier in the year so you can see the bag in a different fabric.I use a little bag like this to carry small projects when I take my kids to swimming lessons. But it could also be a gift bag or a snack bag. There are lots of possibilities.
I’d love to see your bags so send me a photo!
More Bag Posts:


A lovely cute little bag, and so easy to make. Thanks for the tutorial.
You’re welcome, Carolyn. I’m glad you enjoyed it.
My sister have done bags of different shape and design made of dresses that were not used or school uniforms, great for outdoors.
Brilliant work. Just amazing. Wonderful tutorial. I will try to make this today. Thanks Tonya Grant for sharing this nice skill.
Thanks for the bah tutorial 😀!
Great tutorial and so easy to make, I find this to be a unique present for special friends thanks, hope to see more soon
What a great project for a beginner! Thank you.