The Crafty Mummy

Crafts. Sewing. Quilting. Crochet. Tutorials.

  • Start Here
  • Welcome
    • Subscribe
    • About Me
      • Copyright
      • Disclosure
      • Privacy Policies
    • Advertise
    • Sharing
      • Recommendations
      • Shopping & Coupons
      • Books
  • Explore
    • Crafts
      • Beading
      • Kids
      • Paint
      • Storage
      • Christmas Crafts
    • Sewing
    • Quilting
    • Stitching
    • Crochet
      • Yarn
    • Life
      • Food
      • Organisation
    • Blogging
      • How To
      • Social Media
      • WordPress Plugins
      • Photography
  • Tutorials
    • Tips
  • Shop on Etsy
  • Shop on Redbubble

Pastel Stripes Quilt Block

by Tonya Grant |Filed Under: Quilting, Tutorials Tagged With: Patchwork, Sewing, Tops of 2015 Get a Weekly Update of all Articles

foundation pieced stripes
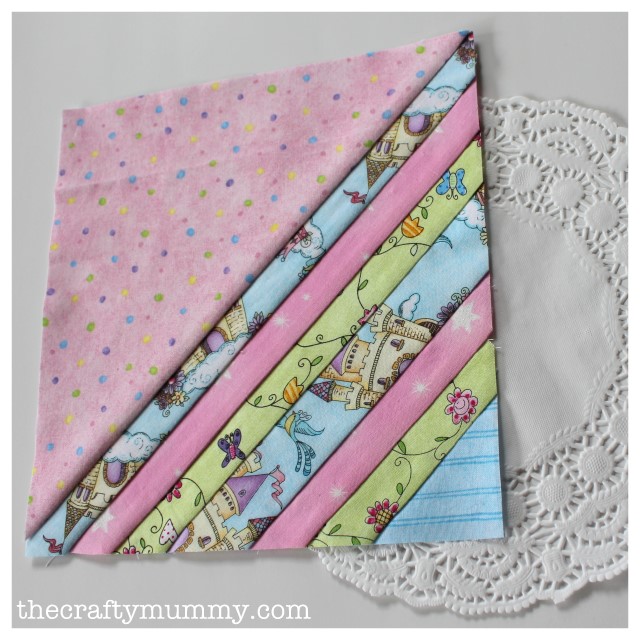
The lovely Jane asked me to create a quilt block for her Desperate Housewife’s Quilt (DHWQ). Of course I left it to the last minute and have been madly sewing and taking photos. But I love the result!!

This block is 8″ square and sewn using a technique called Foundation Piecing. This is where you use a piece of paper with the design printed on it as the basis for your sewing.

It produces very accurate blocks so it is great for a group project. I have only done it once before when I made a wedding present with the Quiltitis girls. We each made a number of blocks each then came together to join them as a quilt, so they needed to be exactly the same. Foundation piecing worked perfectly for us – the finished quilt was beautiful!
foundation pieced stripes quilt block

For this project, I used fabric that was left over from a quilt I made for my daughter’s bed. She has been asking for a matching pillow slip so I made two Pastel Stripes blocks. They will be the pretty feature in her pillow case.
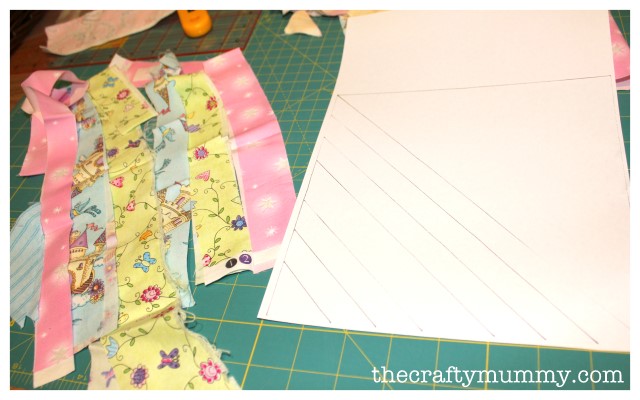
strips foundation piece

Here’s the scraps I started with above.  You need a large triangle for the largest part of the block. I’d recommend a 10″ square cut into two triangles. The strips need to be at least 1.5″ wide for the narrow stripes and 2″ wide for the wider stripe.  Plus you need a small triangle for the corner.
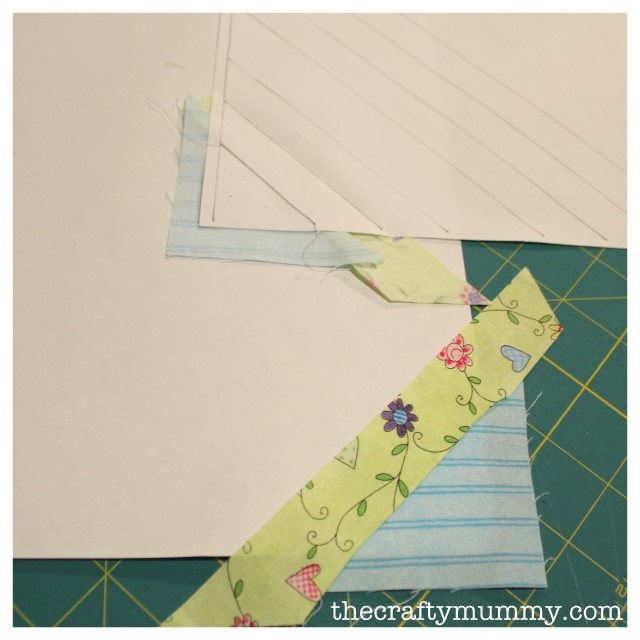
quilt block pastel stripes

I could go through step by step about how to foundation piece, but there are some great videos out there on Youtube so I won’t reinvent the wheel. Try this one, but there are lots of others:


I started with the small triangle and worked across the stripes to the large triangle.
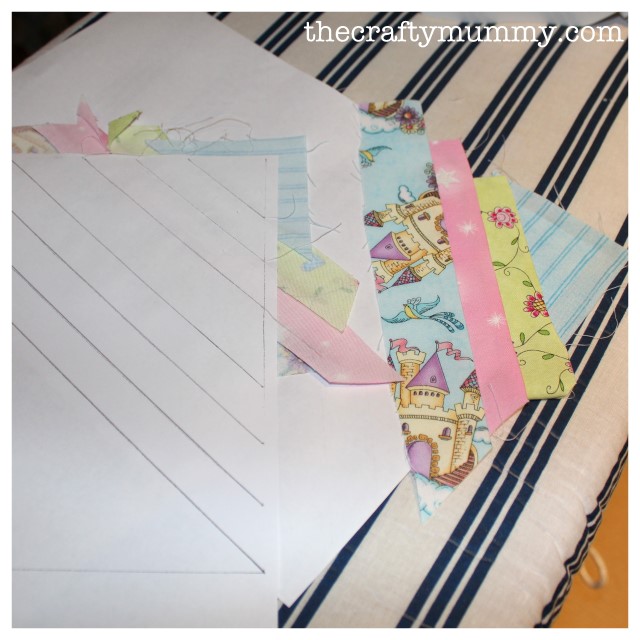
pastel stripes foundation pieced block

My Tips for Foundation Piecing:

  • Iron as you go carefully. It’s important.
  • Iron before you trim the strips (if you are using longer strips like I was)
  • Check carefully that your pieces will cover the shape. (If you look carefully you can see where I trimmed one of my strips too short)
  • Use a shorter stitch length so it is easier to tear your paper off when you’re done
  • I used normal paper that I could run through my printer. There are papers available especially for foundation piecing that can also be run through your printer but are thinner and easier to see through. If I were making a whole quilt, I would definitely have bought some.
  • Use a good light to hold your pieces up and check that they are in place.
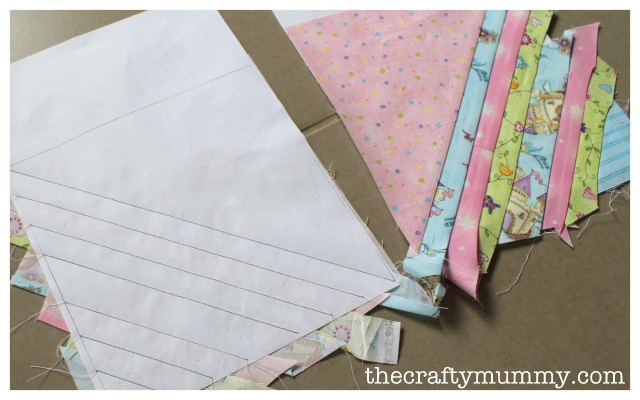
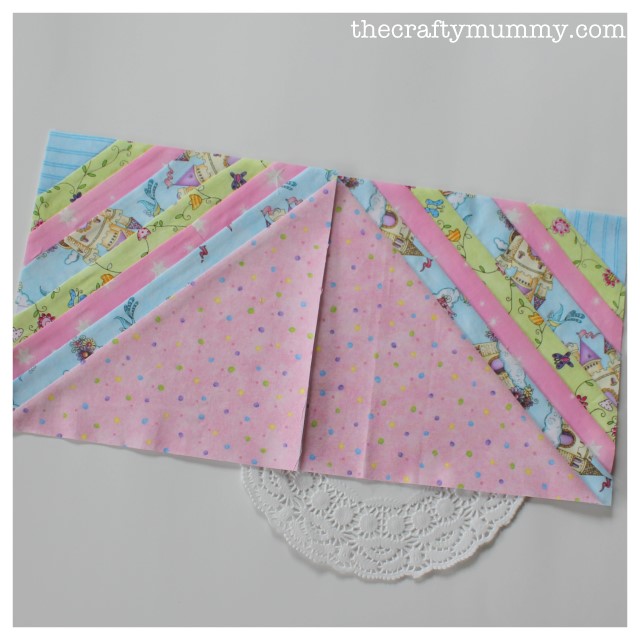
quilt block pastel foundation

Here’s the back and front of my finished blocks before I trimmed them. The 8″ square only just fits onto an A4 piece of paper, so make sure your leave the seam allowance around the outside when you trim your finished blocks.
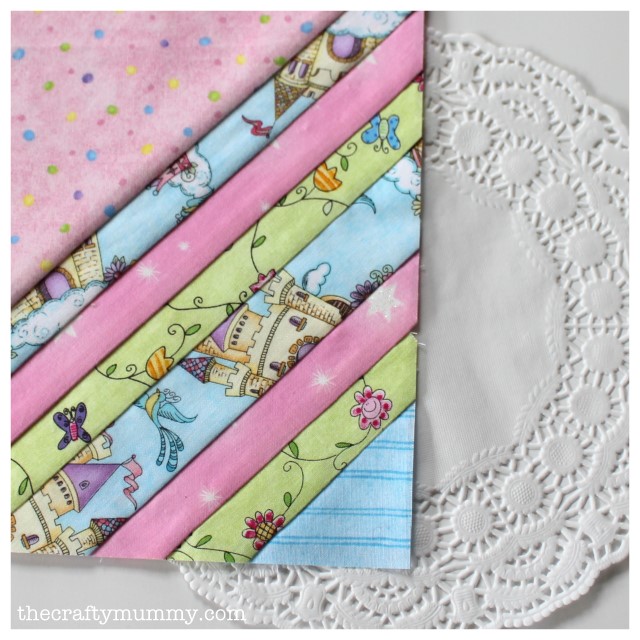
pastel stripes quilt block

Here is the foundation block for you to print. It is a Jpeg file so you should be able resize it as well.

foundation quilt block pastel stripes

 Have you tried foundation piecing before? Any tips to add?

Online Quilting Class


Filed Under: Quilting, Tutorials Tagged With: Patchwork, Sewing, Tops of 2015

« Do you follow via Google Friend Connect?
Crafty Storage Ideas from Ikea »
Disclosure: There are affiliate links in this post.  This just means that if you click through and choose to purchase something I may get a small commission - at no extra cost to you, of course.  This helps me keep the content here at The Crafty Mummy free for everyone.

I love to chat so please leave me a comment or ask a question.

Don't stress if your comment doesn't appear immediately - sometimes I have to moderate comments thanks to spam visitors, but the comments from real readers will always get published. Scroll down to add your thoughts or ask a question.

Comments

  1. Jos @ sew, cook, laugh & live says

    February 9, 2012 at 7:58 AM

    Looks great!

    • CraftyMummy says

      February 9, 2012 at 11:28 AM

      Thanks Jos.

  2. Lynne says

    February 9, 2012 at 8:31 AM

    It could also be done as QAYG using the batting and backing as the foundation.

    • CraftyMummy says

      February 9, 2012 at 11:28 AM

      Definitely! That’d be a super quick quilt then!

  3. Tanya says

    February 9, 2012 at 12:32 PM

    Lovely colours and tutorial!

    • CraftyMummy says

      February 9, 2012 at 12:54 PM

      Thanks Tanya. Very “girly girl” of mine loves pink!

  4. Quiltjane says

    February 10, 2012 at 7:16 AM

    Thank you so much Tonya for joining in the DHWQ with your beautiful block.

  5. Angela @ The Not So Functional Housewife says

    February 11, 2012 at 1:14 AM

    Thanks for sharing! I love the patterns and colors!

    ~Angela

  6. Ullhärvan says

    February 12, 2012 at 9:44 AM

    It looks like a really nice block! It wold make an amazing quilt!

  7. Little White Dove says

    May 6, 2012 at 3:39 PM

    What a great block!

Hi! I’m the CraftyMummy

Tonya is the voice behind The Crafty Mummy. She dabbles in lots of different crafts – patchwork, quilting, cross-stitch, scrapbooking, knitting, crochet and sewing. This is the record of projects she has done, and the projects she dreams of getting to! Read More…

Search

  • Email
  • Facebook
  • Instagram
  • Pinterest
  • Twitter
  • YouTube
Shop my Affiliate Favourites

Fat Quarter Shop for Fabric and More

Grab the Sew Sampler Box Here

AccuQuilt for Cutting Machines and Dies

QuiltyBox for Monthly Treats in the Mail

CreativeBug for Craft Classes

Pretty Darn Cute for Blog Designs like mine

Creative Market for Fonts, Images, Themes and More

OzGameShop for All the Games

Adrift for Fashion you’ll Love

Kindle Unlimited Membership Plans

Kindle Book List

Click to shop my kindle book list
Shop my Amazon Influencer Shop
Join the CrochetU and learn to crochet
New to TheCraftyMummy.com? Click here to see more
Blog Tools I use for TheCraftyMummy.com

Grammarly

Aweber for email newsletter

CoSchedule to stay organised and share

Milotree for social media

Genesis for blog framework

FoodiePro is my theme

Hosting with WPEngine

Powered by

Recent Articles

Disclosure: There are affiliate links on this site. This means that I may get a commission if you choose to purchase after browsing via these links - at absolutely no extra cost to you, of course. I only recommend products which I use and love, or that I think will be quality products that will be useful to my readers. It is the affiliate links in this site that help me keep my tutorials free of charge. Thank you!

Looking for something? Search here:

Copyright 2015 The Crafty Mummy · Built using Genesis Framework & Foodie Pro Theme