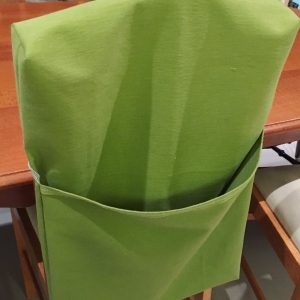
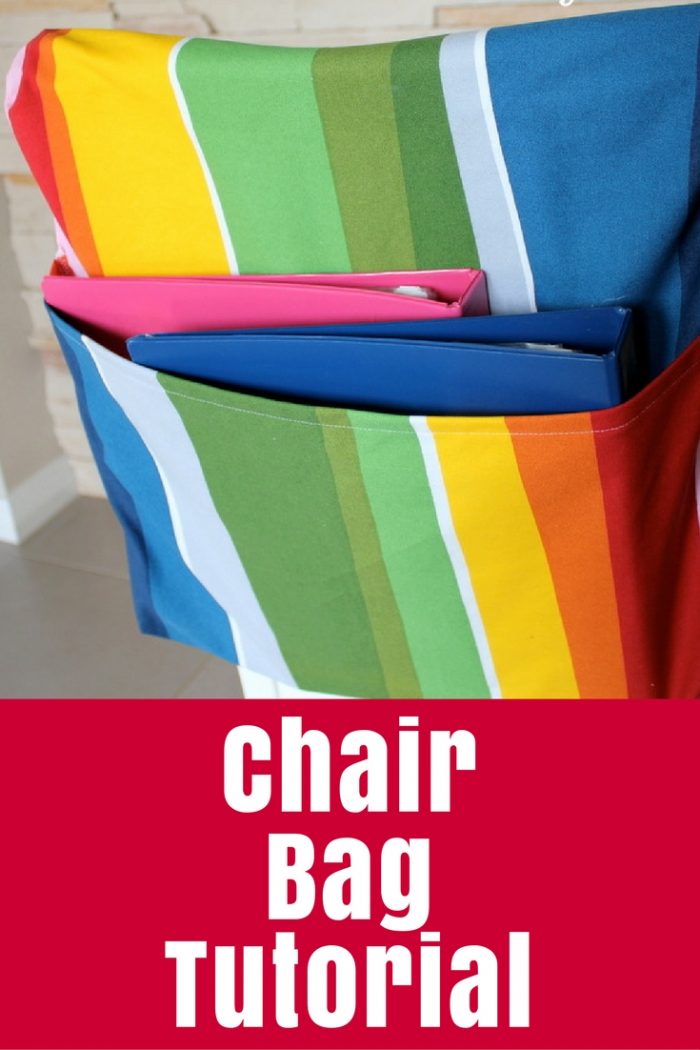
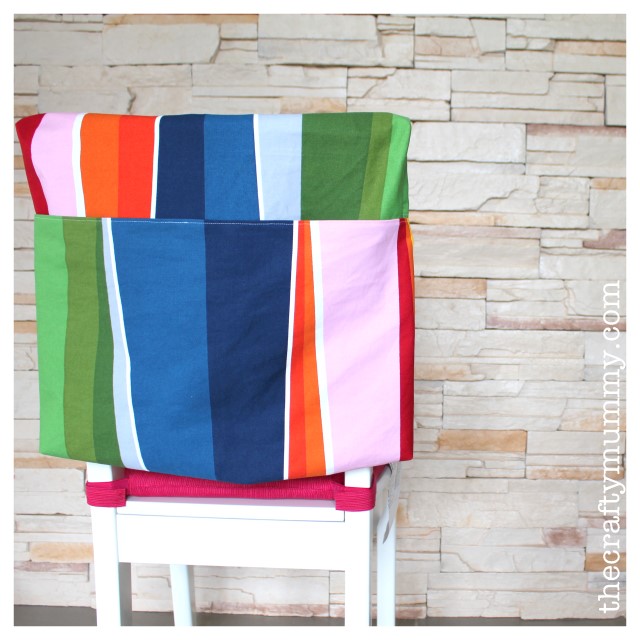
Sew a bag to hang on the back of a chair with this chair bag tutorial – perfect for school or your desk at home.

The night before my kids went back to school, I realised that I needed a chair bag (a bag that hangs on the back of a chair to hold books) for Mr Happy. Oops! Luckily I had some Ikea upholstery fabric in my stash so I made up the design as I went along. Here’s a tutorial for you so you don’t have to make it up!
What You Need:
- fabric – if it will hold heavy books, I’d go for heavier weight fabric, 20″ x 40″ or 51cm x 102cm
- (Note: all my measurements were trial and error so they could be out a cm or two here and there)
- the usual sewing supplies – sewing machine, pins, thread, iron, etc.
- I’d recommend a denim needle if you are sewing heavier fabric
Step 1:
Start with cutting your fabric to 20″ x 40″ (51cm x 102cm). Then cut it across the width at 16.5″ (42cm) so you have two pieces. Turn one piece over and join them back together. You should have a right side and a wrong together as you pin them to sew. I sewed a seam of about 1/4″ (5mm), then trimmed it with my pinking shears, but you could also overlock it or zig zag to stop fraying.
Step 2:
Fold and stitch a small hem at each end to finish those edges. It should now look something like mine below:

Step 3:
Lay it on the floor like mine with the shorter piece to the left and right side up. Take the left hand edge and fold it over about 15 ” (38 cm). Pin it in place. This will be the pocket for books.

Step 4:
Turn the whole thing over so the right hand piece is right side up. Take the right hand edge and fold it over about 7.5″ (20cm). Pin it in place. This will be the pocket that goes over the top of the chair. The two hemmed ends should now be almost on top of each other. Don’t overlap them though – I learnt that by trial and error too!

Step 5:
Stitch down each side to hold your two pockets in place. Then trim the edges with pinking shears or zig zag the edges to stop fraying.

Step 6:
The next step is to box the corners so that they are a little wider to fit over your chair and accommodate your books. There are a few different ways to do this but this way works for me. I’m creating a “box” about 1″ (2.5cm) wide.
While your pockets are still inside out (so don’t turn them through yet) do this at each corner: Pull the seam apart and press it flat again to form a little triangle. The seam line should run up the middle of your triangle like in the picture above. Pin it flat then stitch across the “base” of the triangle about 1/2″ (1.25cm) down from the point. Look at the next picture to see what I mean:

Do that on each of the corners then turn the two pockets through. They should look like this on the outside:

Done! Ready to slip onto a chair and fill with books. My kids use these at school for their school hats, jumpers and folders that don’t fit in their desks.
I’m thinking of making a couple for home to go on the chairs at the table where they do their homework. They could store their homework books and reading folders in them so they don’t have to search for them to take back to school.


My sons teacher was just talking about making some more of these. I love this idea…I think I need some for my blogging chair!
Good idea! I could use one on the back of my sewing chair…
I’m trying to view the tutorial pictures but none show up. I am looking into making one for my son this year. Thanks so much!!
Sorry to hear your having trouble seeing the pictures. They seem to be showing up ok for me so I’m wondering whether it might just be a slow connection? Try clicking where the picture should be. That should take you to a page with just the picture.
I am trying to sew this, but am confused. If the total length is 40″ and I fold over the pocket to make it 15″ deep, then that is 30″ total. Which doesn’t leave me with enough to fold over the other edge at 7″ (14″ total), so that the two finished edges don’t overlap. I can’t seem to figure out what I’m missing. Thanks!
Hi Maureen. Sorry about the confusion. As I wrote in the requirements list, all of my measurements in this project were approximate only as I kind of made it up as I went along. My original bag used these lengths and overlapped the two ends but I found that made it tricky. So fold your two ends in then adjust them so they don’t overlap before you sew the seams. I hope that makes sense.
Thanks for the tutorial. I love to upcycle and when my son wears out the knees in his jeans, I toss them in my sewing bag. For this project, I cut the pockets off of the back of the jeans and sewed them to the front pocket of this chair bag…..Cute, cute, cute! and a nifty place to keep your pencils and markers. I also made a second chair bag that I used the elastic from the adjustable waistband to button across an empty, clean frosting container. Another great place to store those markers, and the container has a little lip that hold the elastic in place and won’t slide out.
Very clever, Deborah!! I love the idea of the extra pockets!
I am making chair bags and wondering about the perk with the very small desk what size to make them.
Hi Kathie, I’m afraid I can’t help with the sizing on this one, but why don’t you pop in and ask to measure the chair you’re making for? I know our local school would be happy to help out a new parent who was so keen to be prepared! Keep in mind that you might need to make the width narrower and the length of the rectangle shorter as well so it doesn’t touch on the floor.
Hi Maureen!
Love the bag holder, but what really caught my eye was your cool fabric – LOVE IT!!! Where did you get it and/or what brand? Thanks!
Carrie
I have a slight problem here, after I pin the the 2 pockets and have them both inside out and pinned on opposite sides, am I supposed to sew them then? I did and have a weird mess. your tutorial has me with sewing up the sides and making my boxed corners. I am unsure this will work from here. Can anyone help me?
Hi Theresa,
Yes, you should be able to sew up each side of the bag to secure both pockets. You may find you need to adjust the folds before you sew so that they are not overlapping.
Hi, I have been thinking to have chair bags for my kids. You made it so easy for me with your tutorial. Thank you so much. I am going to make this in August before school starts. Thank you so much. Once I am done I will share the picture with you.
You are awesome.
Cool ideas I like try different things even jerry rig patterns to meat my needs at times
Worked beautifully! Thank you.
Could you pls make something with stuff at home
It would be great help
Thank you
I absolutely LOVE your chair pockets! I am a first grade teacher, and my students are switching to tables from desks this year because I have a child in a large wheelchair. I would love to make these, however, I cannot sew at all… I’d love to order a class set from you? I’d pay for all material, plus your time to make them! :o)
Hi, my daughter is just starting to teach a preschool and mentioned she needed something for the kids stuff, has anyone use a bath towel to make these chair bags?
Love this! Thank you!