Crafts. Sewing. Quilting. Crochet. Tutorials.
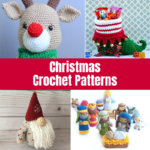
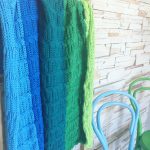
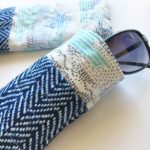
More Yarn Projects
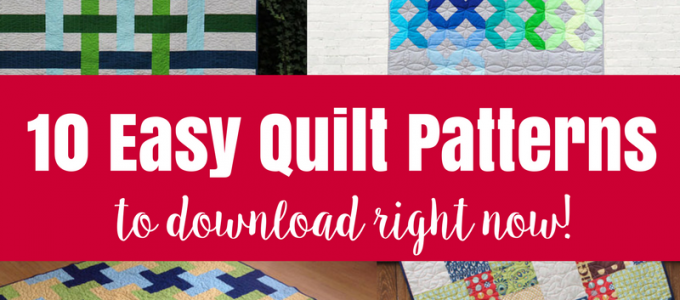
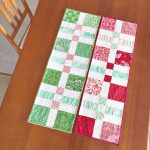
More Quilting Projects
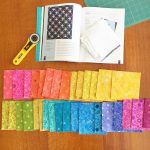
More Sewing Projects
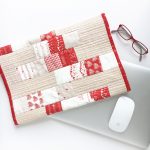
More Stitching Projects
More Crafts
More Tutorials
More of my Life
More Blogging & Social Media Tips