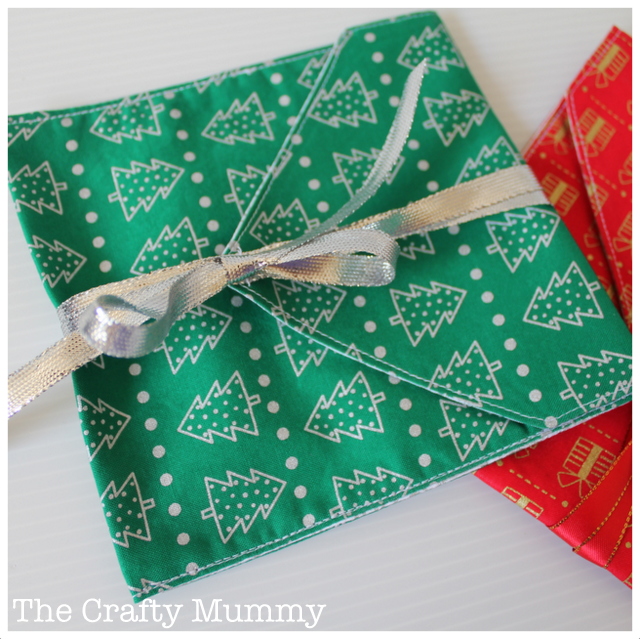
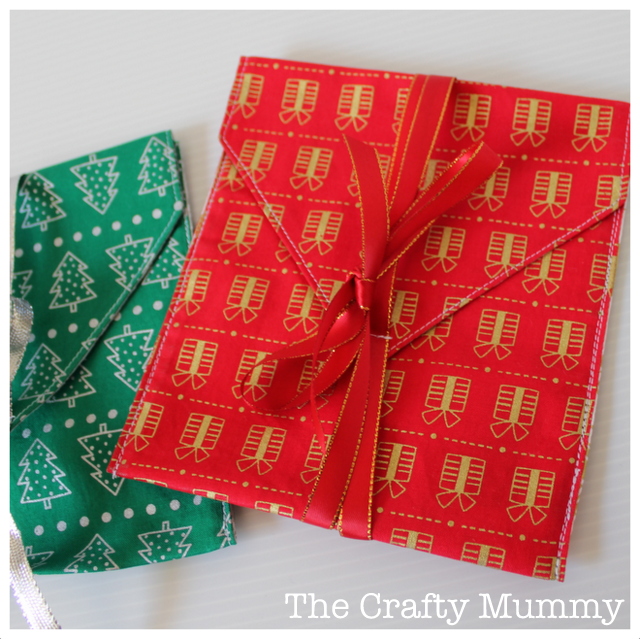
This time of the year seems to involve lots of gifts. There are teacher gifts as school finishes for the year, the usual string of birthday parties and Christmas looming in the next few weeks. So these gift bags were a timely project. My friend Angela from Belle Images needed a little something for photo discs for some special clients. A CD gift bag is much cuter than just the clear case for a disc. Now you can make some as well.
What You Need
- outer fabric – 6″ x 16.5″ rectangle (15 x 42cm)
- lining fabric – 6″ x 16.5″ rectangle
- ribbon – one metre
- cutting mat and rotary cutter
- usual sewing supplies – thread, scissors, sewing machine, etc.
What To Do
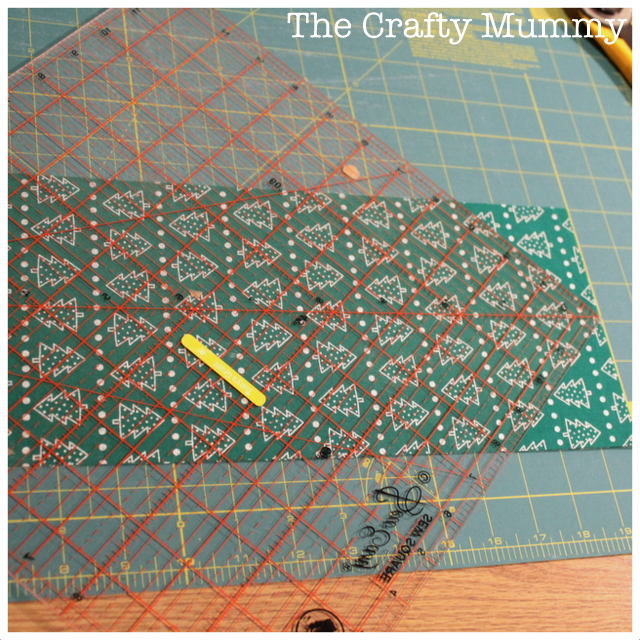
1. The first step is to create a triangle shape at one end of your rectangles. Lay your two pieces of fabric on top of each other on your cutting mat. I used a large square ruler with a line marked from one corner to the other. Line up your ruler so that the corner is in the centre of one short end and the ruler marking is running down the centre of the rectangle. Then trim along the edges of the corner to create a point. (If you don’t have a large ruler like this one, you can mark and cut your point with any kind of square or straight ruler. By cutting both pieces of fabric at the same time, they will match up when joined together.)
2. Pin the two pieces right sides together.
3. Sew around the pieces about 1/4″ from the edge, leaving a gap of about 2″ for turning through along one long side.
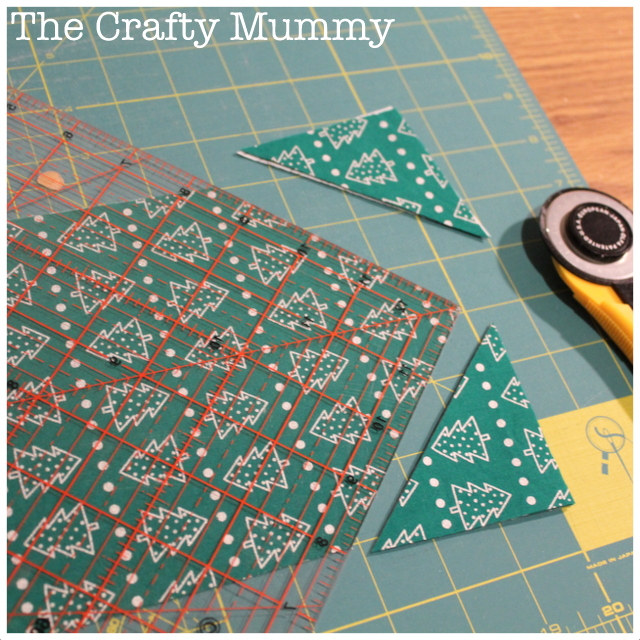
3. Clip the corners and turn through. Use a knitting needle to push out the corners neatly. Press.
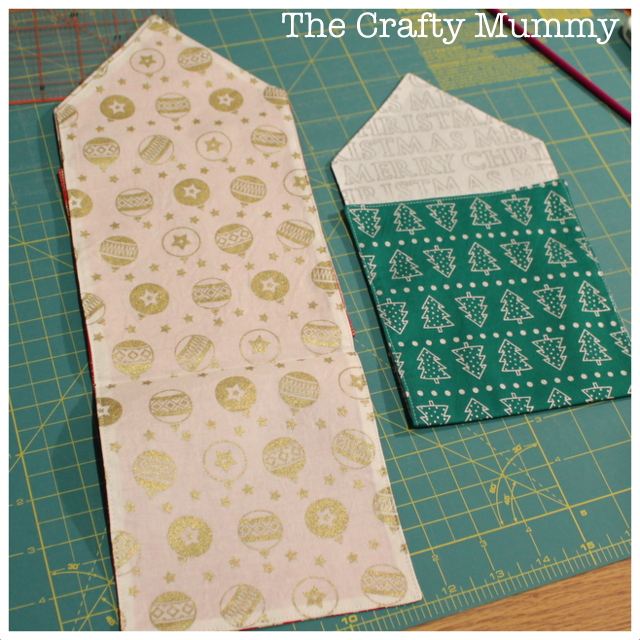
4. Top stitch just in from the edge to close up the gap and give a nice finish.
5. Fold up the square end 5.5″ (14cm), press and pin. Sew up each side on top of the top stitching to create a pocket.
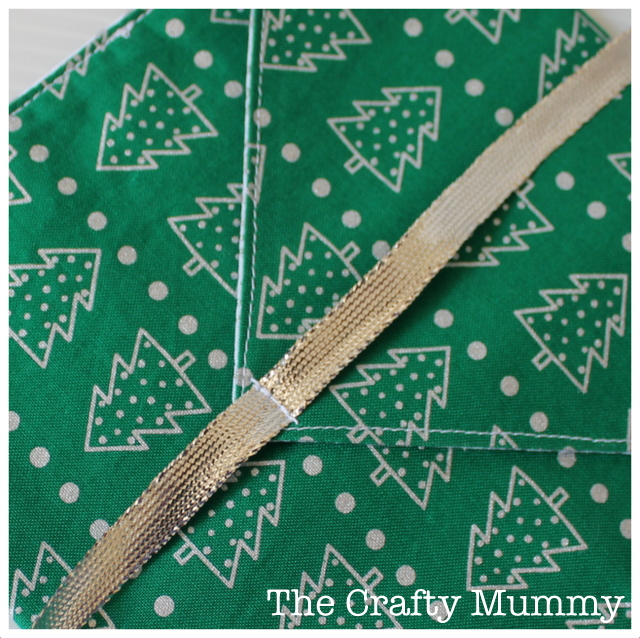
6. Fold the triangle flap down and press.
7. Find the middle of the ribbon and stitch it to the top of the flap. Trim the ends of the ribbon at an angle and add some Fray Stop
to prevent fraying.
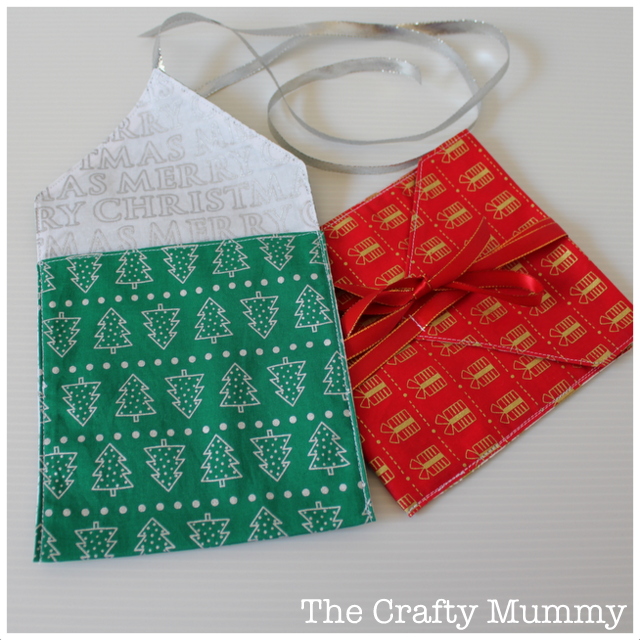
8. To close, wrap the ribbon ends around the back of the envelope, then back the top and tie to secure.
Notes
- This was designed for a CD without a case. If you are making one for a CD in a case, cut your rectangles 7″ x 17″ (18 x 43cm) to give some extra room. At Step 5, fold up the square up 6″ or 15cm.
- Four fat quarters of fabrics was enough to make 6 of these.
- A change of fabric would make them perfect for other gifts as well, e.g. birthdays for any age, a mixed CD for your loved one on Valentine’s Day or a collection of photos for a wedding gift.


Thank you so much for stopping by and leaving a comment on my new blog, much appreciated.
My sewing machine bit the dust this year – I didn’t realise how much I use it til I didn’t have it any more! Time to start saving for a new one I think so I can make cute projects like this 🙂
I’m thinking I need to start saving for an overlocker now – I can’t imagine not having my sewing machine!
So clever! What a great way to dress up a CD gift!
Thanks, Stacey-Lee. I just saw your scrap booking – shame about the album batteries but cute pages!
Great DIY! Got to get my sewing machine out to make a few.
Thanks, Mandy. They are very quick and easy!
Gorgeous idea! Thanks for the inspiration, Tonya.
How have you been since Blogtoberfest? I just wanted to let you know that I’m hosting another (albeit gentler and more introspective) blog challenge over the month of December called #reverb12. Would be so rapt if you joined us!
There’s a little giveaway too. 🙂
Details here: http://isawyoudancing.blogspot.com.au/p/reverb12.html
Take care,
Kat xxx
Thanks for dropping by, Kat. December is looking pretty busy for me right now but I’ll try to pop over soon!
I missed this one and just came across it on a tweet of your older stuff. It is such a cute idea! I actually have some CD’s I need to gift.