The Crafty Mummy

Crafts. Sewing. Quilting. Crochet. Tutorials.

  • Start Here
  • Welcome
    • Subscribe
    • About Me
      • Copyright
      • Disclosure
      • Privacy Policies
    • Advertise
    • Sharing
      • Recommendations
      • Shopping & Coupons
      • Books
  • Explore
    • Crafts
      • Beading
      • Kids
      • Paint
      • Storage
      • Christmas Crafts
    • Sewing
    • Quilting
    • Stitching
    • Crochet
      • Yarn
    • Life
      • Food
      • Organisation
    • Blogging
      • How To
      • Social Media
      • WordPress Plugins
      • Photography
  • Tutorials
    • Tips
  • Shop on Etsy
  • Shop on Redbubble

Bean Bag Tutorial

by Tonya Grant |Filed Under: Kids, Sewing, Tutorials Get a Weekly Update of all Articles

Rainbow Bean Bag Tutorial (1)

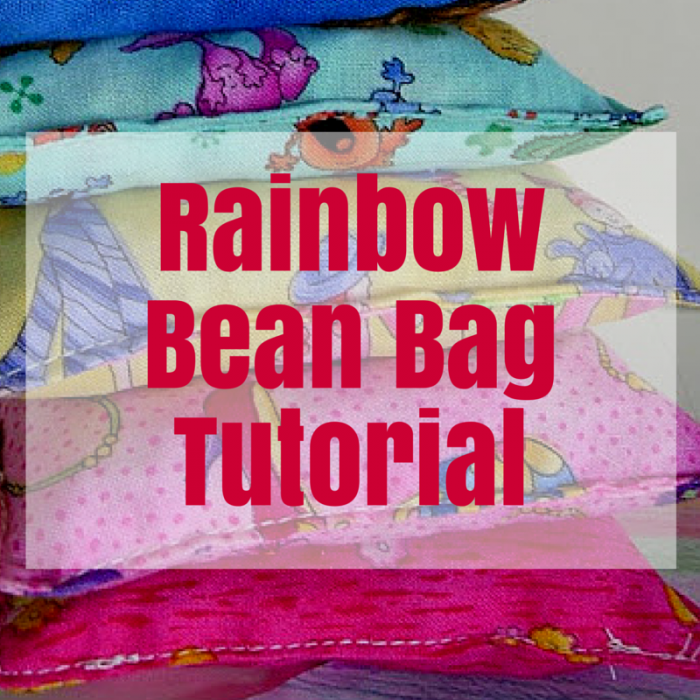
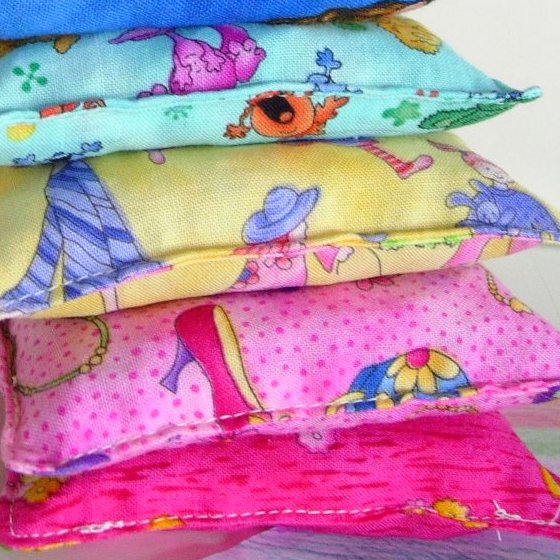
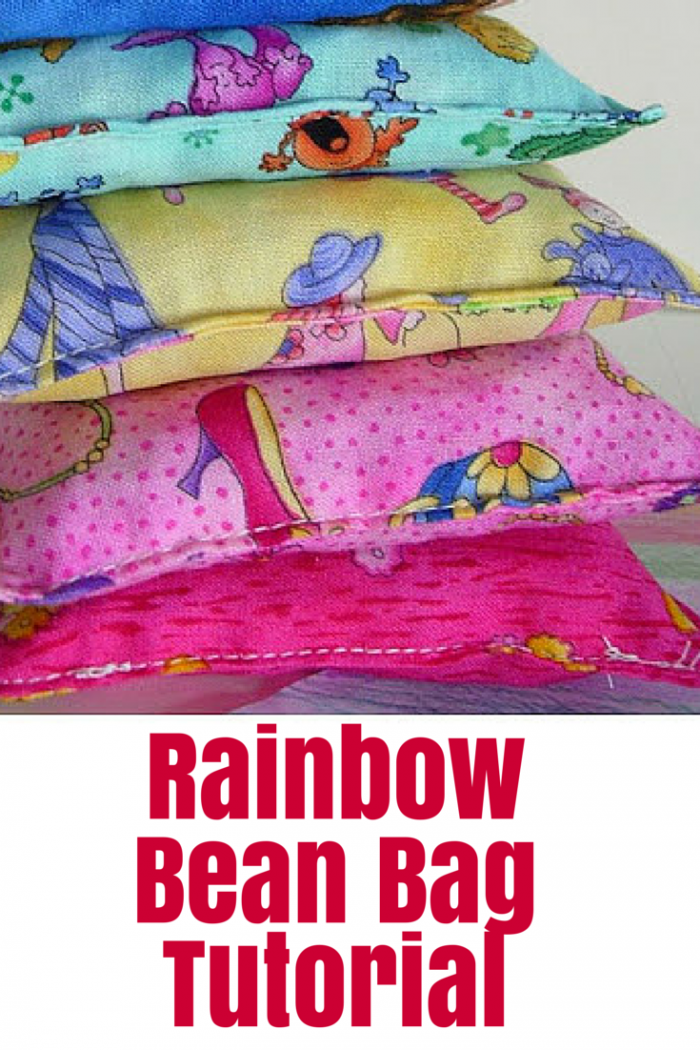
A few months ago I made these bean bags for the kids to play with. They LOVE them! They play with them almost every weekend – especially if Daddy is around to throw them at! So here’s the tutorial to make yours:
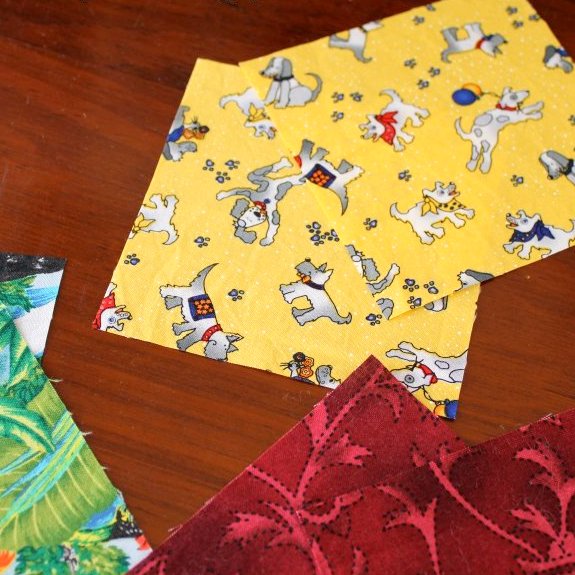
Step 1

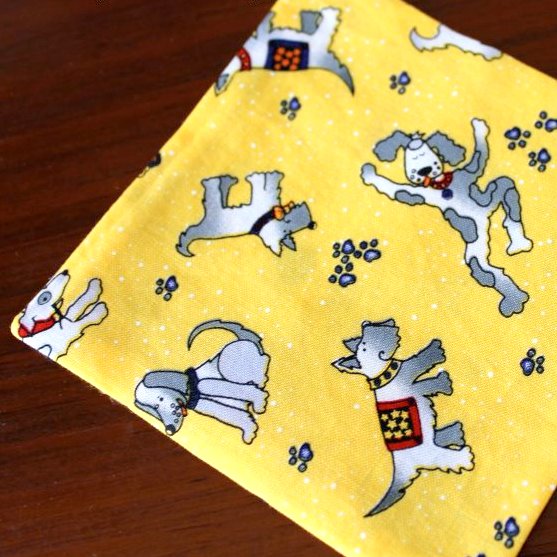
Start with a variety of squares. Mine were scraps from an I-spy quilt all cut to be 5″x 5″.
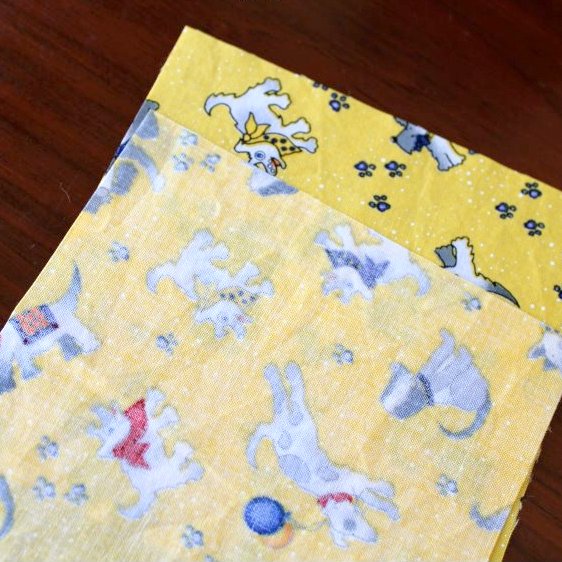
bean_bags1 (1)

Step 2

Put two of your squares right sides together.

bean_bags2


Step 3

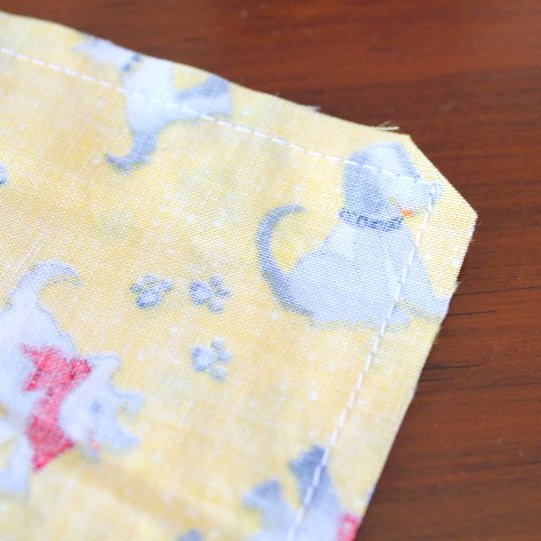
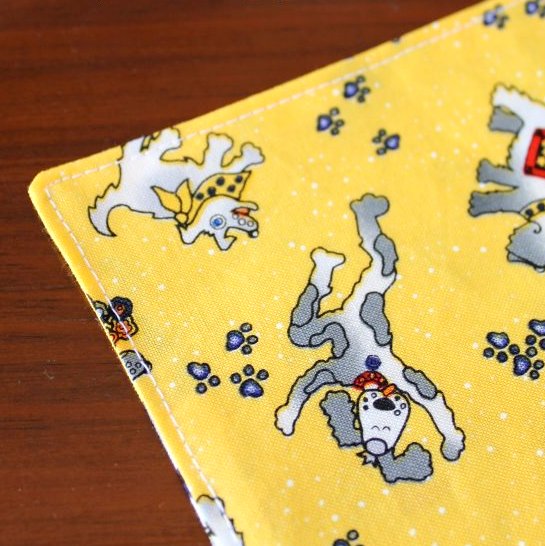
Stitch around all the edges leaving a gap of about 2 inches to turn.

bean_bags3


Step 4

Clip the corners.

bean_bags4


Step 5

Turn through and press.
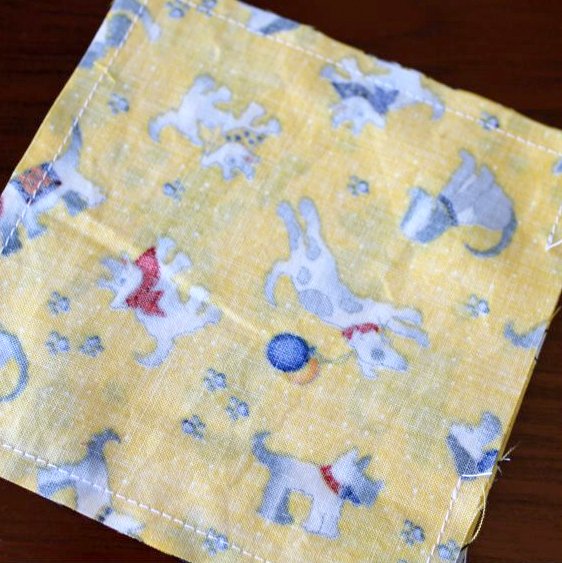
bean_bags5


Step 6

Top stitch 1/8″ from the edge leaving the gap open for filling.

bean_bags6


Step 7

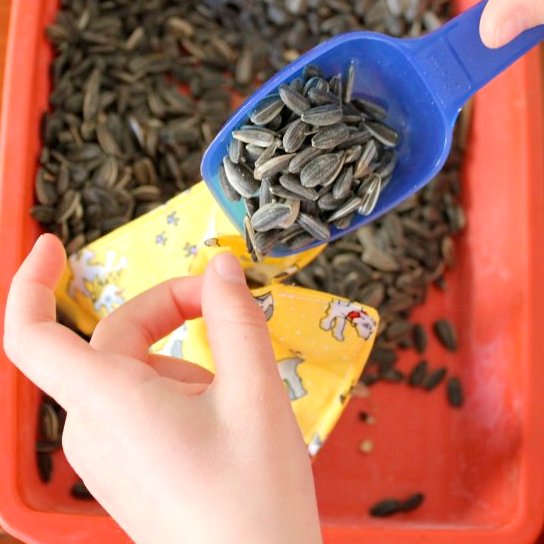
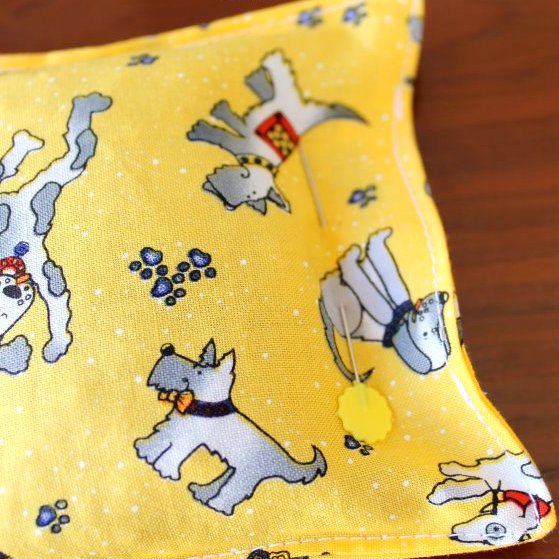
Fill with “beans”. You can use any type of beans or rice. I used large bird seed because it was cheap.

bean_bags7


Step 8

Pin the hold the seeds in while you topstitch the gap closed.

bean_bags8

rainbow_bean_bags

I have seen beanbags with appliqued letters and numbers on them so that you can play learning games with them too. You’d want to do your applique at Step 2 before you stitch them together. You can find some ideas of games to play  with your new bean bags at the Activity Village.

Rainbow Bean Bag Tutorial

Filed Under: Kids, Sewing, Tutorials

« Blogging tips… Your blogger profile
Charm Square Pouch »
Disclosure: There are affiliate links in this post.  This just means that if you click through and choose to purchase something I may get a small commission - at no extra cost to you, of course.  This helps me keep the content here at The Crafty Mummy free for everyone.

I love to chat so please leave me a comment or ask a question.

Don't stress if your comment doesn't appear immediately - sometimes I have to moderate comments thanks to spam visitors, but the comments from real readers will always get published. Scroll down to add your thoughts or ask a question.

Comments

  1. Kristi says

    August 14, 2010 at 10:53 PM

    what a lovely tutorial, and a very sweet blog!

  2. Jan @ bobbypins boardwalk says

    August 15, 2010 at 6:44 PM

    As the former bean bag champion of my grade school junior olympics, I can tell you officially that those are wonderful beanbags!!!

  3. Karen says

    August 16, 2010 at 7:52 AM

    Great tutorial. Never thought of using bird seed! Like it. Thanks for sharing!

  4. Jill says

    August 16, 2010 at 2:13 PM

    These are super cute. I remember playing with bean bags in elementary school, but the ones at school were pretty disgusting and musty! They also weren't anywhere as adorable as these!!

  5. cheryl@scrapaddict4sure says

    August 17, 2010 at 2:17 AM

    I think even I can do this thank you for sharing the tuturial I would like to sew but I am not good at it. I wish I had this idea at the beginning of summer. Well it's not tolate

  6. Catch A Falling Star says

    August 17, 2010 at 4:00 AM

    I use to make these all the time for my girls when they were little. Just like yours. my kids also played with them constantly.
    I love the fabric you used!

  7. ★All Thingz Related★ says

    August 18, 2010 at 8:27 AM

    Thanks for sharing this great tutorial with us at Anything Related!
    {Rebekah}

  8. Sassy Sites! says

    August 19, 2010 at 2:23 PM

    Very cute!! and very clever to use sunflower seeds!! 🙂 I am visiting from Sassy Sites. Come on by and say HI! I love your blog! So many great ideas! I'm a new follower… 🙂

  9. Larissa says

    August 19, 2010 at 11:56 PM

    I can't wait to make these for my nephew!

  10. Helby says

    August 20, 2010 at 2:09 AM

    I actually made a bag for my cat. I filled it with rice and catnip – it's her favorite toy! And was soooo easy to make.

  11. Melissa says

    August 22, 2010 at 5:46 AM

    Thanks for such a great tutorial about how to make bean bags. I wish that I would have had this before Christmas last year. I did some and they didn't turn out so well. Thanks for linking up to Tuesday Tell All.

  12. Whitney & McKayla says

    August 23, 2010 at 2:19 AM

    I love them. I'm planning on making a few of these and filling them with rice. You can microwave them at 10 second intervals for 30 seconds for a warm pack…or, put them in a baggie and freeze for a cool pack. Perfect for little kid owies and bumps.

  13. Whitney & McKayla says

    August 23, 2010 at 2:19 AM

    I love them. I'm planning on making a few of these and filling them with rice. You can microwave them at 10 second intervals for 30 seconds for a warm pack…or, put them in a baggie and freeze for a cool pack. Perfect for little kid owies and bumps.

  14. CraftyMummy says

    August 23, 2010 at 12:00 PM

    Great idea, Whitney & McKayla! And I love the cat toy version, Helby 🙂

  15. [email protected] says

    September 2, 2010 at 3:11 PM

    I love your color choices! Great tute, too. When my son was younger, we used to play all sorts of games with bean bags, and would laugh until our sides hurt. I'm sure I could still get him to play parallel-catch if I asked him. Thanks for linking!

  16. ocean says

    October 21, 2010 at 7:49 AM

    Question-Is the topstitching for looks or for strength? LOVE these 🙂

  17. CraftyMummy says

    October 21, 2010 at 10:39 AM

    Hi Ocean, The topstitching closes up the hole where you've filled the bean bags, and also reinforces all the edges – I don't want my seeds coming out as the kids throw these around! I also think it makes them look finished.

  18. quincylampshades says

    April 3, 2011 at 7:51 AM

    Exactly what I was looking for! I shall be making some of these to hold down my lampshades when I display them for market. Thank you!

  19. Daily Craft says

    June 23, 2011 at 11:57 PM

    Great project! I just wanted to let you know that we featured this project on our Facebook page with almost 12,000 fans. We’d love it if you’d use our Featured Blogger button, available at: http://www.dailycraft.com/thank-you-for-crafting/. Our audience loved the project and we look forward to sharing more from you. Please let us know if you have any questions or projects you’d love us to feature! Thanks!

Hi! I’m the CraftyMummy

Tonya is the voice behind The Crafty Mummy. She dabbles in lots of different crafts – patchwork, quilting, cross-stitch, scrapbooking, knitting, crochet and sewing. This is the record of projects she has done, and the projects she dreams of getting to! Read More…

Search

  • Email
  • Facebook
  • Instagram
  • Pinterest
  • Twitter
  • YouTube
Shop my Affiliate Favourites

Fat Quarter Shop for Fabric and More

Grab the Sew Sampler Box Here

AccuQuilt for Cutting Machines and Dies

QuiltyBox for Monthly Treats in the Mail

CreativeBug for Craft Classes

Pretty Darn Cute for Blog Designs like mine

Creative Market for Fonts, Images, Themes and More

OzGameShop for All the Games

Adrift for Fashion you’ll Love

Kindle Unlimited Membership Plans

Kindle Book List

Click to shop my kindle book list
Shop my Amazon Influencer Shop
Join the CrochetU and learn to crochet
New to TheCraftyMummy.com? Click here to see more
Blog Tools I use for TheCraftyMummy.com

Grammarly

Aweber for email newsletter

CoSchedule to stay organised and share

Milotree for social media

Genesis for blog framework

FoodiePro is my theme

Hosting with WPEngine

Powered by

Recent Articles

Disclosure: There are affiliate links on this site. This means that I may get a commission if you choose to purchase after browsing via these links - at absolutely no extra cost to you, of course. I only recommend products which I use and love, or that I think will be quality products that will be useful to my readers. It is the affiliate links in this site that help me keep my tutorials free of charge. Thank you!

Looking for something? Search here:

Copyright 2015 The Crafty Mummy · Built using Genesis Framework & Foodie Pro Theme