The Crafty Mummy

Crafts. Sewing. Quilting. Crochet. Tutorials.

  • Start Here
  • Welcome
    • Subscribe
    • About Me
      • Copyright
      • Disclosure
      • Privacy Policies
    • Advertise
    • Sharing
      • Recommendations
      • Shopping & Coupons
      • Books
  • Explore
    • Crafts
      • Beading
      • Kids
      • Paint
      • Storage
      • Christmas Crafts
    • Sewing
    • Quilting
    • Stitching
    • Crochet
      • Yarn
    • Life
      • Food
      • Organisation
    • Blogging
      • How To
      • Social Media
      • WordPress Plugins
      • Photography
  • Tutorials
    • Tips
  • Shop on Etsy
  • Shop on Redbubble

Notice Board Makeover

by Tonya Grant |Filed Under: Crafts Tagged With: Organisation, Papercrafts Get a Weekly Update of all Articles

dry erase boards

I have a couple of notice boards on my kitchen wall. They used to have shopping lists and menu ideas on them. Then I used them for things I had to remember to do. Lately they haven’t been used much at all as I use my iPhone for all those things instead.

So I decided to give them a makeover!
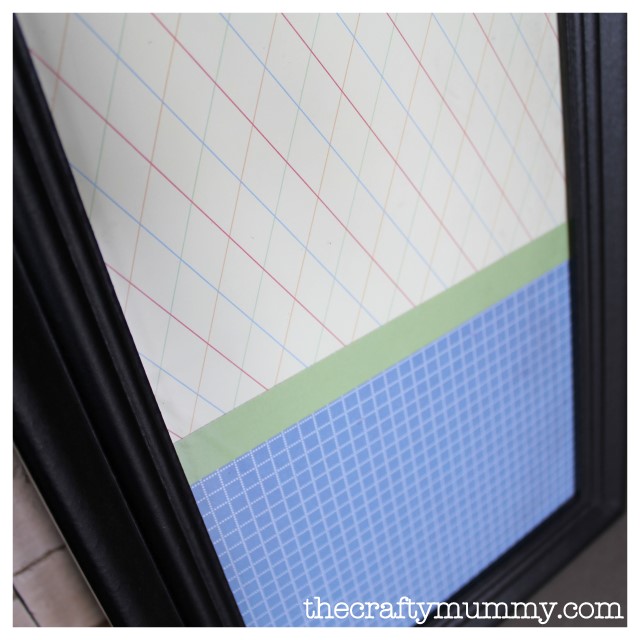
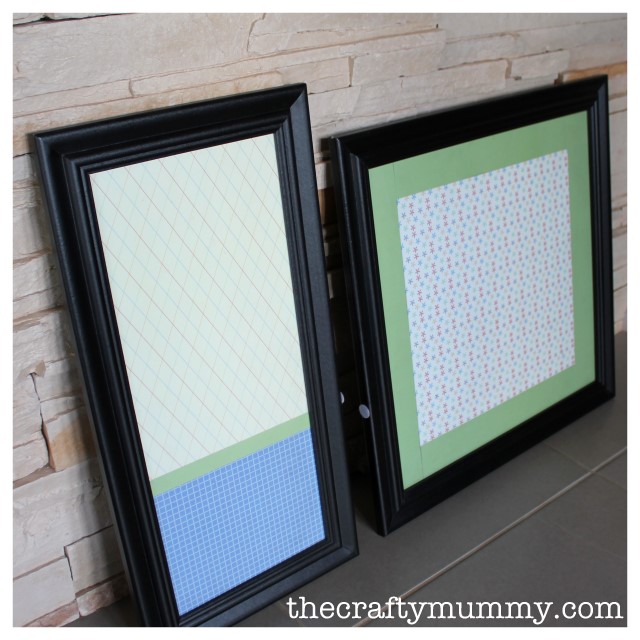
photo frame dry erase board

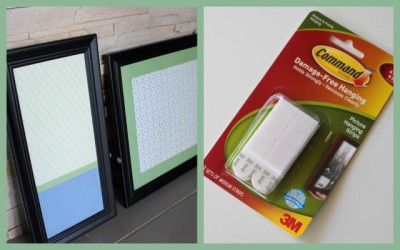
Originally they were large photo frames to hold multiple standard photos. I bought them for a couple of dollars at a cheap shop. Instead of putting photos in, I covered the backing card with pretty scrapbooking paper. I used to have a mixture of blue papers, but I found that it was hard to see the writing on them. This time I have used lighter papers with a contrasting border.
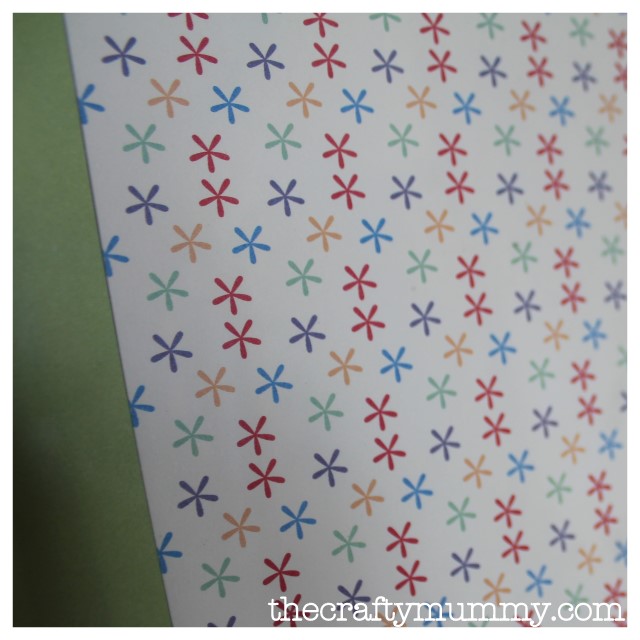
notice board handmade

Once you’ve added your pretty paper and put the backing back into the frame, you can write on the glass with a white board or dry erase marker. I found some erasable crayons in Officeworks that work well too.

Mine are attached to the wall using a 3M removable product called Command Picture Hanging Strips. These peel off again without leaving a mark so you can use them on any wall. I used three strips for the larger board and two for the tall narrow one.
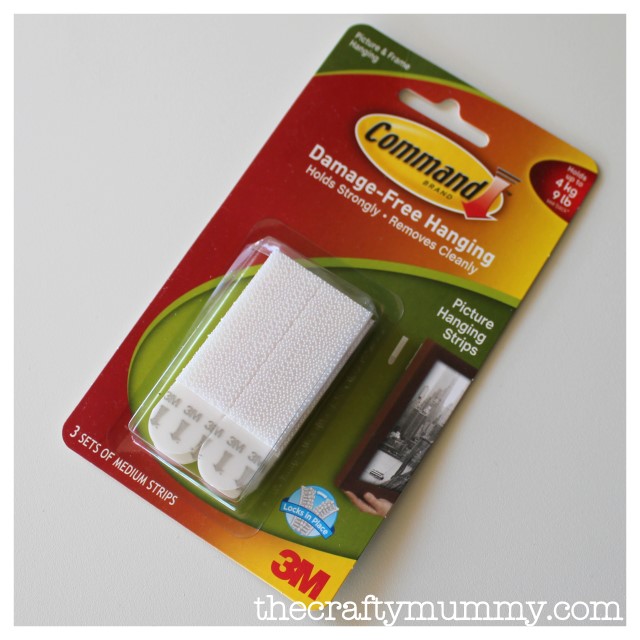
3M picture hanging strips

What I love about them for this project is that the boards are flat against the wall so they don’t move or damage the wall when you write on them. With a traditional hanging hook, the board would shift and possibly scratch the wall as you write. These hold the board completely still.

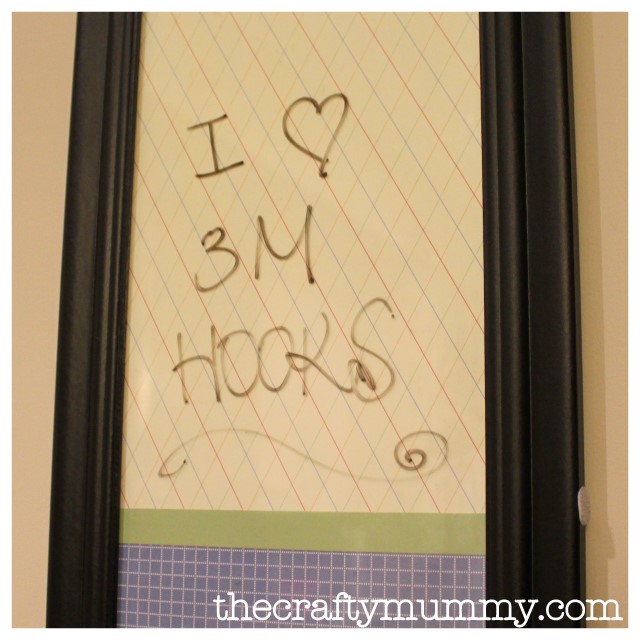
And what did I write on my lovely new boards?
3M notice board

Plus the kids spelling words for this week

so I can quiz them while I cook dinner.

3M picture hanging strips

 
I was provided with a sample of 3M picture hanging strips. The opinions expressed in this post are entirely my own and based on my own experience using this product. 
 

Filed Under: Crafts Tagged With: Organisation, Papercrafts

« How to Make a Collage with Picasa
Timeline for Pages: Tabs »
Disclosure: There are affiliate links in this post.  This just means that if you click through and choose to purchase something I may get a small commission - at no extra cost to you, of course.  This helps me keep the content here at The Crafty Mummy free for everyone.

I love to chat so please leave me a comment or ask a question.

Don't stress if your comment doesn't appear immediately - sometimes I have to moderate comments thanks to spam visitors, but the comments from real readers will always get published. Scroll down to add your thoughts or ask a question.

Comments

  1. Tammy @ P K Glitz says

    February 29, 2012 at 10:45 PM

    I love the idea of being able to write on the glass – such a great idea. I am with you, I have begun to rely on my phone for all of my appts and reminders 😉

  2. Sonia Barton says

    March 1, 2012 at 11:27 AM

    I love those velcro hooks to mount stuff to the wall!

    • CraftyMummy says

      March 1, 2012 at 1:53 PM

      Me too. It means I don’t have to wait for hubby to get out the hammer too.

  3. Lynne says

    July 8, 2012 at 7:06 PM

    Great idea – very clever.

Hi! I’m the CraftyMummy

Tonya is the voice behind The Crafty Mummy. She dabbles in lots of different crafts – patchwork, quilting, cross-stitch, scrapbooking, knitting, crochet and sewing. This is the record of projects she has done, and the projects she dreams of getting to! Read More…

Search

  • Email
  • Facebook
  • Instagram
  • Pinterest
  • Twitter
  • YouTube
Shop my Affiliate Favourites

Fat Quarter Shop for Fabric and More

Grab the Sew Sampler Box Here

AccuQuilt for Cutting Machines and Dies

QuiltyBox for Monthly Treats in the Mail

CreativeBug for Craft Classes

Pretty Darn Cute for Blog Designs like mine

Creative Market for Fonts, Images, Themes and More

OzGameShop for All the Games

Adrift for Fashion you’ll Love

Kindle Unlimited Membership Plans

Kindle Book List

Click to shop my kindle book list
Shop my Amazon Influencer Shop
Join the CrochetU and learn to crochet
New to TheCraftyMummy.com? Click here to see more
Blog Tools I use for TheCraftyMummy.com

Grammarly

Aweber for email newsletter

CoSchedule to stay organised and share

Milotree for social media

Genesis for blog framework

FoodiePro is my theme

Hosting with WPEngine

Powered by

Recent Articles

Disclosure: There are affiliate links on this site. This means that I may get a commission if you choose to purchase after browsing via these links - at absolutely no extra cost to you, of course. I only recommend products which I use and love, or that I think will be quality products that will be useful to my readers. It is the affiliate links in this site that help me keep my tutorials free of charge. Thank you!

Looking for something? Search here:

Copyright 2015 The Crafty Mummy · Built using Genesis Framework & Foodie Pro Theme