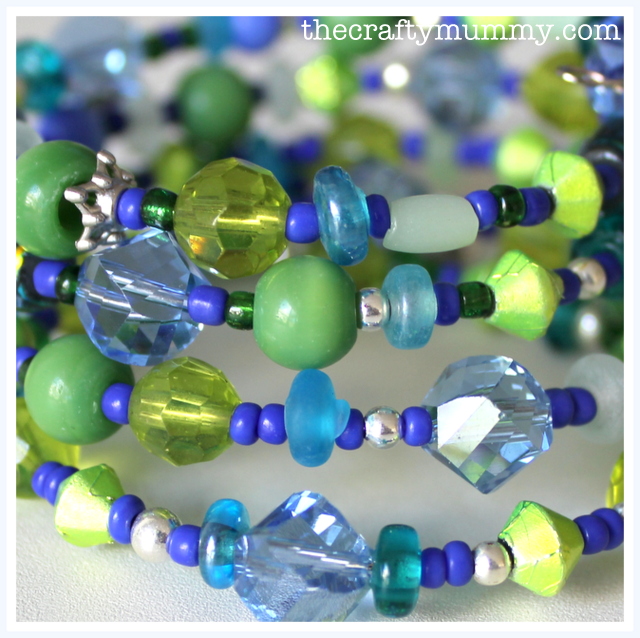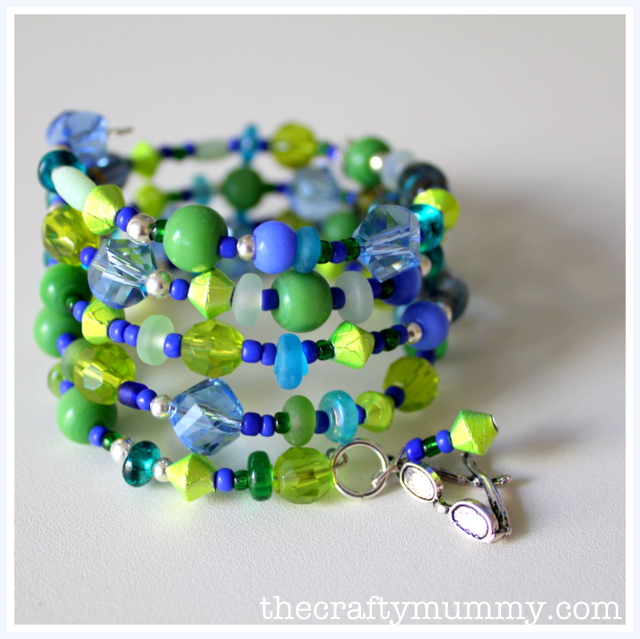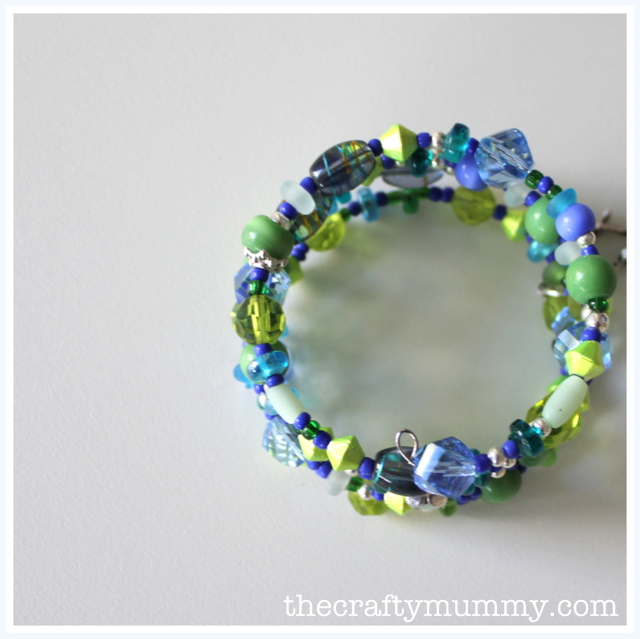
Every now and again I get the urge to do some beading. Luckily when I got that urge earlier this week, I had a little kit just calling my name. I bought it a while ago at our local beading store when my Little Miss went to do a kids beading class. (If you missed it, she made a pretty purple bracelet.)

This kit included the beads, a couple of jump rings and the memory wire to make this pretty bracelet.

It was quick and easy. Here’s the step-by-step:
- Make a loop at one end of the wire to stop the beads falling off.
- Thread all the beads on.
- Make another loop to stop them falling off the other end.
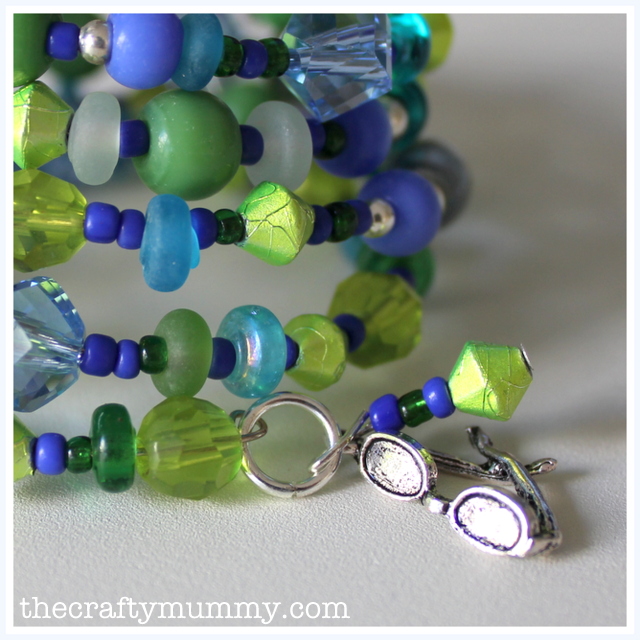
- Add a jump ring with a dangly charm and a couple of spare beads.
See? Easy!

If you need pictures try this clip: Memory wire tips from YouTube:


Very cute! See, I’m a lurker no more 😉
Thanks!
PS Does that mean you’re a “reformed lurker”? Or perhaps a “recovering lurker”? Or a “former lurker”? Maybe we can make a new name for those who lurk no more {wink}
Hmm, you pose an interesting question. I’ll have to go with “former lurker.” Yeah, that one works. lol
Hi! I loved your tutorial on memory wire. Great job!
I am just starting to work with memory wire and I have run into a problem already. I use “rose montees” or rhinestones on my jewelry. The do not have a round hole like beads… it is more of a “slit” in the metal that encases the rhinestones… If I string them on round memory wire, they will turn around and face the opposite direction.. lol… I know there is memory wire that is flat instead of round, but I can’t locate it.
Is this something you have heard of before? Any help would be greatly appreciated.
Have a great day!