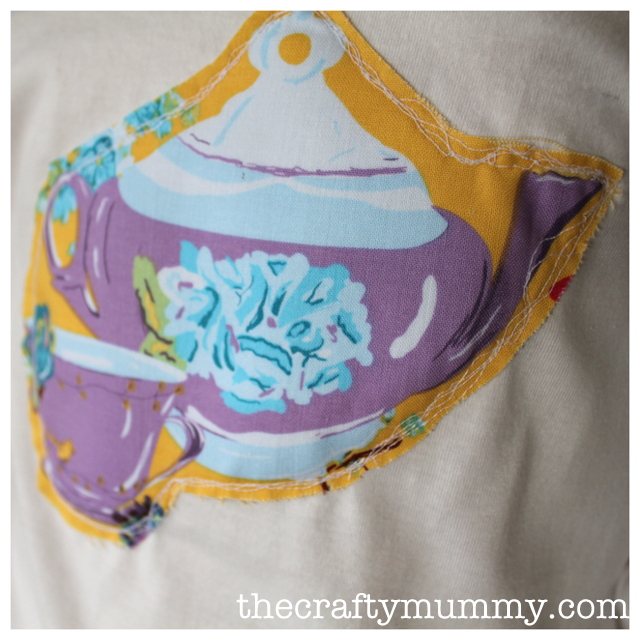
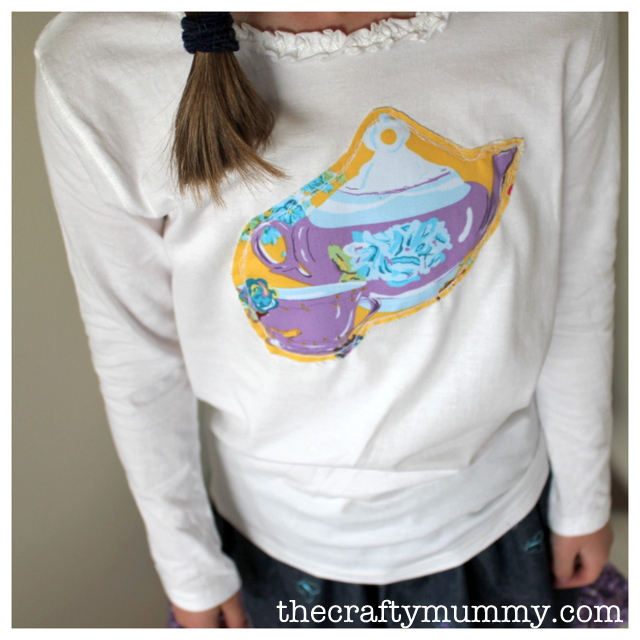
Learn how to add create an applique t-shirt by adding fabric to match a skirt – or a scrap of your favourite fabric from your stash.
My Little Miss just keeps growing. Kids do that, you know. So she needs new clothes – constantly it seems! With it being Purple Week over at And Sew We Craft and since purple is one of her favourite colours at the moment, I thought I’d create something for her this week.
If you follow me on Instagram, you may have seen my step-by-step photos the other day as I made her a skirt. If you missed it, don’t worry. You will find them all together in a tutorial at And Sew We Craft.
Here’s the tutorial to create the matching teapot shirt.
What You Need
- a plain T-shirt
- a piece of fabric for your applique picture – I used some cotton quilting fabric
- Vliesofix or similar double sided iron-on adhesive
- Iron and sewing basics

What To Do:
- Iron your fabric and T-shirt nice and flat.
- Cut out the shape you want to applique from your fabric.
- Iron a piece of Vliesofix onto the back of your shape, slightly smaller than the shape itself.
- Peel off the backing paper and iron the shape onto your T-shirt.
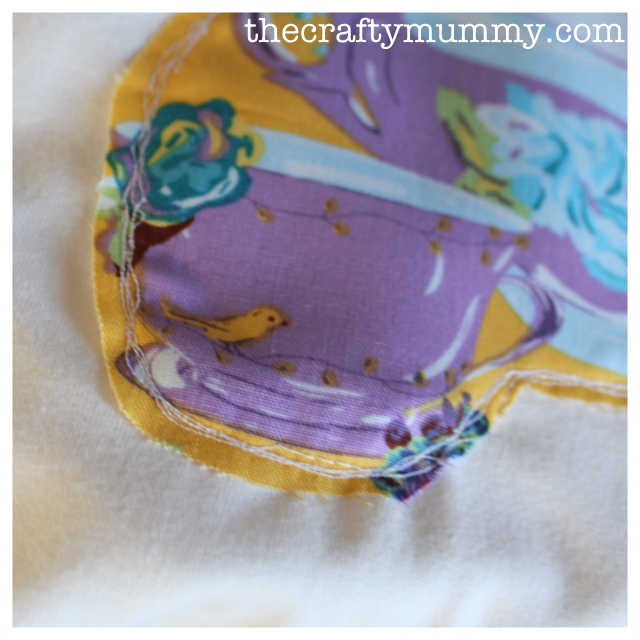
- Now the trickiest bit: Stitch around the shape a few times just inside the edge of your shape. Depending on the size of the T-shirt, it can be tricky to manoeuvre under your sewing machine. I used the darning or free motion quilting foot which made my lines messier but saved turning the shirt as much.
- All done!

Notes:
- This type of applique is sometimes called Raw Edge Applique because you leave the edges of your shape raw or unfinished. You will get a little fraying when you wash your garment. This is part of the look.
- Wrapped in Fabric, one of my lovely blog sponsors keeps a product similar to Vliesofix called Heat n Bond in their Fabric Adhesive section.
- You can applique any shape you like, but simpler shapes will be easier to sew around.
- I have used this technique before on another outfit for Little Miss: Butterfly Outfit


