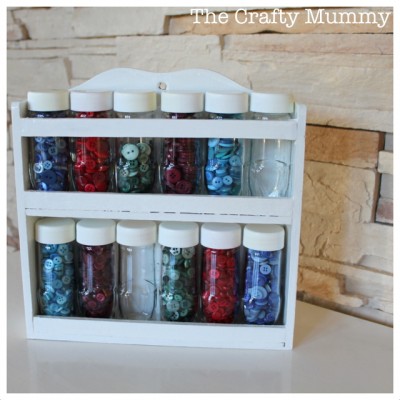
I love buttons! I have made a few projects with buttons in the last little while and have collected a number of coloured button bags. So some button storage was becoming necessary.
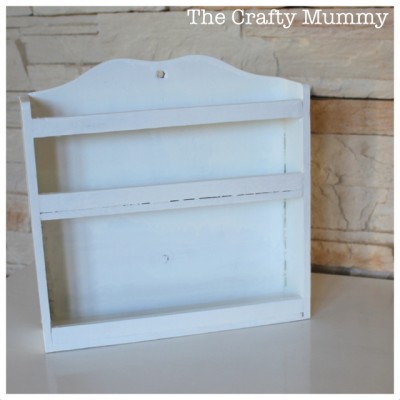
When I cleaned out my pantry – I mean, when I cleaned out one particularly overflowing shelf of my pantry! – I found an old spice rack filled with half empty jars. I think I may have received it as an engagement present. That would be almost 20 years ago!
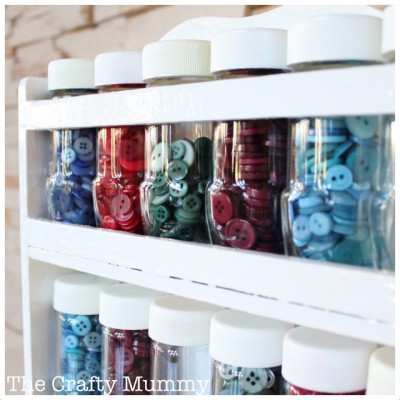
I cleaned all the jars then cleaned the wooden rack. It was stained brown but I thought crisp white would be much nicer. The perfect project for my new Dremel 3000! I used the sanding drum bit to sand back all the rough edges and remove some of the old stain. Then I painted an undercoat followed by an enamel gloss paint. It looks much better! The kids helped me sort the buttons into the jars. Love!
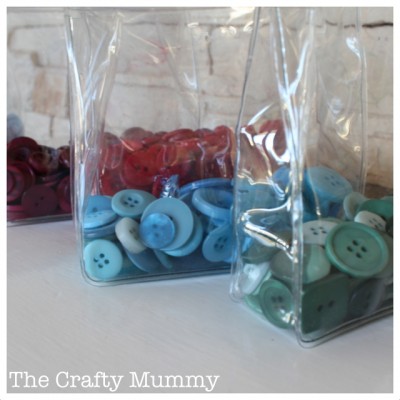
The bigger buttons didn’t fit in the jars so they are still in the plastic packets. I love the look of the jars though!
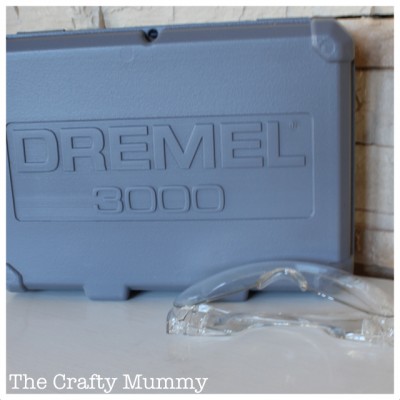
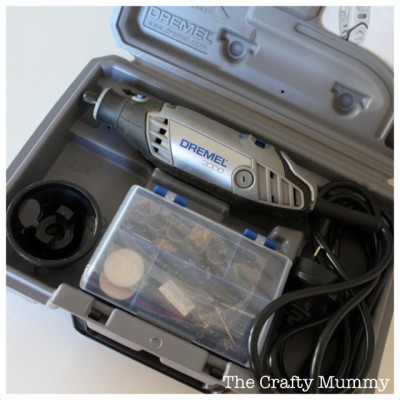
A little about the Dremel 3000
I had never used a power tool before. Never. So I was a little wary of playing with the Dremel. But it was really quite easy. I’m on the look out now for some more projects to use it on.
Things I learnt:
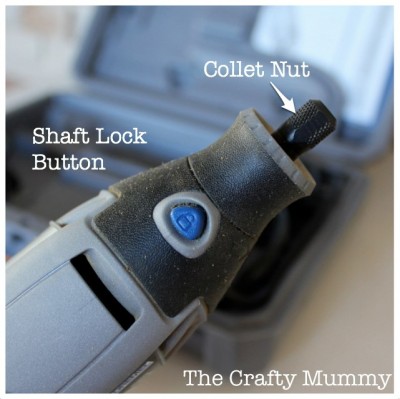
- The collet is the things that holds the different bits in place. It gets tightened with the collet nut.
- Don’t hold the Dremel with your hands over the air vents – it needs to breathe!
- Safety first: safety glasses and a mask for the dust – and an apron to keep all the dust off your clothes.
- Take it slow until you get used to the angle to hold the sander at – or you’ll end up with a dent to sand out like I did!
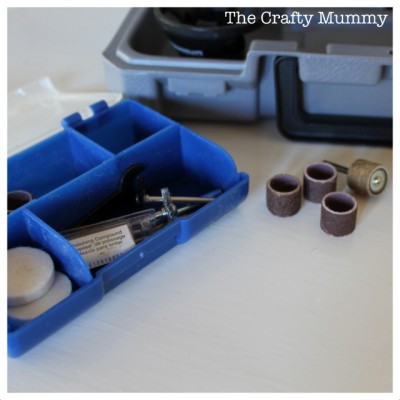
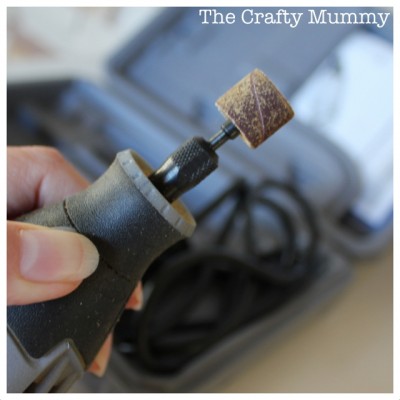
The tool came with a small set of extra bits and pieces. For this project I used the sanding drum which comes with a couple of different grades of sand paper.
How to Change the Sanding Drum on the Dremel 3000
- To switch any bits on the Dremel, start by pushing the shaft lock button and twisting the collet nut to loosen it.
- Remove the sanding bit.
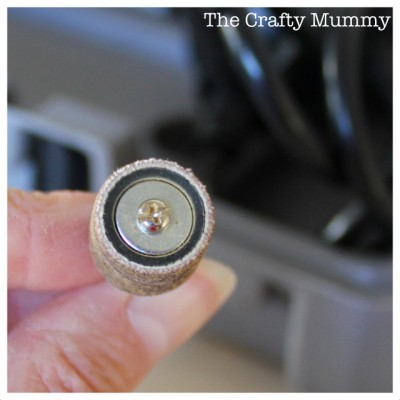
- At the top of the sanding drum there is a small screw. Loosen this to make the drum smaller.
- When it is small enough, slide the outer sand paper tube off and slide the new one on. Mine was a pretty firm fit so it took a little work.
- Tighten the screw again to expand the drum and hold the tube in place.
- Put the bit back into the Dremel and tighten the collet nut again.
I plan to try some glass etching with my Dremel in the next couple of weeks so look out for that soon.
Do you own a Dremel? What do you use it for? I’d love some more ideas!
This post was sponsored by Dremel 3000. I received a Dremel to review. All the content, photos and opinions are my own. You can read more about the Dremel 3000 at their Website or on their Facebook page.


I love buttons too! Really love your new project, so cute and thanks for the Dremel lesson. I do not have one yet, but someday I may need it 🙂
Thanks, Steph! I want to put it in my kitchen so I can admire it all day!
Love your button storage! Feeling slightly envious… I’ve been dreaming of a Dremel!
You can borrow mine anytime, Janelle!
What is or about buttons that is so interesting?
I remember as a kid, playing with my mums old button jar, and loving it so much!
Love your button storage idea!
Thanks for always linking up your wonderful projects at Thriving on Thursdays Tonia. I wish I was as motivated as you to sew. If only my sewing space was set up. I’m sure I’ve got one of these old spice racks lying around. Anyway, I’ve featured this at tomorrow’s party. Everyone loved it! Thanks again Tonia for your lovely support and friendship.
Anne xx
Thank you, Anne! What a lovely surprise! I’ll be sure to pop over tomorrow again…
Fabulous! I’ve been holding onto a sprinkles container, because I just knew I’d find a project for it eventually! I love this. I have my buttons stored in a container with slots. My kids love to mix them up! This would definitely come in handy.
You’re welcome, Heidi. Sprinkles jars would be the perfect size!