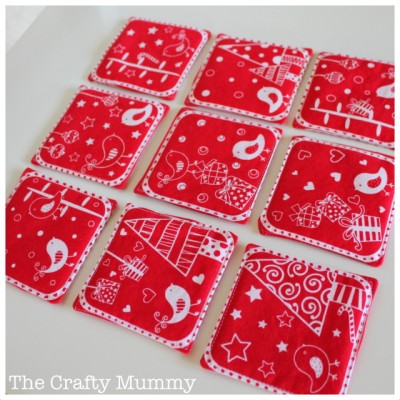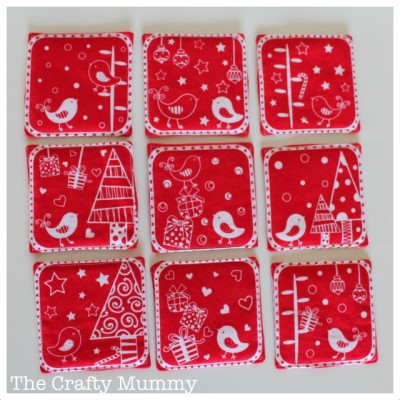
I have another Christmas sewing project today. These coasters are super cute! They are a little smaller than I would usually make my coasters but the panel had the lines all drawn up for cutting so I couldn’t resist. You could easily make these with any fabric though so I thought I’d give the quick tutorial.

Quick Coasters Tutorial
- Cut your fabric into squares. Any size you like! Each coaster needs two squares of fabric. Remember you will lose a quarter of an inch in the seam.
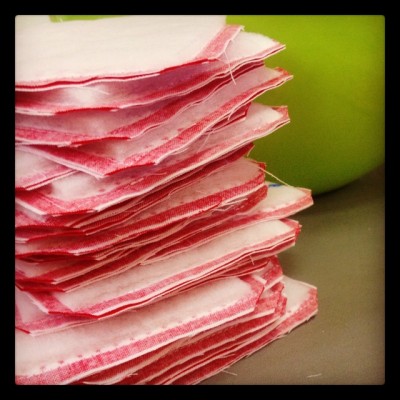
- Cut some iron-on pellon in squares half an inch smaller. So if your coaster fabric is 5″ squares then your pellon will be 4.5″ squares. You need one piece of pellon for each coaster.
- Iron the pellon onto the wrong side of one of your fabric squares.
- Put your two fabric squares right sides together and sew around the edge about quarter of an inch in. Leave a gap of about 2″ for turning through.
- Clip the corners and turn through. Use a knitting needle or similar to poke the corners out neatly.
- Press.
- Sew (also called “top stitch”) around the coaster about 1/8″ in from the edge to close the opening and look nice.
- Make a cuppa and enjoy your new coaster!

Gift Ideas
- A bundle of four or six of these tied with a ribbon
- A coaster with a coffee mug and a snack
- A set of coasters with a matching tea set
- A matching set of coasters and place mats
- Coasters and a table runner to match
- A mug, a coaster and a good book
- Coasters, glasses and a bottle of wine (or bubbles for New Years!)


What a great gift idea. That fabric is cute