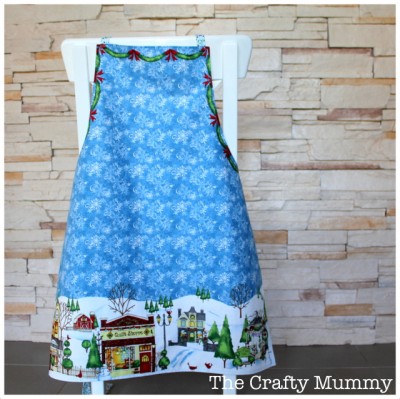
Do you wear a Christmas apron for Christmas cooking? I haven’t in the past but I just might have to this year! This lovely surprise was tucked into a parcel of fabric I ordered recently from Wrapped in Fabric. After having so much fun making up the Riley Blake doll panel, this panel looked like fun too. So I thought I’d share a little tutorial on how to sew an apron panel that would work for any similar fabric apron panel.
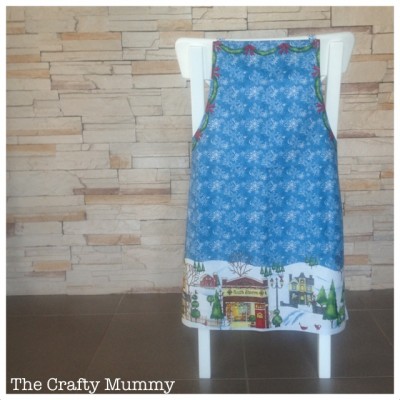
The panel started out looking like this. You can see the main apron piece, plus some strips for the ties. There are also some pocket pieces which I decided not to use. There are instructions printed on the panel as well but sometimes a few pictures can make things easier so I snapped some as I went along. This panel is called All Around Town by Nancy Mink for Wilmington Prints.
What You Need
- an apron panel (I would pre-wash it but it’s up to you)
- scissors
- usual sewing supplies – pins, sewing machine, thread to match, iron, etc.
What To Do
- Cut out all the pieces carefully. It should tell you on the panel whether to add extra for seam allowance. (This just means cutting an extra 0.25cm or so outside the pattern lines for when you sew them up.) On this panel I didn’t add any extra.
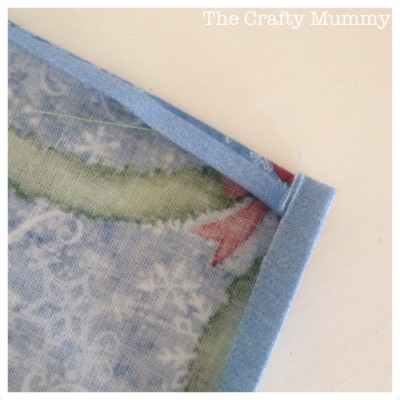
- Starting with the main apron piece, fold over 0.5cm or quarter of an inch all the way round towards the wrong side and press with your iron. Then do the same again so that the raw edge is tucked into the seam. Pin if you want to.
- Stitch all the way around the edge to hold the seam in place.
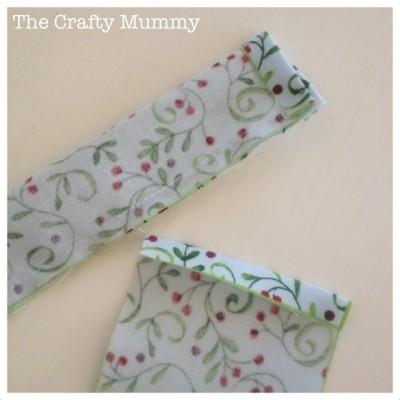
- Now for the ties: Fold each end of each tie down quarter of an inch towards the wrong side. Then fold the whole tie in half lengthways with right sides together.
- Sew a seam about quarter of an inch or 0.5cm in from the raw edge.
- Turn the ties through and press.
- Optional: Top stitch all the way around the edges to keep them flat, just in from the edge.
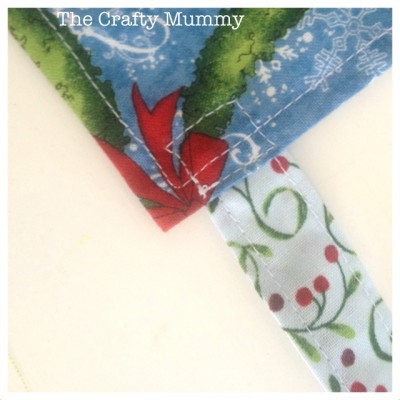
- Attach the ties to the apron. You can see in the photo I used a little box shape to hold them flat and give a little extra durability.
- To add the pocket: Fold down the top edge of both pocket pieces twice to the wrong side and press. Top stitch it into place. Sew the two pocket pieces right side together leaving the top edge open. Clip the bottom corners then turn through and press. Pin it into place on the front of your apron. Top stitch around the three side which will give a nice finish and attach the pocket to the apron.
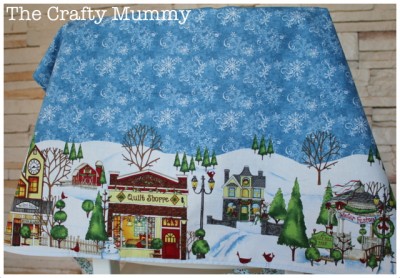
All ready for Christmas baking! Or a lovely handmade gift for a friend.
Thanks to Wrapped in Fabric for this panel to play with. Click through to see more of their lovely fabrics including these apron panels.



Love this idea – I saw spotlight has some great Christmas panels.
I’m wondering whether I might do some for teacher gifts – It was pretty quick and easy.
Looks simple and easy. Great idea for busy sewers.
It is easy, Annaleis. And yes, perfect for a quick project!
Day-um! I wish I could sew!
Do you know where I could get this apron panel?
Hi Lisa,
This apron was made back in 2012 so I’m not sure you would be able to get this panel anymore.
I did a little searching and Amazon has these panels: https://amzn.to/37tuPFt
Also, Fat Quarter Shop has these Christmas panels although there don’t seem to be any aprons yet: http://shrsl.com/1ym48
Both of these are affiliate links.
Tonya