One of the most popular toys at our house, for our own kids and for visiting kids, is the toy kitchen. There is something endlessly fun about pretending to cook food and serve it to the “restaurant guests”. As the kids have gotten older, the restaurant now includes a Menu board and elaborate three course meals. There have even been Masterchef style cooking competitions!
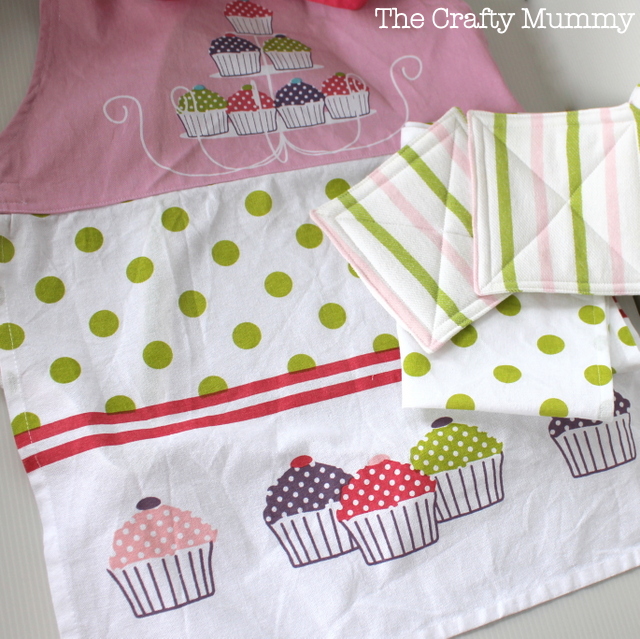
A great addition to any toy kitchen is an Kids Kitchen Set for the cook. Last year I made one for my niece when she got a kitchen from a full size apron and two tea towels. I found a cute cupcake themed set at Woolworths but any similar set would work. Here’s how you can sew one too.
What You Need
- One apron – the kind that has a loop around the neck as well as a skirt
- 2 tea towels
- 2 pieces of iron-on pellon, 6″ square
What To Do
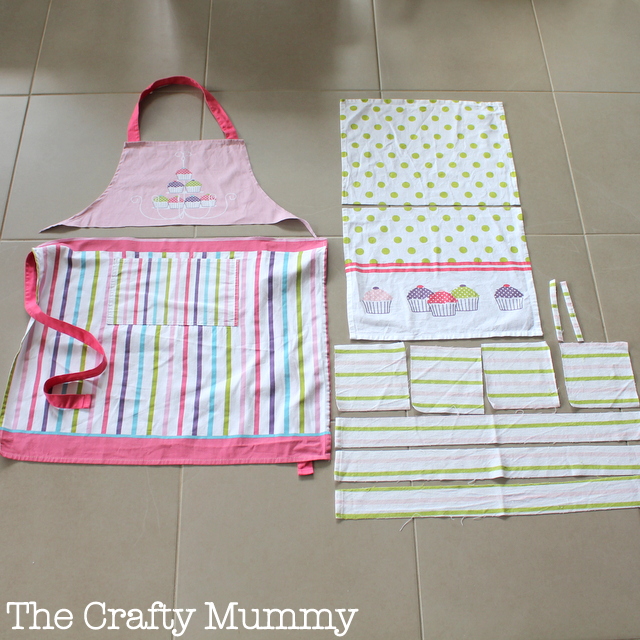
Cutting:
Cut one tea towel in half
Cut the top off the apron
Cut the last tea towel into:
- Three strips 2.5″ wide
- 4 squares 6″x 6″
- Keep the little edge bits 6″ long
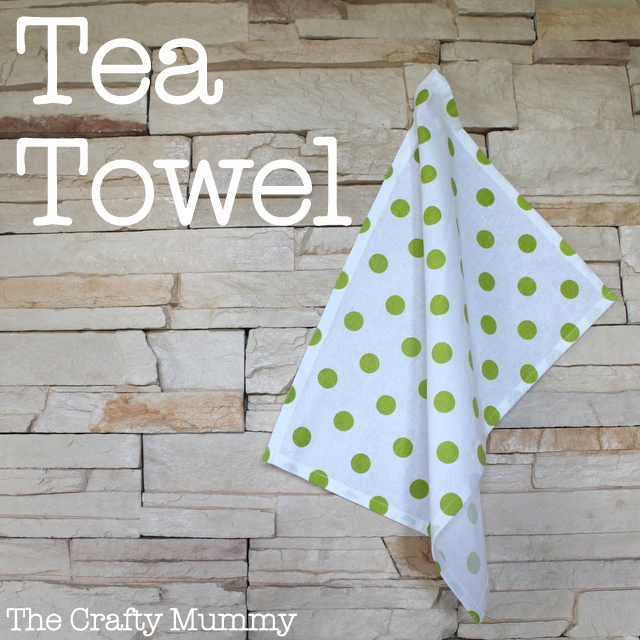
Sewing the Tea Towel
- From the tea towel that you cut in half, choose which part will be the kids apron. In my case the cute cup cakes became the apron. The other half is the kids tea towel.
- Three sides should already have a hem on them.
- Fold over the raw edge once and then again and stitch in place to create a neat hem like the other sides.
- Bonus: Mine already had a little loop of ribbon to hang it from. You could add one if you like: just fold a 6″ piece of ribbon in half and attach the ends to the back of your tea towel to create a loop.
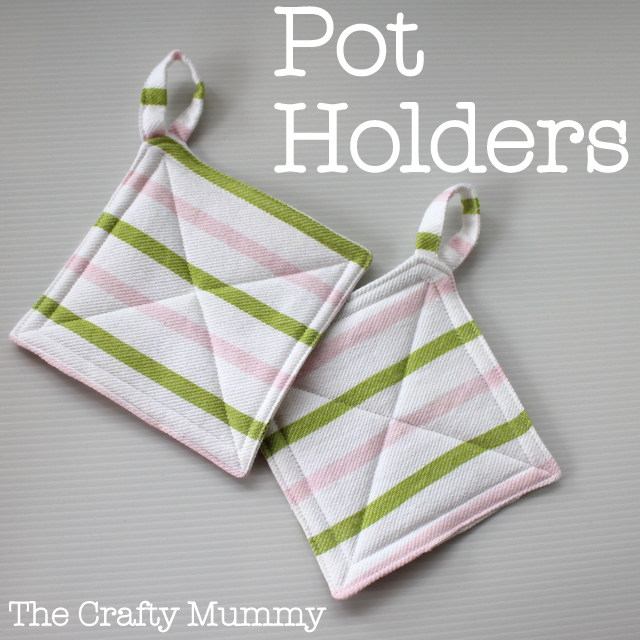
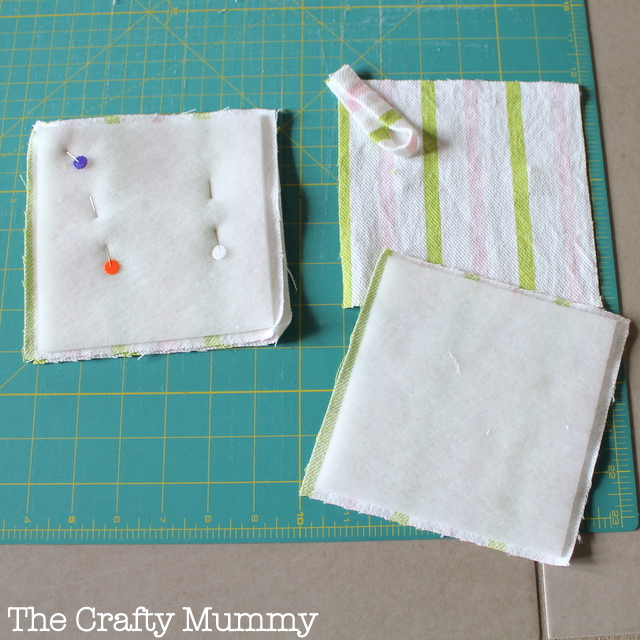
Sewing the Pot Holders
- The four 6″ squares and the small 6″ strips are going to become the pot holders.
- Iron the pellon onto the back of two fabric pieces. This will make the pot holders a little bit fluffy like real ones.
NOTE: These pot holders are NOT heat-resistant and shouldn’t be used for touching hot things. If you want them to be like real pot holders, look for heat-resistant Insul-Bright instead of pellon.
- Next is to sew one piece of 6″ square fabric, one piece of fabric with pellon on it and one 6″ strip together. Lay the plain piece of fabric down, right side facing upwards. Fold the 6″ strip in half to form a loop and lay the ends at one corner of the square so the loop is on top of the fabric.Then lay the pellon/fabric piece on top of them both, with the right side down and the pellon side upwards. Pin it all together.
- Sew around the edge leaving a gap of about 3″ for turning through.
- Clip the corners and turn through. Now the loop should be on the outside.
- Press it flat then sew just inside the edge to close the gap and create a nice edge.
- Optional: Create a quilted effect by sewing diagonally from corner to corner on the pot holder – or quilt any other design you like!
- Make the second pot holder in the same way.
So that’s the tea towel and pot holders all done! Come back tomorrow to see how to create the kids apron from the remaining pieces. Kids Kitchen Set Part 2


Cute Tute! I think my daughter will love this one 🙂 Have pinned, ready to pull out next time I hear the words “bored” uttered 😉 Thanks for sharing x
With your sewing skills, this would be a walk in the park, Cass!
What a lovely idea. The toy kitchen is a hit here as well, might just have to get the machine out and get busy I think, thanks for sharing
You’re welcome, Rhianna. It is so much quicker when just chopping up an existing set.
I love these, and would love to make them, although I cheated my way through year 8 home ec (handed in my twin sister’s project that had been assessed the previous day) and I’m afraid there’s no hope. I brought a sewing machine as my pregnancy present to myself, but it sits abandoned, b/c of various mechanical dramas that I don’t have the patience/time to remediate. Maybe for my grandkids 🙂
Maybe your twin sister can make it for you! {wink}
oh wow – i am always so blown away by your creativity, incredible!
#teamIBOT
Thanks Lyndal!
Lovely idea Tonya!
Thanks Rita.
Oh that’s a clever idea! I made Bridie an apron for her birthday last year, and she loves it
I thought my kids would have grown out if the kitchen by now but apparently not!