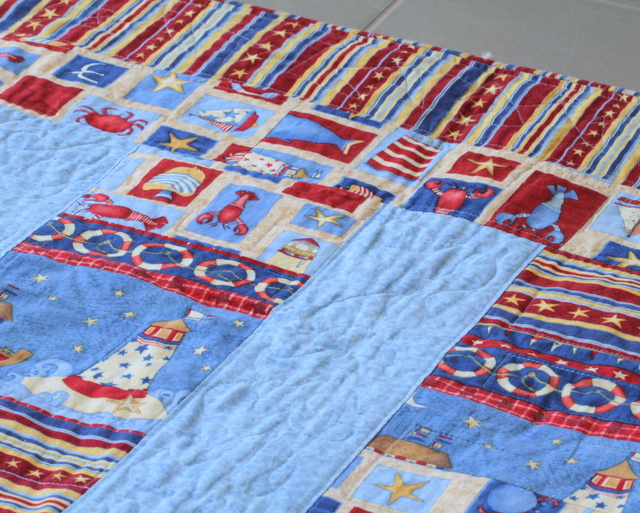
A couple of years back I made two quilts for two beautiful babies. Their Mums are two of my best friends so quilts were the perfect baby gift. I wanted simple but not too simple and I had found two great sets of fabric to use for them. One was super pretty in pinks and greens and mauves with babushka dolls, and the other was classic boy denim blue with red and yellow in a design of boats and water. Those babies are both awesome big kids now.
I enjoyed making these quilts. I remember praying for those babies as I stitched and loving the process of cutting and piecing. I practiced some new free motion quilting on these quilts when I had not done much quilting, and learnt some tricks as I went along.
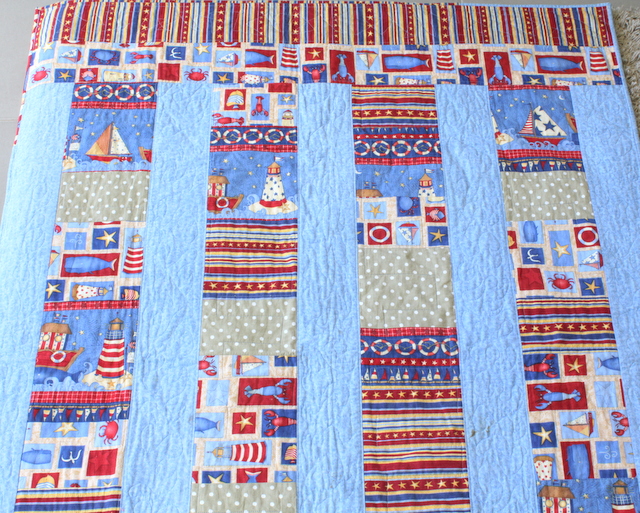
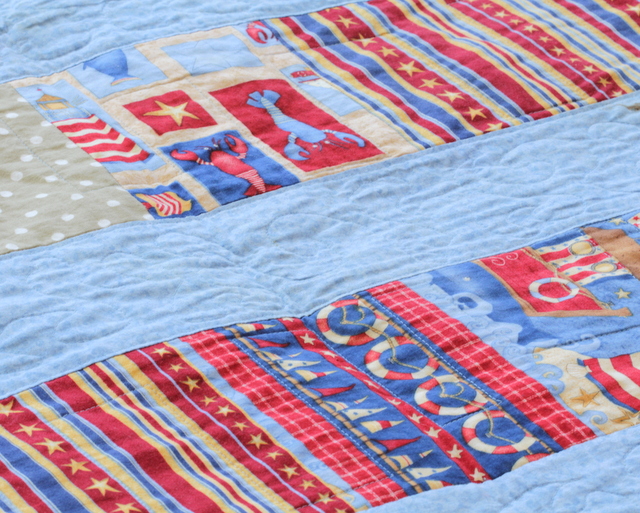
Recently a reader asked me about the pattern for these quilts, so I borrowed one back for some new photos (it is so hard to take photos of quilts!!) and to create the tutorial for you. It is actually kind of special to see how this quilt has obviously been used a lot, which is exactly what I would have hoped for. I remember telling these two Mums that I was making quilts for their kids to use, not heirlooms to stash in a cupboard somewhere. So the little marks on this quilt tell me they took me at my word and have used these quilts for snuggling and playing – love that! I like to think that they have been used every day, so I’m calling this the Everyday Baby Quilt Tutorial.
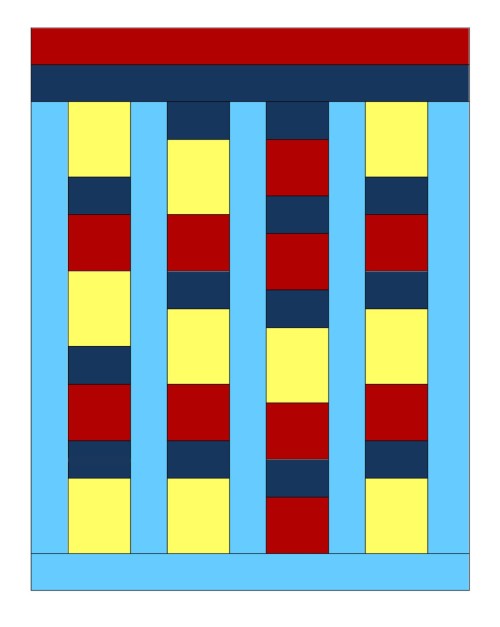
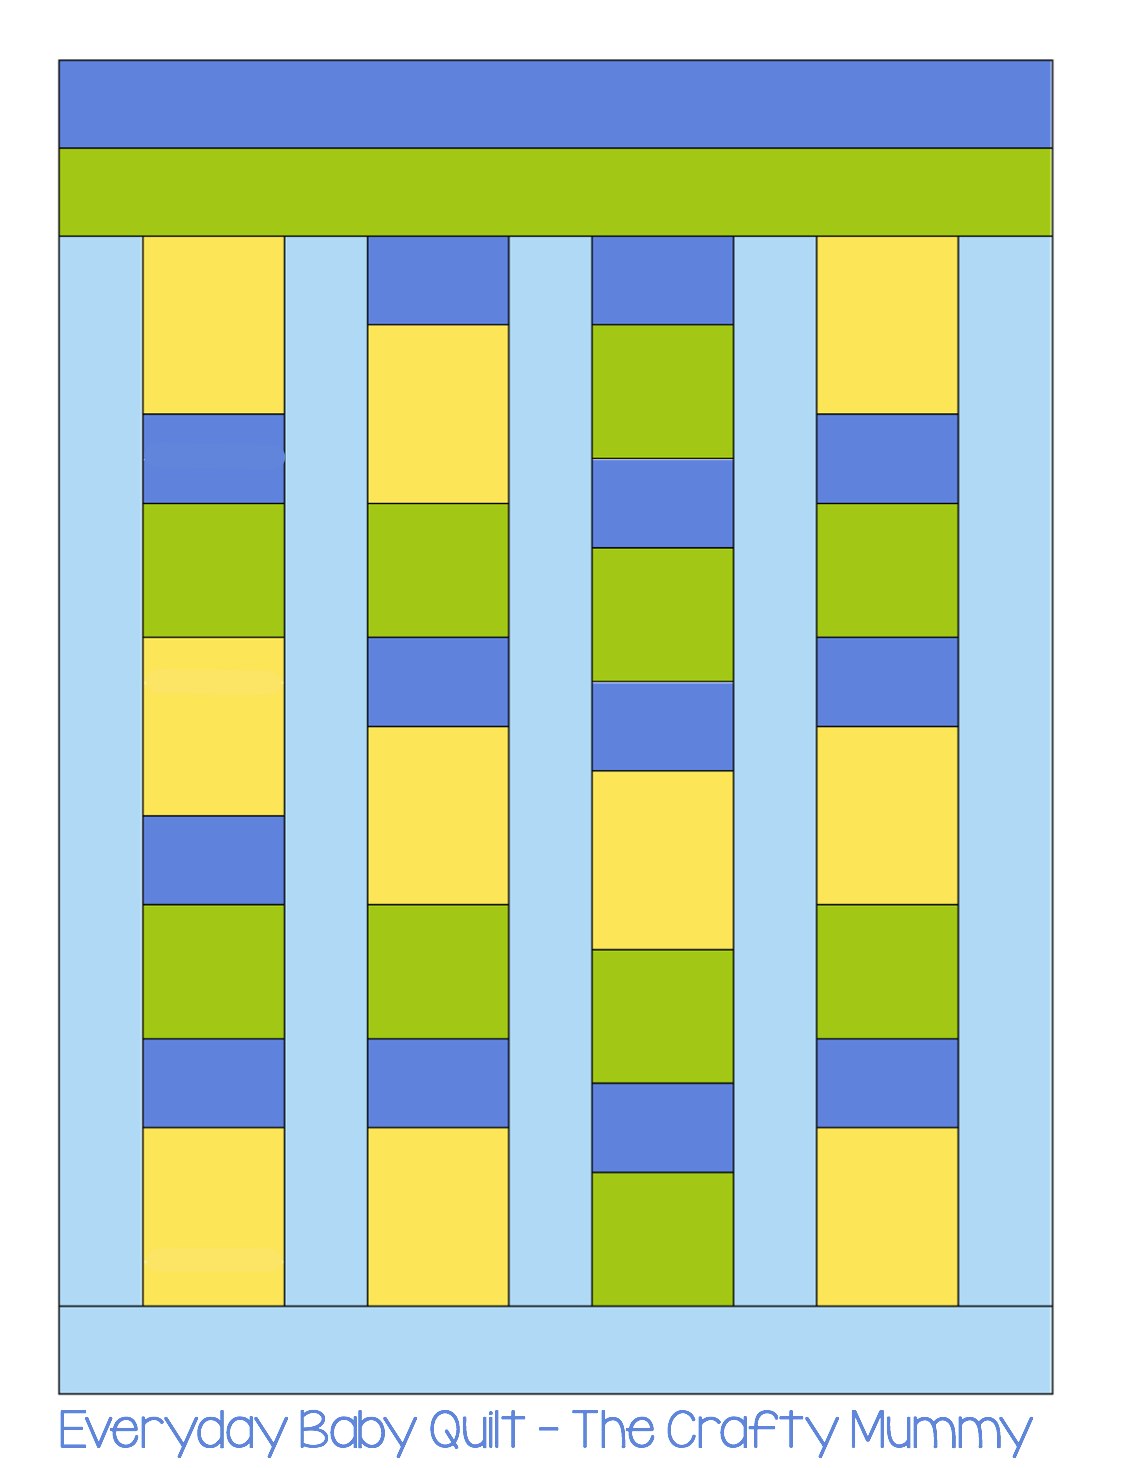
Finished size of quilt: 44″ x 60″ (112cm x 152cm)
What You Need
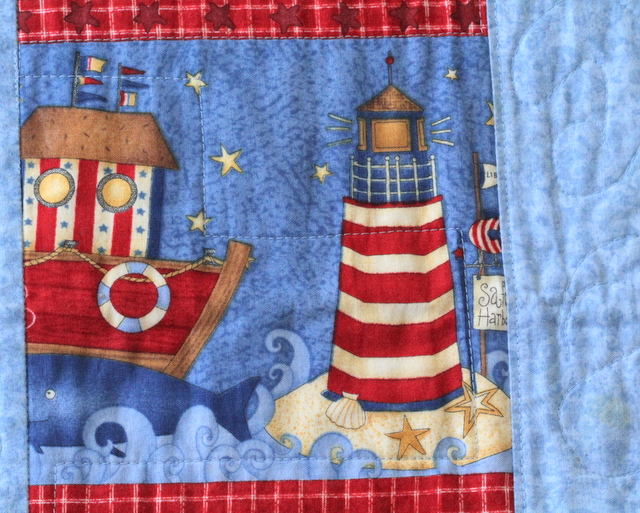
- Various prints – I used a collection of coordinated prints (sometimes called a “story”). I had a blue water print for all the sashing, then 4 different prints for the other borders and blocks. There is a spot and a narrow stripe with stars in it. Then there is a wider stripe with pictures, like a border print. I cut this carefully to use the lighthouses and boats. Lastly there is a print with a neutral background and various squares and rectangles containing pictures. Each print was cut into some squares and some rectangles to mix them up. – 1.5 m for the blocks and top borders; 1.3m for sashing
- Backing fabric – 50″ x 65″ at least (127cm x 165cm)
- Binding fabric – I used leftover fabric from the blocks; 0.5 m
- Wadding – 50″ x 65″ at least (127cm x 165cm)
What To Do
Cutting:
- large rectangles: 6.5″ x 8.5″ – 10 needed (I cut these first to get the pictures I wanted on them)
- squares: 6.5″ x 6.5″ – 10 needed
- small rectangles: 6.5″ x 4.5″ – 13 needed
- sashing: 4.5″ x 44″ strips – 8 needed
- border strips at the top of quilt: 4.5″ x 44″ – 2 of these in different prints for two borders
- binding: 2.5″x 44″ strips – 6 needed
Piecing:
- Lay out your squares and rectangles in 4 equal rows using my diagram as a guide.
- Join each row together with quarter-inch seams, pressing all the seams to the side as you go along. If needed, trim these to be all the same length – they should be the same but seam allowance can make them slightly different.
- Join the 4.5″ sashing strips together then cut to create 5 strips of the same length as your finished feature rows.
- Join the feature rows and the sashing.
- Join another sashing strip to the bottom of the quilt.
- Join two border strips to the top of the quilt.
- Baste with the wadding and backing, and quilt. My quilt was quilted with meandering loops in all the sashing sections, then more geometric free motion meandering in the feature sections.
- Finally join your binding strips and bind your quilt.


Thank you!!!
what a beautiful quilt. Pinning this for reference 🙂
Gosh Tonya. It seems like absolute ages since we’ve spoken. I’ve been so busy getting fit that everything else has lapsed. I’m even late with this week’s linky party but just letting you know I’m featuring this one today.
thanks for popping in and linking up.
Anne xx
Hi Anne,
Getting fit sounds like a fabulous reason to be absent from the Net – probably something I should be doing too!
Thanks for featuring my quilt.
Tonya
Thank you for sharing.